In today’s digital age, our devices have become indispensable tools for communication, work, and entertainment. With the significant investment we make in these devices, protecting them is paramount. A screen protector offers a crucial layer of defense against scratches, smudges, and, in some cases, impact damage. However, applying a screen protector can be a daunting task for many, often resulting in bubbles or misalignment. This foolproof guide will take you through the steps to achieve a flawless, bubble-free application on your device. We’ll cover everything from preparation and materials to post-application care.
Understanding the Types of Screen Protectors
Before diving into the application process, it’s essential to understand the different types of screen protectors available, as the material and design can influence both the application and effectiveness. The most common types are tempered glass and plastic (PET or TPU) screen protectors.
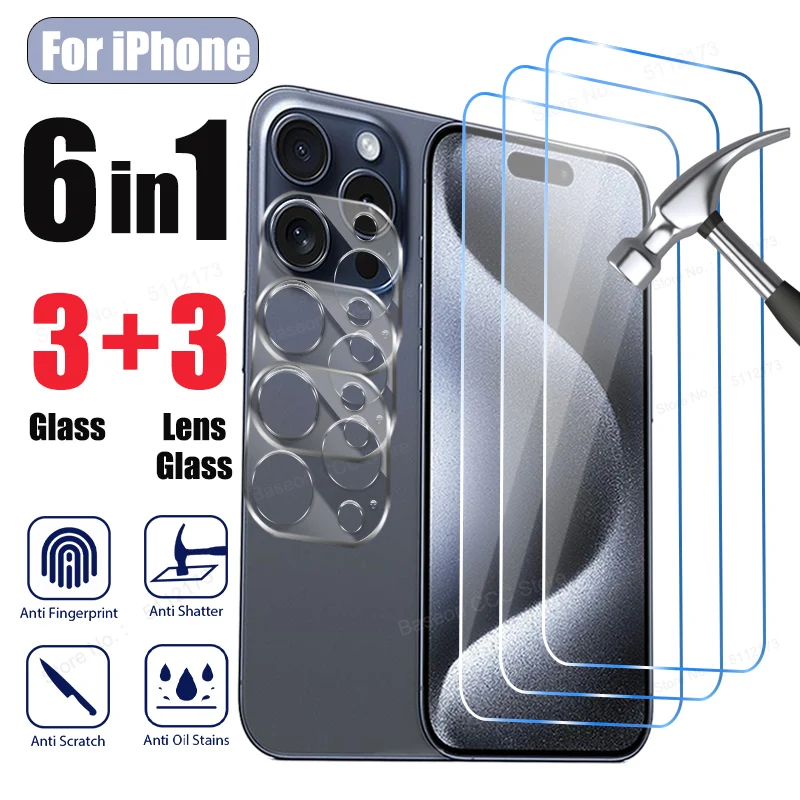
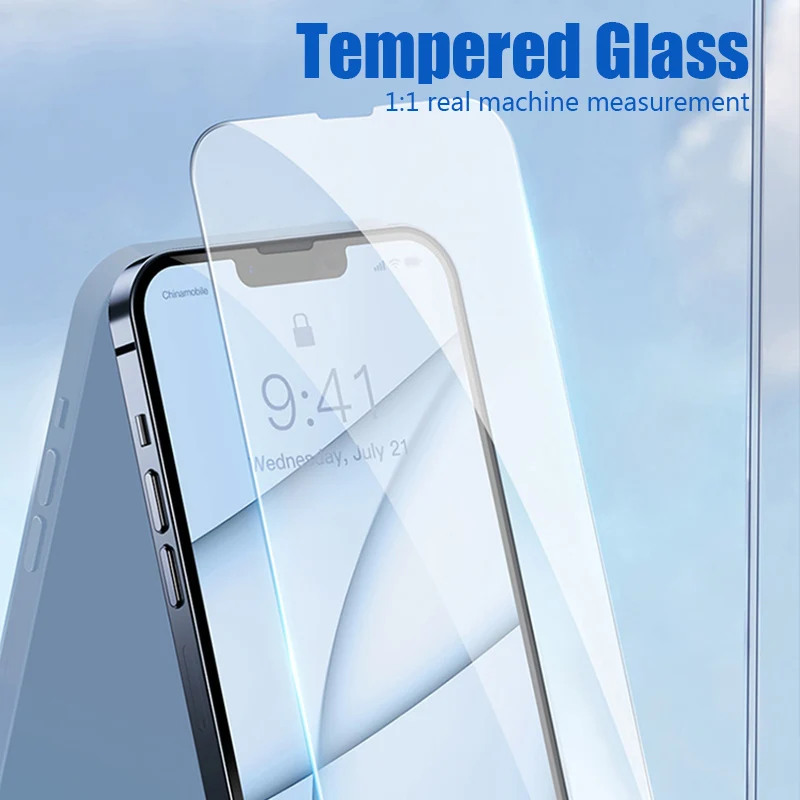
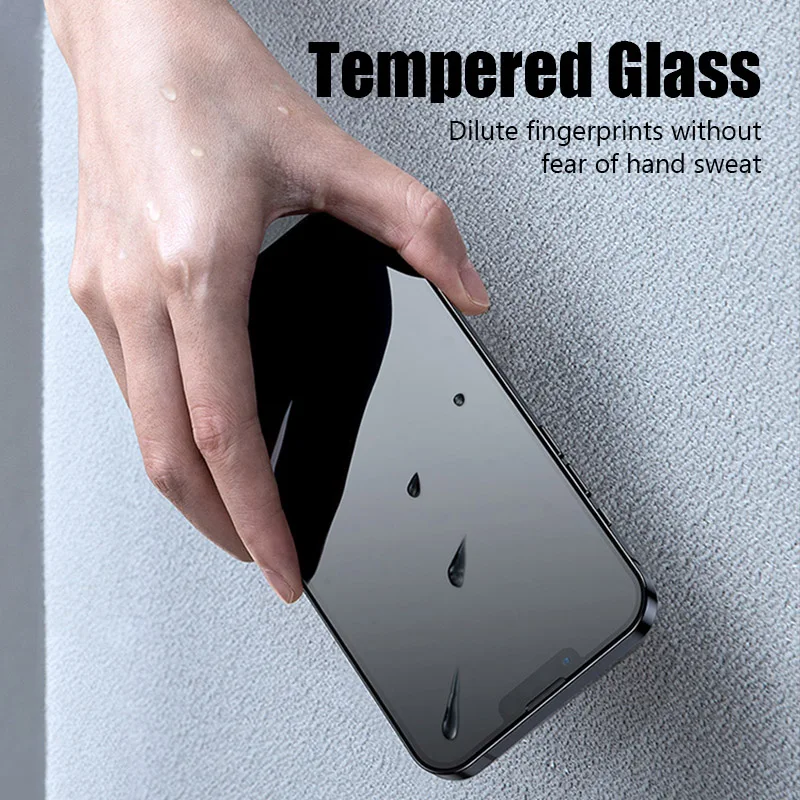
Tempered glass protectors are highly popular due to their superior clarity, touch sensitivity, and resistance to scratches and impact. They are typically thicker than plastic protectors and provide a glass-like feel. However, they can be pricier and, if not aligned properly, might not cover the screen’s edges entirely.
Plastic screen protectors (PET or TPU) are another option. PET protectors are usually thinner and less robust than tempered glass but still offer decent scratch protection. They are often the cheapest option. TPU protectors are flexible and have self-healing properties, making them ideal for curved screens. However, they can be harder to apply without bubbles and may not feel as smooth as glass.
Knowing the type of screen protector that suits your needs will help you prepare for the specific challenges associated with each material, leading to a better application experience.
Gathering the Necessary Materials
Preparation is key to a successful screen protector application. Having the right materials on hand can significantly reduce the chances of errors and ensure a smooth process. Here’s a list of essential items:
- Screen protector kit: Most kits include the protector, cleaning wipes, a dust removal sticker, and an alignment tool or frame, if applicable.
- Microfiber cloth: Ideal for wiping away fingerprints and smudges without scratching the screen.
- Dust removal sticker: To lift any microscopic dust particles that can cause bubbles.
- Spray bottle with water or a mild cleaning solution: For cleaning the screen thoroughly.
- Credit card or squeegee tool: To smooth out bubbles during application.
Having all these materials ready before you start can make the process much smoother and minimize the risk of contamination or errors that might require you to restart.
Cleaning Your Device’s Screen
Proper cleaning of your device’s screen is arguably the most critical step in applying a screen protector. Even the tiniest dust particles or smudges can lead to bubbles and imperfections. Begin by turning off your device to avoid any accidental touches or smears.
Start by using the microfiber cloth to wipe away any visible fingerprints, smudges, or debris. If the screen protector kit includes wet and dry wipes, use them as directed. The wet wipe typically contains alcohol or a similar cleaning agent, which helps to dissolve and remove oils and dirt. Follow up with the dry wipe to remove any moisture.
Next, use a dust removal sticker or a piece of adhesive tape to lift any remaining microscopic particles. Hold the sticker by the edge, press it against the screen, and then peel it off, repeating as necessary across the entire screen. This step ensures a pristine surface, crucial for a bubble-free application.
It’s also advisable to work in a well-lit, dust-free environment. Rooms with high humidity, such as bathrooms, can be ideal as they reduce the likelihood of dust settling on your screen during installation.
Aligning the Screen Protector
Alignment is critical for both aesthetic and functional purposes. A poorly aligned screen protector can leave parts of the screen exposed, look unprofessional, and could interfere with cases or other accessories.
Begin by dry-fitting the screen protector. Without removing any adhesive backing, place the protector over your device’s screen to check the fit. This step gives you an idea of how it should align with the edges, camera, and any sensors. Some protector kits come with alignment tools or frames. If yours does, follow the included instructions to secure your device and protector for perfect placement.
If your screen protector doesn’t include an alignment tool, use small pieces of tape as hinges. Attach two pieces of tape to the top edge of the protector and then anchor them to the device’s top edge. This DIY hinge mechanism allows you to lift the screen protector like a flap, which helps in aligning and re-adjusting if necessary before the actual application.
Once you are confident with the alignment, you can move on to the next step, which involves finally adhering the protector onto the screen.
Applying the Screen Protector: Step-by-Step
Applying a screen protector requires precision and patience. Follow these steps to ensure a smooth application:
- Peeling off the backing: Most screen protectors come with a protective layer on the adhesive side. Carefully peel this layer off, ensuring you don’t touch the adhesive surface. Hold the protector by the edges to avoid fingerprints.
- Careful placement: Using the alignment you checked earlier, slowly lower the screen protector onto the device’s screen. If you used a tape hinge, this step becomes easier as the protector will line up perfectly.
- Smoothing out bubbles: Once the protector is in place, use a credit card or the provided squeegee tool to smooth out any air bubbles. Start from the center and push air bubbles towards the edges. For persistent bubbles, lift the nearest edge of the screen protector slightly to release the trapped air, then smooth it down again.
- Final inspection: After the application, inspect your work. Look for any remaining bubbles or dust particles. Most minor bubbles will disappear on their own after a day or two. If there are dust particles trapped, you can lift the protector’s edge carefully with a piece of tape and use another piece of tape to remove the dust particle before re-sealing the edge.
This meticulous approach ensures that the screen protector is applied bubble-free and aligned correctly, maintaining the functionality and appearance of your device.
Dealing with Common Application Issues
Even with careful preparation and application, issues can arise. Common problems include air bubbles, dust spots, and alignment errors. Here’s how to tackle them:
- Air bubbles: Small air bubbles often disappear within a day or two. For larger bubbles, use a credit card or squeegee to push them towards the edges. If persistent, carefully lift the edge of the protector closest to the bubble, use a dust removal sticker to remove any debris, and slowly reapply.
- Dust spots: Dust particles trapped under the screen protector can form unsightly bubbles. To remove them, lift the nearest edge using a piece of tape, use another piece of tape to dab the dust particle, and then press the screen protector back down.
- Misalignment: If the screen protector is misaligned, you may need to start over. Carefully lift the screen protector using a piece of tape, realign it, and reapply. Some protectors can withstand multiple reapplications, but handle them gently to avoid damaging the adhesive.
Understanding these troubleshooting steps can save you from the frustration of having to replace the screen protector entirely and ensure your applied protector looks and functions as intended.
Conclusion: Mastering Screen Protector Application
Applying a screen protector can feel like a daunting task, but with the right knowledge and tools, it becomes a straightforward process. This foolproof guide has covered everything from understanding the different types of screen protectors to the detailed step-by-step application process, dealing with common issues, and maintaining your protector for the long term.
Remember that preparation and patience are key. Taking the time to clean and align your screen properly can prevent common issues such as bubbles and misalignment. Should you encounter any problems, the strategies provided can help you troubleshoot effectively.
Whether you’re using a tempered glass protector for its durability and clarity or a flexible TPU protector for its self-healing properties, following this guide will ensure a smooth application and optimal protection for your device. By mastering the art of applying a screen protector, you can extend the life of your device and keep it looking as good as new.