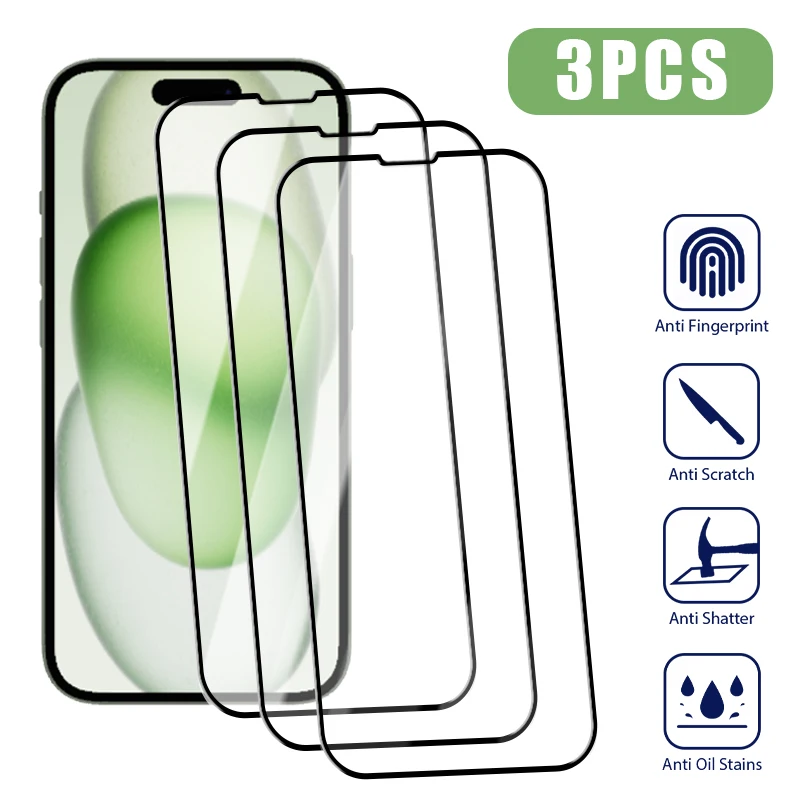
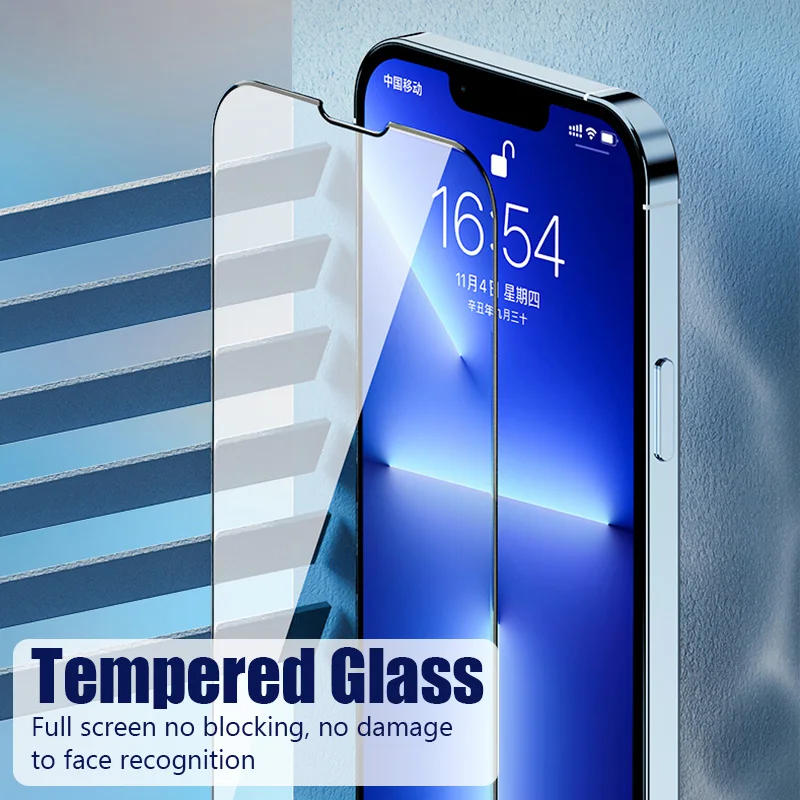
Screen protectors are essential gadgets for safeguarding your device’s screen from scratches, smudges, and cracks. Yet, even the most careful application can leave behind pesky bubbles that hinder your viewing experience. This article will guide you through effective DIY tips for expertly removing bubbles from your screen protector. With a bit of patience and the right techniques, you can achieve a flawless finish on your device.
Understanding the Importance of a Bubble-Free Screen Protector
Screen protectors serve as your first line of defense against physical damage to your device’s screen. However, the presence of bubbles can significantly detract from their functionality and aesthetic appeal. Bubbles not only impair touch sensitivity but also obstruct the clarity of your screen. Moreover, these trapped air pockets can become larger over time as dirt and debris accumulate around them. Thus, understanding the importance of a bubble-free screen protector is the first step toward maintaining your device in pristine condition.
The presence of bubbles diminishes the user experience, particularly when it comes to touch screens. You may find it challenging to type accurately, and gestures like swiping or zooming can become frustratingly inconsistent. Furthermore, bubbles can sometimes distort the view of your display, making it hard to enjoy multimedia content or even read texts clearly. By ensuring that your screen protector is free from bubbles, you are preserving not only the physical integrity of your device but also its operational efficiency.
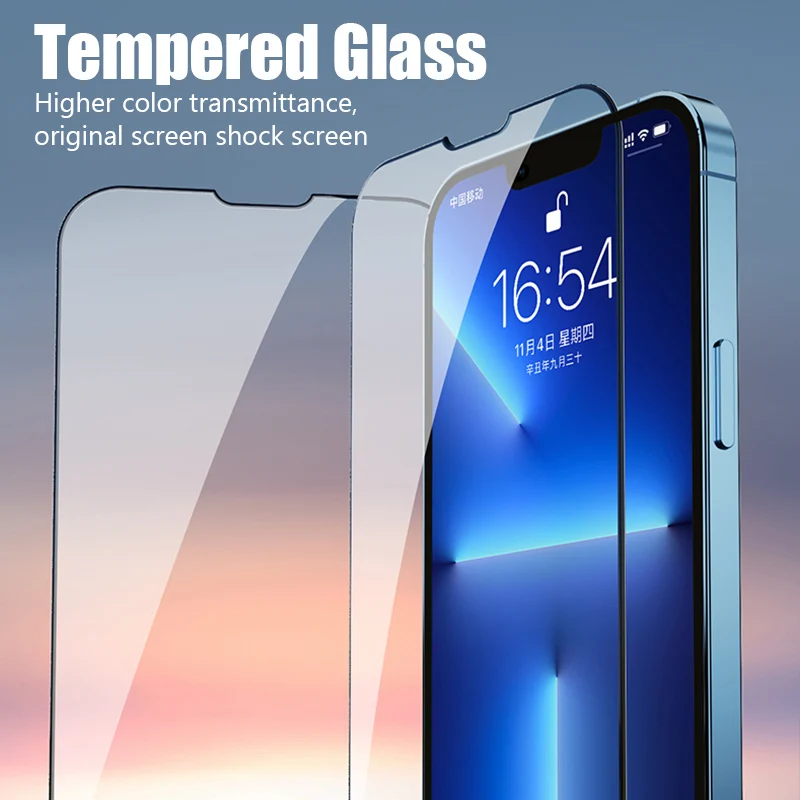
Preparation: Gather Your Tools
Before attempting to remove bubbles from your screen protector, you must gather the necessary tools. Proper preparation will make the process simpler and more effective. The essential tools you will need include a squeegee or credit card, a microfiber cloth, a dust removal sticker, and a small spray bottle filled with a water-isopropyl alcohol mixture.
A squeegee or a credit card are invaluable tools in this endeavor. They help in evenly spreading out the screen protector, ensuring that any bubbles are squeezed out toward the edges of your device. This action facilitates the escape of trapped air, making the protector adhere more snugly to the screen. If you don’t have a squeegee, a credit card wrapped in a microfiber cloth can serve as a good substitute.
Initial Cleaning: Wipe Down Your Screen
Now that you have gathered your tools, your first step is to thoroughly clean your screen. Use a microfiber cloth to wipe down the surface, ensuring it’s free of dust, fingerprints, and oils. This step is crucial, as any contaminants can cause bubbles to form under the screen protector.
Begin by spraying a small amount of the water-isopropyl alcohol mixture onto the microfiber cloth, not directly onto the screen. Gently wipe the screen in circular motions, being careful not to miss any spots. Once the screen is dry, use a dust removal sticker to lift away any remaining specks of dust.
Consider performing this cleaning in a dust-free environment to minimize the chance of contaminants landing on your screen during the process. A steamy bathroom might actually serve as a good location because the moisture in the air can help settle dust particles. With a clean and dry screen, you’re ready to proceed with either reapplying the screen protector or addressing existing bubbles.
Reapplying the Screen Protector: A Fresh Start
If you’re dealing with a lot of bubbles or if previous attempts at removal have been unsuccessful, it might be best to start fresh by reapplying the screen protector. Carefully peel off the existing screen protector, starting from one corner and slowly lifting it away from the screen. Be gentle to avoid any damage to the protector or your device.
Once the old screen protector is removed, repeat the initial cleaning steps to ensure your screen is spotless. Now, you’re ready to reapply the screen protector. Start by aligning one edge of the protector with the screen’s corresponding edge. Slowly lower the screen protector onto the screen, making sure it’s properly aligned before pressing it down.
Use the squeegee or credit card wrapped in a microfiber cloth to gradually press the protector onto the screen. Work from the center outward in smooth, even strokes to push out any air bubbles. If any bubbles remain, don’t fret; small ones can often be addressed later.
Using the Squeegee Technique
For small bubbles that remain after the initial application, employing the squeegee technique can be highly effective. This method involves using a squeegee or a credit card wrapped in a microfiber cloth to gently push the air bubbles toward the edges of the screen. Begin at the center of the screen and work your way outward.
Apply gentle, even pressure as you move the squeegee across the screen. The goal is to coax the trapped air to the nearest edge of the screen protector, where it can escape. Take your time with this process; rushing can make things worse by creating more bubbles or wrinkles in the protector.
If you encounter particularly stubborn bubbles, lift the nearest edge of the screen protector slightly to release the trapped air, then gently press the protector back into place. Repeat the squeegee process to ensure a snug fit. With some patience and persistence, you should be able to eliminate most, if not all, bubbles.
Applying Heat for Better Adhesion
Applying a bit of heat can sometimes help screen protectors adhere more snugly to the screen, thereby reducing bubbles. This method involves using a hairdryer on a low heat setting to gently warm the screen protector. The heat softens the adhesive, making it easier to remove any remaining bubbles.
Begin by setting your hairdryer to its lowest heat setting. Hold the dryer a safe distance from the screen, around 6 to 8 inches away, and move it slowly across the surface. Avoid staying in one spot for too long to prevent heat damage to your device. As the screen protector warms up, use the squeegee to press out any bubbles.
This technique is particularly useful for large protectors that cover an entire tablet or laptop screen. However, exercise caution to avoid overheating your device. Applying too much heat can cause the screen protector to warp or the adhesive to break down, leading to additional problems.
Post-Application Care
Even after you’ve successfully removed all bubbles, proper care will ensure that your screen protector remains effective and bubble-free. Avoid using abrasive materials or harsh chemicals to clean the screen, as these can damage the protector’s surface. Instead, stick to microfiber cloths and mild cleaning solutions.
Regularly inspect the screen protector for any new bubbles or debris. Small particles can become trapped under the edges over time, potentially leading to new bubbles forming. If you notice any issues, address them promptly using the techniques outlined above to maintain a clear, smooth screen.
Consider using a case for your device that doesn’t exert pressure on the edges of the screen protector. Some cases can lift or warp the protector, creating bubbles or causing it to peel away from the screen. By following these post-application care tips, you can extend the life of your screen protector and enjoy a pristine display for longer.
Troubleshooting Common Issues
Despite your best efforts, you may still encounter some common issues when dealing with screen protectors. One such problem is dust or debris becoming trapped under the protector after application. If this happens, carefully lift the nearest edge and use a dust removal sticker to pull out the offending particle. Then, press the protector back into place and smooth out any new bubbles.
Another common issue is edge peeling, where the edges of the screen protector lift away from the screen over time. This can be caused by improper alignment during application or a case that exerts pressure on the edges. To fix this, you may need to reapply the screen protector, ensuring it aligns perfectly with the screen edges and fits snugly under your device case.
If your screen protector is old or damaged, it may simply be time for a replacement. Over time, the adhesive can break down, making it difficult to maintain a bubble-free surface. In such cases, investing in a new screen protector can provide a fresh start and ensure your device remains well-protected.
Conclusion: Patience and Precision
Removing bubbles from your screen protector can be a daunting task, but with patience and precision, it is entirely achievable. Proper preparation, meticulous cleaning, and the right techniques can make all the difference. By following the DIY tips outlined in this article, you can enjoy a clear, bubble-free screen that enhances your device experience.
Remember, the key to success lies in taking your time and being thorough. Whether you’re reapplying the screen protector, using a squeegee, or resorting to the pin method, careful attention to detail will yield the best results. With a bit of effort, you can ensure your device’s screen remains well-protected and visually appealing.
