Removing a screen protector from your iPhone can be a bit daunting, especially when you want to ensure that you neither damage your phone nor leave behind any residue. Screen protectors are essential for keeping your iPhone’s display free from scratches and minor damages, but over time, they can become worn out, cracked, or otherwise need replacing. Fortunately, the process of removing a screen protector is straightforward when done correctly. This comprehensive guide, “How to Remove a Screen Protector from an iPhone: Easy and Safe Methods,” will walk you through various techniques to safely and easily remove your screen protector, ensuring your phone remains intact and ready for a new protector.
Understanding Screen Protectors: Types and Their Removal Challenges
Before diving into removal methods, it’s important to understand that not all screen protectors are the same. Screen protectors vary in material and adhesive strength, which can affect the removal process. The two most common types of screen protectors are:
- Plastic Film Protectors: Made from polyethylene terephthalate (PET) or thermoplastic polyurethane (TPU), these are thin, flexible, and generally easier to remove. They are applied using a mild adhesive that doesn’t usually leave residue on the screen.
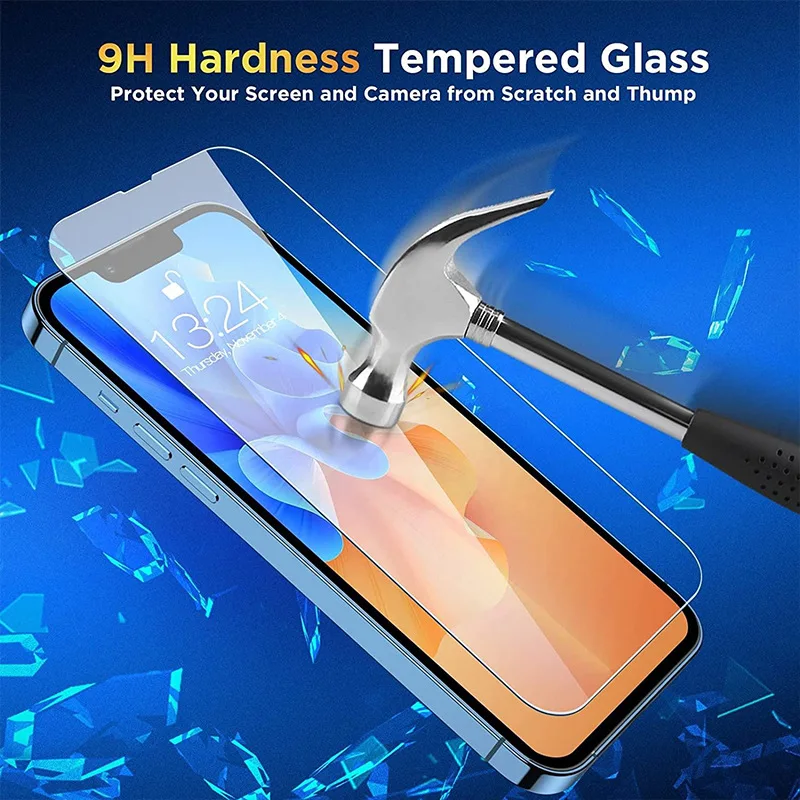
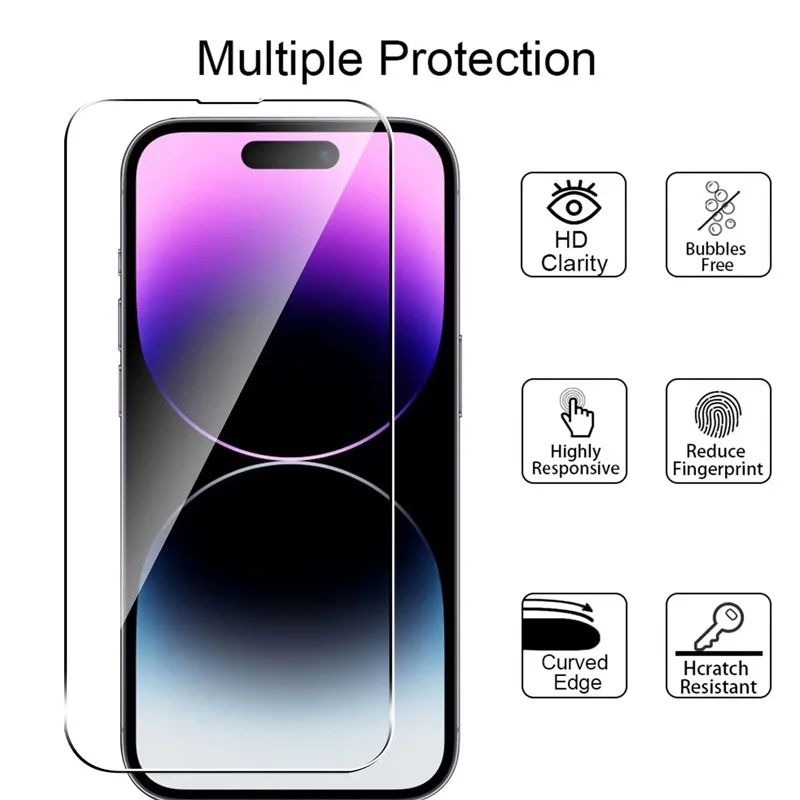
- Tempered Glass Protectors: These are thicker, more rigid, and made of toughened glass. They offer better protection but can be trickier to remove due to the stronger adhesive used to keep them in place.
Each type of protector presents unique challenges when it comes to removal. Plastic film protectors can be removed easily but are more prone to tearing or stretching during the process. Tempered glass protectors, while more robust, require careful handling to avoid cracking or shattering, potentially causing harm to the iPhone’s screen and the person removing it.
Preparation: Gathering Necessary Tools and Ensuring a Clean Work Area
Proper preparation is key to safely removing a screen protector. Gather all necessary tools and ensure you’re working in a clean, controlled environment. Here’s a checklist of items you’ll need:
- A credit card or a plastic spudger: Useful for prying up the edges of the screen protector.
- Microfiber cloth: To wipe away dust and fingerprints before and after removal.
- Scotch tape or adhesive strips: To lift stubborn corners or edges.
- Hairdryer: Optional, for loosening the adhesive with gentle heat.
- Isopropyl alcohol and cotton swabs: For cleaning any residual adhesive off the screen.
Before you begin, wash and dry your hands to avoid transferring oils and dirt onto the screen. Turn off your iPhone to prevent accidental touches or damage during the removal process. Work on a clean, flat surface free from dust and debris to minimize any risk of scratching your iPhone’s screen.
Method 1: Removing a Plastic Film Screen Protector
Step 1: Identify a Loose Corner: Inspect the edges of the screen protector to find a corner that appears slightly lifted. This corner will serve as your starting point.
Step 2: Use a Credit Card or Plastic Spudger: Carefully insert a credit card or plastic spudger under the lifted corner. Gently wiggle it to loosen the adhesive. Be patient and avoid using excessive force to prevent tearing the protector.
Step 3: Slowly Peel Off the Protector: Once you’ve lifted a corner, use your fingers to slowly peel away the screen protector. Pull at a shallow angle to avoid stressing the adhesive. If you encounter resistance, go back to using the card or spudger to further loosen the adhesive.
Step 4: Remove Any Residue: After removing the screen protector, check for any adhesive residue left on the screen. Use a microfiber cloth dampened with isopropyl alcohol to wipe it clean. Ensure the screen is completely dry before applying a new protector.
Method 2: Removing a Tempered Glass Screen Protector
Step 1: Soften the Adhesive: If the tempered glass protector is stubborn, use a hairdryer to gently warm the screen for about 15-20 seconds. Hold the hairdryer several inches away from the screen on a low heat setting to prevent overheating and damaging your iPhone.
Step 2: Lift a Corner: Use a plastic spudger or your fingernail to carefully lift a corner of the tempered glass protector. Be gentle to avoid cracking or chipping the glass.
Step 3: Peel Away Carefully: Once you’ve pried up a corner, use both hands to slowly peel the protector away from the screen. Avoid pulling too fast or at high angles to minimize the risk of breaking the glass.
Step 4: Use Tape for Stubborn Areas: If parts of the protector are difficult to lift, place a piece of Scotch tape or an adhesive strip on the stubborn area and pull gently. This can help lift the tempered glass without too much force.
Method 3: Advanced Techniques for Stuck or Broken Protectors
Sometimes, removing a screen protector can be especially difficult, such as when the protector is broken or exceptionally adhesive. Here are advanced techniques to handle these scenarios:
Broken Screen Protector:
- Safety First: If the screen protector is shattered, wear gloves to protect your hands from glass shards.
- Use Tape: Apply strips of tape across the broken protector to stabilize it. This prevents fragments from scattering and makes it easier to peel off.
- Lift the Pieces: Starting from an intact corner, use a spudger to lift each piece carefully. Continue to apply tape as needed to keep pieces together.
Exceptionally Adhesive Protector:
- Warm the Screen: Use a hairdryer to carefully warm the protector, loosening the adhesive.
- Dental Floss Method: Slide a piece of dental floss under one edge of the screen protector, pulling it gently to slice through the adhesive.
- Use Suction Cups: Attach small suction cups (available in many screen repair kits) to the protector and pull upwards to lift it away from the screen gradually.
These advanced methods can help you tackle particularly stubborn protectors without damaging your iPhone.
Post-Removal Care: Preparing for a New Screen Protector
Once you’ve successfully removed the old screen protector, the next step is to prep your iPhone for a new one. Proper preparation ensures that the new screen protector adheres well and functions perfectly.
Cleaning the Screen: Use a microfiber cloth and isopropyl alcohol to thoroughly clean the iPhone screen. Remove all smudges, fingerprints, and any remaining adhesive. This step is crucial for ensuring a bubble-free application of the new screen protector.
Inspect for Damage: Check the iPhone screen for any cracks or damage that may have been hidden by the old protector. If you find any cracks, you may need professional repair before applying a new protector.
Dry the Screen: Make sure the screen is completely dry before proceeding. Any moisture can interfere with the adhesive and cause bubbles under the new protector.
Align the New Protector: Carefully align the new screen protector with your iPhone’s screen, ensuring that cutouts for the camera, sensors, and home button (if applicable) match up perfectly. Use alignment stickers if provided to help with precise placement.
Common Mistakes to Avoid: Ensuring a Smooth Removal Process
Removing a screen protector can be simple, but there are common mistakes that can complicate the process or even damage your iPhone. Here are some pitfalls to avoid:
Using Metal Tools: Metal tools can scratch or damage the screen. Always use plastic tools like a spudger or a credit card to lift the edges of the protector.
Excessive Force: Applying too much force can crack a tempered glass protector or stretch a plastic one, making it harder to remove. Use gentle, steady pressure.
Overheating with a Hairdryer: If you choose to use a hairdryer to loosen the adhesive, avoid holding it too close or using high heat. Overheating can damage your iPhone’s screen and internal components.
Pulling Too Fast: Rapidly pulling off the protector can leave adhesive behind and increase the risk of breaking a tempered glass protector. Take your time and peel slowly.
Conclusion: Mastering Screen Protector Removal
Removing a screen protector from your iPhone doesn’t have to be a daunting task. By understanding the type of screen protector, preparing the necessary tools, following a systematic approach, and avoiding common pitfalls, you can safely and effectively remove and replace your screen protector.
Whether you’re dealing with a plastic film or a tempered glass protector, the key is to take your time and handle each step with care. With this guide on “How to Remove a Screen Protector from an iPhone: Easy and Safe Methods,” you are well-equipped to maintain the pristine condition of your iPhone’s screen, ensuring it stays protected and functional.