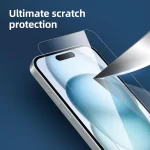
Screen protectors are essential for safeguarding your device’s display from scratches, cracks, and other forms of damage. However, applying a screen protector can sometimes result in unsightly bubbles trapped between the protector and your screen. These bubbles can be distracting and affect the usability of your device. Fortunately, there are effective methods to remove these bubbles and achieve a flawless application. This guide provides comprehensive tips and tricks for removing bubbles from a screen protector, ensuring a smooth and professional finish.
Understanding Why Bubbles Appear
Common Causes of Bubbles Under a Screen Protector
Bubbles under a screen protector are a common issue and can occur for several reasons. One of the primary causes is the presence of dust or debris on the screen or the adhesive side of the protector. Even tiny particles can create bubbles when the protector is applied. Additionally, improper alignment of the screen protector can lead to air pockets trapped between the protector and the screen. Uneven pressure during the application process can also contribute to the formation of bubbles.
Another factor is the temperature and humidity of the environment during application. Extreme temperatures or high humidity can affect the adhesive properties of the screen protector, causing bubbles to form. It’s important to be mindful of these conditions to ensure a smooth application process.
The Importance of Proper Application
Proper application is crucial for avoiding bubbles and ensuring that the screen protector adheres well to your device. Taking the time to clean both the screen and the protector thoroughly before application can significantly reduce the likelihood of bubbles. Additionally, using the right techniques and tools can make a significant difference in achieving a bubble-free finish. Understanding the reasons behind bubble formation helps in selecting the best approach to address and remove them effectively.
Preparation for a Bubble-Free Application
Cleaning the Screen and Screen Protector
Before applying a screen protector, it is essential to clean both the screen of your device and the screen protector thoroughly. Use a microfiber cloth and a small amount of screen cleaner or isopropyl alcohol to wipe the screen. Ensure that all dust, fingerprints, and smudges are removed. For the screen protector, use a dust removal sticker or a similar tool to eliminate any particles from the adhesive side.
Cleaning is a crucial step because even the smallest piece of dust can cause bubbles when the protector is applied. Take your time to ensure that both surfaces are perfectly clean and dry before proceeding with the installation.
Choosing the Right Environment for Application
Selecting the right environment for applying a screen protector can impact the final result. Ideally, choose a clean, dust-free area with a moderate temperature and low humidity. Avoid applying the protector in areas with high humidity or extreme temperatures, as these conditions can affect the adhesive and lead to bubbles. A well-lit area with minimal airflow is ideal for ensuring a smooth application.
Techniques for Removing Bubbles
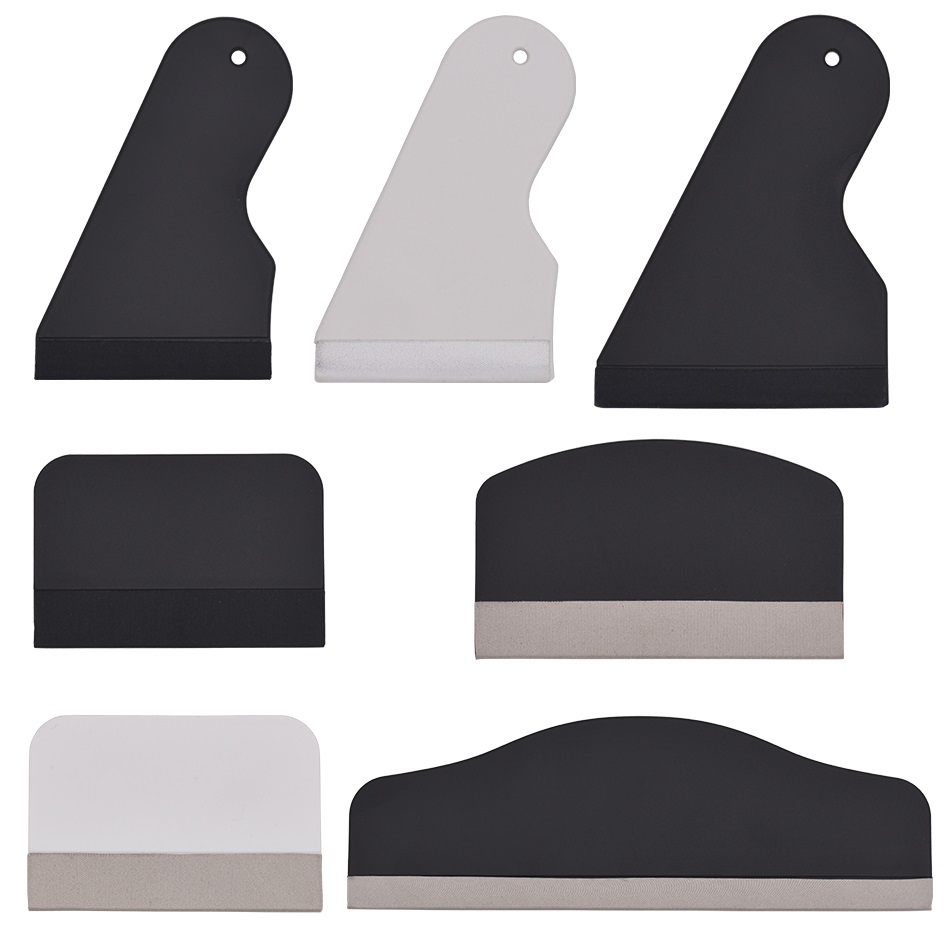
Using a Squeegee or Card
One of the most effective methods for removing bubbles from a screen protector is using a squeegee or a credit card. Start by gently pressing down on the bubble with the edge of the squeegee or card, working from the center of the bubble towards the edges. This technique helps to push the trapped air out and smooth the protector against the screen. Be cautious not to use excessive force, as this can damage the screen or the protector.
Applying Heat to the Protector
In some cases, applying gentle heat can help in removing stubborn bubbles. Use a hairdryer on a low heat setting to warm the screen protector slightly. Hold the hairdryer about 6-8 inches away from the protector and move it around to distribute the heat evenly. The heat softens the adhesive, making it easier to push out the bubbles. After applying heat, use a squeegee or a card to press the bubbles towards the edges of the screen.
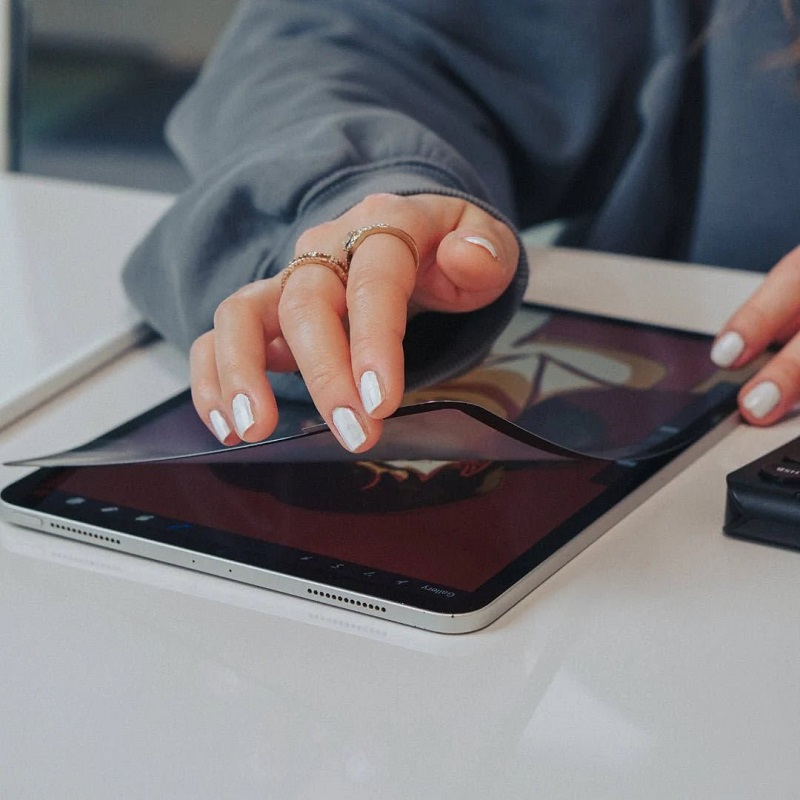
Reapplying the Screen Protector
If bubbles persist despite your efforts, it may be necessary to reapply the screen protector. Carefully remove the protector from the screen, being cautious not to damage it. Clean the screen and the protector again to remove any dust or debris. Reapply the protector using the proper alignment and techniques, making sure to work out any bubbles as you go. Reapplying can often resolve persistent bubble issues and ensure a perfect fit.
Preventing Bubbles in the Future
Proper Application Techniques
To prevent bubbles from occurring in the future, it is important to use proper application techniques. Begin by aligning the screen protector carefully with your device, ensuring that it fits perfectly. Apply the protector slowly and evenly, using a squeegee or a similar tool to smooth out any air pockets as you go. Avoid pressing down too hard, as this can cause bubbles to form.
Maintaining a Clean Screen
Regularly maintaining a clean screen can help prevent bubbles when applying a new screen protector. Use a microfiber cloth to clean the screen daily and remove any dust or fingerprints that may accumulate. Keeping the screen clean reduces the likelihood of bubbles and ensures a better adhesive bond between the protector and the screen.
Troubleshooting Persistent Bubble Issues
Identifying the Source of the Problem
If you continue to experience bubble issues despite following the recommended techniques, it’s important to identify the source of the problem. Check for any dust or debris that may have been missed during cleaning. Also, consider whether the screen protector is the correct size and type for your device. Some protectors are designed to fit specific models and may not adhere properly if they are slightly off.
Seeking Professional Assistance
If troubleshooting doesn’t resolve the issue, consider seeking professional assistance. Some stores and service centers offer screen protector installation services and can help with removing bubbles and ensuring a perfect application. Professional technicians have the experience and tools to handle more complex issues and can provide valuable advice on maintaining a bubble-free screen protector.
Exploring Alternative Screen Protector Types
Choosing the Right Material
Different types of screen protectors offer varying levels of protection and ease of application. Tempered glass protectors are popular for their durability and resistance to scratches, while film protectors are thinner and may be easier to apply without bubbles. Understanding the differences in materials can help you select the best option for your needs. If bubbles are a persistent issue, experimenting with different types of protectors might yield better results.
Trying Liquid Screen Protectors
Liquid screen protectors are an alternative to traditional film or glass protectors. They come in a liquid form that is applied directly to the screen and forms a protective layer once it dries. These protectors can be more forgiving during application and may reduce the likelihood of bubbles. However, they might not offer the same level of impact protection as glass or film protectors. Evaluating the pros and cons of liquid protectors can help you decide if they’re right for your device.

Conclusion
Removing bubbles from a screen protector requires careful attention to detail and the use of effective techniques. By understanding the common causes of bubbles, preparing properly, and employing the right methods for removal, you can achieve a smooth and flawless finish. Regular maintenance and proper application techniques can also help prevent future bubble issues. Whether you’re dealing with a new screen protector or troubleshooting an existing one, these tips and tricks will ensure that your device remains protected and visually appealing.