Removing a screen protector from your iPhone might seem like a simple task, but it requires a careful approach to avoid damaging your device. Whether your screen protector is cracked, scratched, or simply outdated, knowing the proper techniques can make the process easier and safer. In this article, we’ll delve into the step-by-step process for removing a screen protector from an iPhone, ensuring you maintain the integrity of your device.
Understanding Your Screen Protector
Types of Screen Protectors
Before you remove your screen protector, it’s essential to understand the different types available. The most common types include tempered glass, plastic film, and liquid protectors. Each type has its characteristics, which influence how they adhere to your iPhone’s screen and how you should remove them.
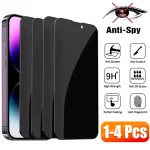
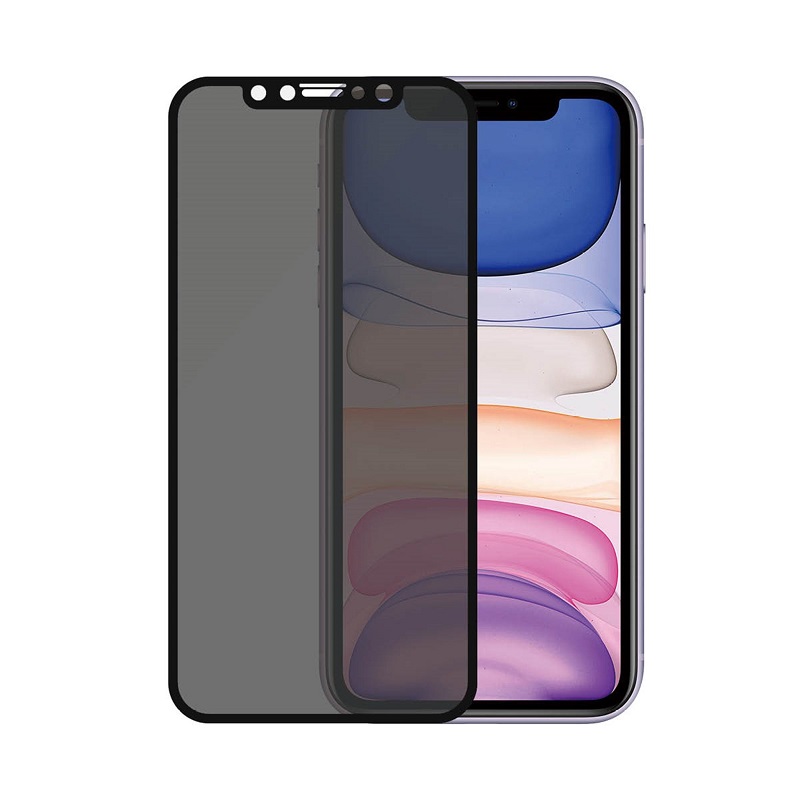
- Tempered Glass: Known for its durability and scratch resistance, tempered glass protectors are rigid and provide a high level of protection. They often adhere strongly to the screen, making removal slightly more challenging.
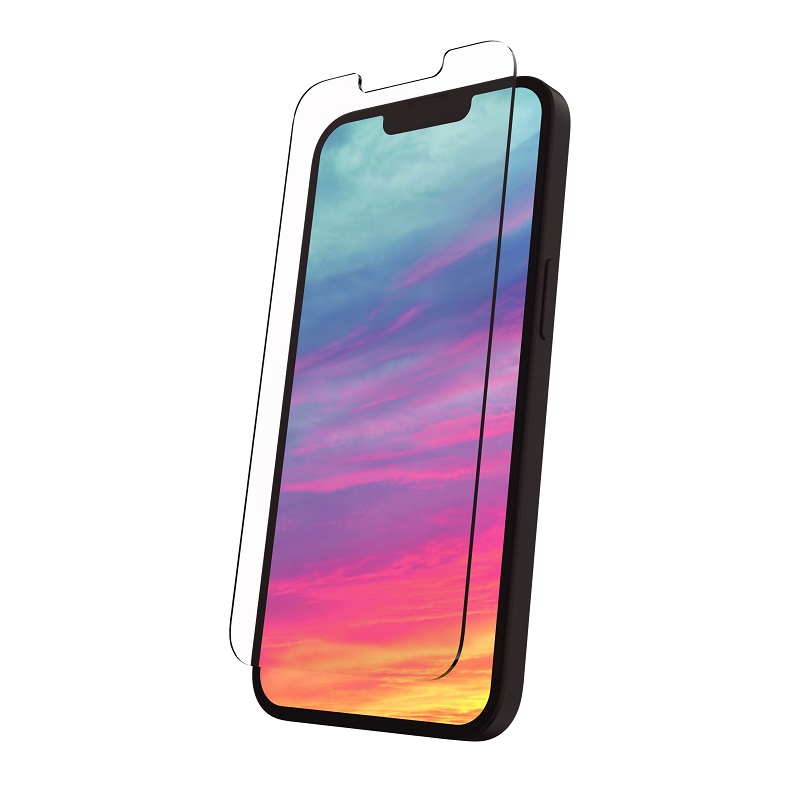
- Plastic Film: These are thinner and more flexible than glass protectors. While they provide basic scratch protection, they can be easier to remove due to their adhesive properties.
- Liquid Protectors: These are a newer option, involving a liquid that bonds to the screen at a molecular level. If you have this type, removal is different, as it’s not a physical layer you can peel off.
Understanding which type of screen protector you have will help you determine the best method for removal, ensuring you don’t inadvertently damage your iPhone’s screen.

Preparing for Removal
Gather Necessary Tools
Before you start the removal process, gather the tools you’ll need. Preparation is crucial for a smooth experience. You might not need all of these tools, but having them on hand can make the process easier.
- Plastic Card: A plastic card, such as a credit card or gift card, can help gently pry up the edges of the screen protector without scratching the screen.
- Tape: A piece of tape can be used to lift stubborn corners or edges that won’t come up easily.
- Microfiber Cloth: This will help clean the screen once the protector is removed, eliminating any dust or residue.
- Isopropyl Alcohol: If you’re dealing with adhesive residue after removal, a small amount of isopropyl alcohol can help clean the surface without damaging the screen.
Having these tools ready will streamline the process and minimize the risk of damage.
Find a Suitable Workspace
Choose a clean, dust-free area to perform the removal. A cluttered workspace can lead to dust particles getting trapped between the screen and the protector or even scratching your device. Ideally, you should work in an area with good lighting to clearly see the edges of the protector.
Make sure your hands are clean and dry, as oil or dirt can affect the screen’s surface. Additionally, working in a low-humidity environment is preferable, as moisture can make the adhesive sticky and more challenging to remove. This preparation will set you up for success.
Step-by-Step Removal Process
Step 1: Inspect the Screen Protector
Before you begin removing your screen protector, take a moment to inspect its condition. Check for any cracks, scratches, or areas where the protector may have lifted. Understanding how well the protector is adhered to the screen will help you strategize your removal.
If the protector is cracked, be careful when handling it to avoid small shards of glass or plastic from falling onto your iPhone or your workspace. If the protector is still in good condition but simply needs to be replaced, the removal process should be relatively straightforward.
Step 2: Start at a Corner
Begin the removal process at one of the corners of the screen protector. Using your fingernail or the edge of a plastic card, gently pry up the corner. Be cautious and use slow, deliberate movements to avoid damaging the screen underneath.
If the corner doesn’t lift easily, you can use a piece of tape to help. Stick a piece of tape to the corner of the protector, leaving a bit hanging off. Then, gently pull on the tape; this can provide enough leverage to start lifting the protector without damaging the screen.
Step 3: Peel Off the Protector
Once you’ve successfully lifted the corner, continue peeling the protector off slowly. If it’s a tempered glass protector, it may be more rigid and require a steady hand. Keep the angle shallow to prevent stress on the screen underneath.
As you peel, be mindful of any resistance. If the protector feels stuck, avoid pulling too hard. Instead, try to lift it gradually, using the plastic card to assist in getting under the protector if necessary.
Step 4: Clean the Screen
After you’ve completely removed the screen protector, it’s time to clean your iPhone’s screen. Use a microfiber cloth to wipe away any dust or fingerprints left behind. If there’s adhesive residue, dampen a corner of the cloth with a small amount of isopropyl alcohol and gently rub the area until clean.
Ensure the screen is completely dry before applying a new protector. Taking this time to clean will not only improve the look of your device but also ensure a smooth application for any future screen protectors.
Handling Stubborn Protectors
Troubleshooting Difficult Removal
Sometimes, screen protectors can be particularly stubborn. If you encounter difficulties during removal, don’t panic. Instead, assess the situation. If the corners aren’t lifting, double-check that you’re not using excessive force.
If a portion of the protector has become damaged during the process, try to focus on lifting an undamaged corner or edge. Using a plastic card can provide more control and minimize the risk of shattering.
Using Heat for Removal
In cases where the adhesive is exceptionally strong, applying a little heat can help. Use a hairdryer on the lowest setting and hold it a few inches away from the screen protector. The warmth can soften the adhesive, making it easier to lift the protector.
Be careful not to overheat the screen, as excessive heat can damage your device. Aim for a gentle warmth and try to maintain a consistent distance to avoid direct heat exposure.
After Removal: What’s Next?
Inspect Your iPhone
Once the screen protector is removed and the screen is clean, inspect your iPhone for any damage that might have occurred during the process. Look for scratches, cracks, or any other imperfections that may have been hidden by the protector.
If your screen is in perfect condition, congratulations! You can now consider applying a new protector or enjoying the pristine screen. If you notice damage, evaluate whether it affects functionality and if a repair is necessary.
Choosing a New Screen Protector
Now that you’ve successfully removed your old screen protector, you may want to apply a new one. Consider the options available to you, including tempered glass, plastic film, or liquid protectors. Each has its benefits and drawbacks, so choose based on your lifestyle and needs.
- Durability: If you tend to drop your phone often, a tempered glass protector may be the best option for maximum protection.
- Clarity: For those who prioritize screen clarity, look for high-definition plastic protectors or top-quality tempered glass options.
- Ease of Application: Some protectors come with installation kits or features like alignment tabs, making the application process simpler.
Conclusion: The Safe Removal Process
Final Thoughts on Screen Protector Removal
Removing a screen protector from your iPhone doesn’t have to be a daunting task. By understanding the type of protector you have, preparing the right tools, and following a methodical process, you can ensure a safe removal without damaging your device.
Remember, the key is to take your time and work carefully. If you encounter challenges, don’t hesitate to utilize tips like applying heat or using tape to help lift stubborn corners. With practice, you’ll become proficient at removing screen protector, making way for new ones to keep your iPhone screen protected and looking great.