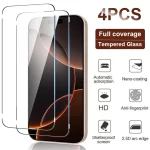
Introduction to Screen Protector Bubbles
Bubbles under screen protectors can be annoying and unsightly. They appear as small air pockets between the screen and the protector. Not only do they spoil your device’s look, but they can also impact the functionality of the protector. Understanding why bubbles form is key to preventing and removing them. This introduction will touch upon the basic knowledge of screen protector bubbles and pave the way for more detailed insights as we progress.
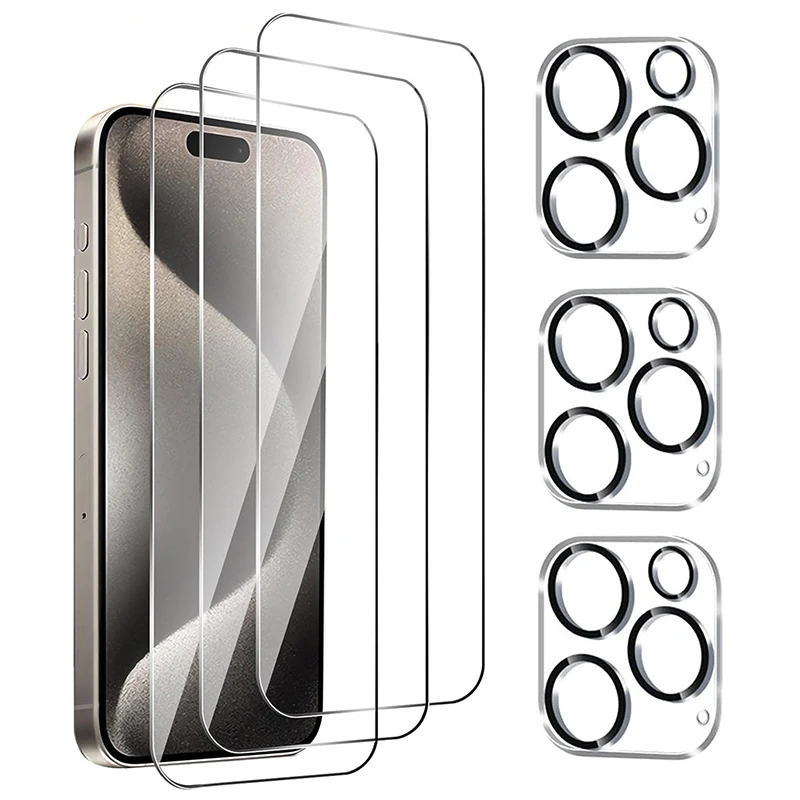
Common Reasons Why Bubbles Appear
Bubbles under a screen protector can arise for several reasons. A main cause is improper application. If not aligned correctly, or if dust and debris are present, bubbles will likely form. The screen must be clean and free of oils from fingers.
Another common reason for bubble formation is pressure. Drops, heavy handling, or intense screen usage can make the screen protector shift. This can cause air pockets to develop. The glue used to adhere the protector can also create voids if it’s not evenly applied.
Materials of the screen protector itself may contribute to bubbles. Some protectors might not be as flexible or have inferior adhesive. This can lead to a less perfect seal and a greater chance for bubbles to occur.
Environmental factors play a role as well. High temperatures can cause the screen protector to expand, creating gaps. Over time, wear and tear can degrade the glue, which increases the risk of bubbling.
Recognizing these common causes can help you avoid bubbles when applying a screen protector. It can also guide you when choosing quality products that are less prone to such issues.
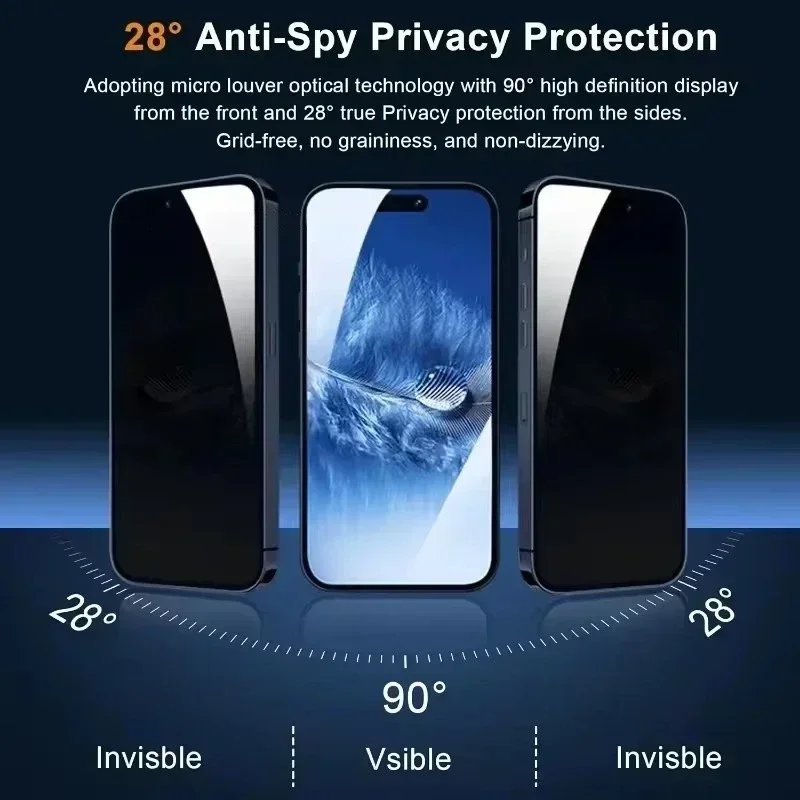
Preparing to Apply a Screen Protector
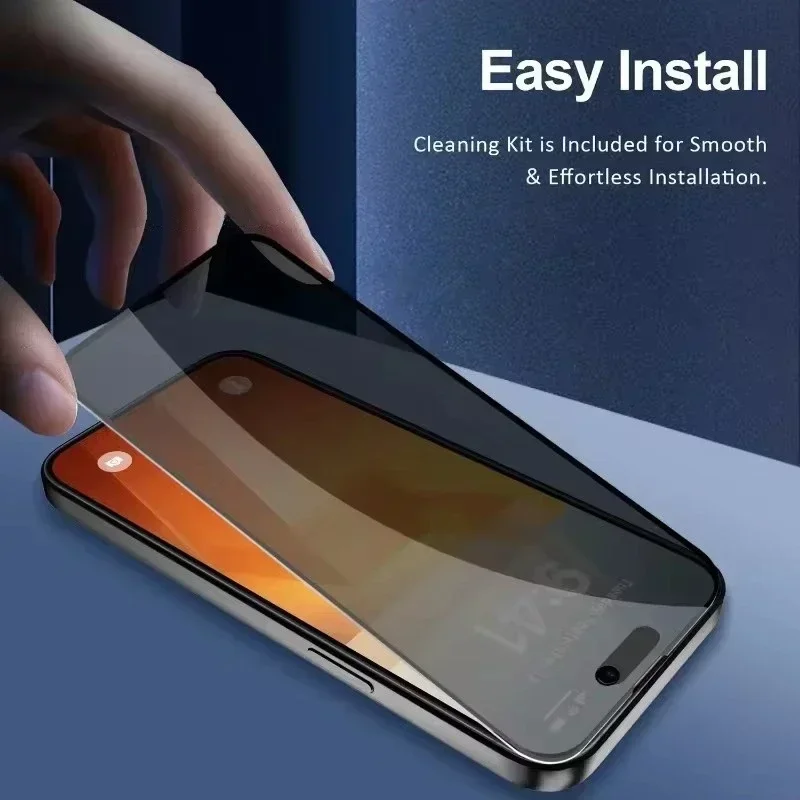
Before you apply a screen protector, it’s essential to prepare. Proper preparation is the key to avoiding bubbles. Start with a clean workspace. Ensure your hands are washed and your device’s screen is free from dust and oils. Use a microfiber cloth and an alcohol wipe to clean the screen thoroughly. Allow it to dry completely.
Next, practice aligning the screen protector with your device before removing its backing. This helps you to know where to place it. It’s better not to need multiple attempts, as repositioning can trap air and form bubbles.
Check the lighting in your room. Good lighting helps you see dust and fingerprints better. Before you peel off the protector’s backing, check for any tiny particles or smudges once more.
Now, carefully remove the backing of the screen protector. Make sure not to touch the adhesive side. Your aim is to have it make contact with the clean screen without trapping air. Align it precisely over your device, and start from one end, slowly applying the protector. As you go, remove any bubbles that start to form.
By following these measures, you significantly minimize the chance of bubbles under your screen protector. Remember, rushing the application process can lead to issues later on.
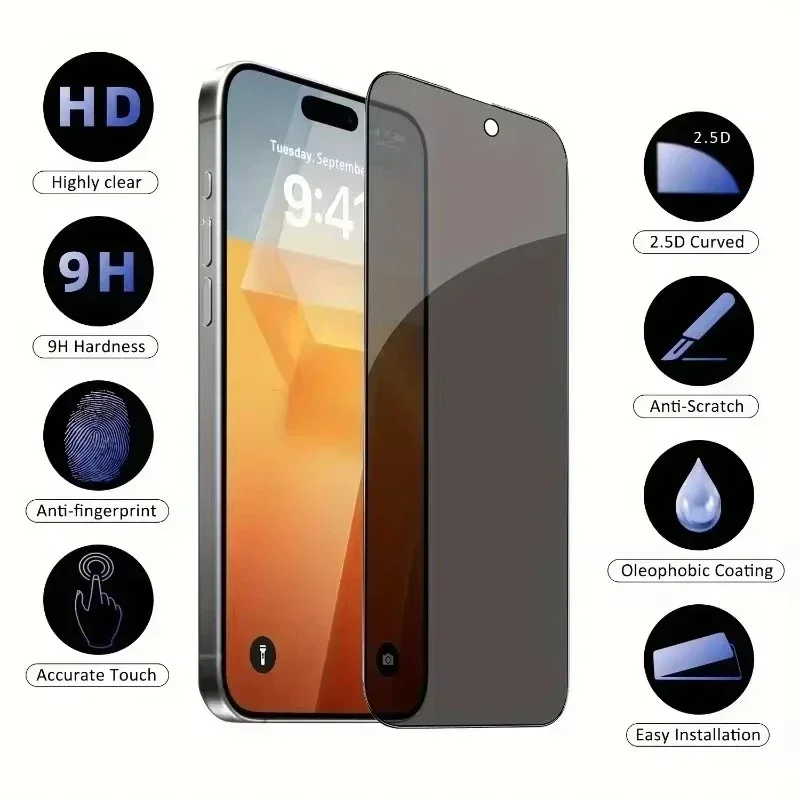
Step-by-Step Guide to Removing Bubbles
Removing bubbles from your screen protector might seem daunting. However, with a systematic approach, you can restore your screen’s sleek appearance. Here are some steps to follow:
Assess the Size and Position of the Bubbles
Start by looking at where the bubbles are and how big they are. Small bubbles near the edges are usually easier to deal with.
Use a Microfiber Cloth
Gently press down on the bubbles with a clean microfiber cloth. Push the bubbles towards the nearest edge of the screen.
Apply a Plastic Card
For more stubborn bubbles, use the edge of a credit card wrapped in a microfiber cloth. Swipe the card across the screen, pushing bubbles to the edges.
Use the Screen Protector’s Squeegee
If your screen protector came with a squeegee tool, use it to smooth out bubbles.
Heat It Up Slightly
Applying a small amount of heat can make the protector more pliable. Use a hairdryer on the lowest setting, but keep it at a safe distance to avoid damage.
Lift the Protector Carefully
If a bubble won’t budge, very gently lift the screen protector edge near the bubble. Use a piece of tape to avoid leaving fingerprints. Press the protector back down smoothly.
Check Your Work
After removing bubbles, inspect the screen again. Ensure you haven’t introduced new bubbles or dust under the screen protector.
By following these steps, you can get rid of bubbles in your screen protector efficiently. Each step should be done with care to avoid damaging your screen protector or device. Remember, patience is vital during this process.
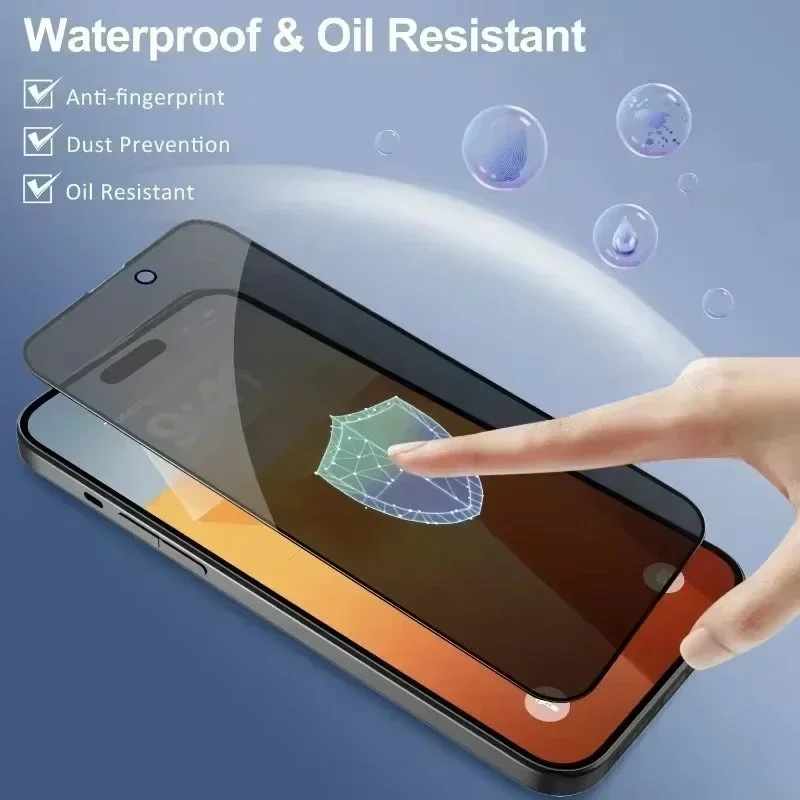
Alternative Methods for Stubborn Bubble Removal
Despite carefully following all the steps to apply a screen protector, sometimes stubborn bubbles remain. These need alternative methods for removal.
Use Tape to Pull Up the Protector
A piece of scotch tape can help lift the edge of the screen protector near the bubble. Pull gently, then press down smoothly as you remove the tape.
Increase Temperature Gradually
Warm up the screen protector with a hairdryer on a low setting. Keep it moving to avoid overheating, and be gentle when pressing out the bubbles.
Try a Rubber Squeegee
If the plastic card doesn’t work, the softer edge of a rubber squeegee might do the trick. Use it to push the air towards the nearest edge.
Ensure Cleanliness with Dust Absorbers
Sometimes, dust is the culprit for stubborn bubbles. Use sticky dust absorbers or tape to remove any particles before retrying the application.
Be Patient and Persistent
Removing stubborn bubbles often requires multiple attempts. Be patient and keep trying gently; rushing can cause more issues.
Remember, proper technique and patience are crucial when dealing with stubborn bubbles in your screen protector. If these methods fail, it might be time to consider replacing the screen protector with a new one.
When to Replace Your Screen Protector
Replacing your screen protector may be necessary in certain circumstances. Recognizing when it’s time for a new one is important for maintaining screen clarity and protection. Here are some signs you need a replacement:
Bubbles That Won’t Budge
Sometimes, no matter how hard you try, you can’t get rid of stubborn bubbles. If persistent bubbles impair your screen view or don’t go away, consider a new protector.
Irreparable Scratches or Cracks
A screen protector’s life ends if it has deep scratches or cracks. These defects can’t be fixed and they reduce the protector’s effectiveness.
Peeling Edges
Glue degradation may cause your protector’s edges to lift or peel. This makes it less adherent and more prone to catching debris.
Loss of Touch Sensitivity
If your device’s touch responsiveness declines, the screen protector might be the culprit. A fresh protector should restore functionality.
Discoloration or Cloudiness
Over time, protectors may discolor or become cloudy. This affects your screen’s visibility and should be addressed with a replacement.
If you notice any of these issues, it’s wise to shop for a new screen protector. Good quality protectors will provide directions for proper application to minimize future bubbles. With proper care and timely replacement, your device’s screen can stay in top condition.
Selecting the Right Screen Protector for Your Device
Choosing the right screen protector is vital for long-term satisfaction and device protection. The market offers an array of options, each suited to different needs. Here are key factors to consider when selecting the screen protector that’s best for your device.
Consider the Material
Screen protectors come in various materials, including tempered glass and plastic film. Tempered glass protectors offer high resistance to scratches and impacts. Plastic film protectors are thinner and more discreet, but less durable.
Assess the Level of Protection
Think about your daily activities and the level of protection you need. If you work in rough conditions or are prone to dropping your phone, a heavier-duty glass protector might be best.
Check the Fit and Compatibility
Make sure the screen protector fits your device model perfectly. A proper fit covers the entire screen without obstructing sensors or cameras.
Read Reviews and Recommendations
Look for feedback from users who’ve purchased screen protectors for your device model. Their experiences can guide you to make a better choice.
Look for Added Features
Some screen protectors come with extra benefits. Consider protectors with anti-glare or privacy filters if that aligns with your needs.
By taking these aspects into account, you’ll find a screen protector that not only gets rid of bubbles but also offers the best defense for your device’s screen. Pair your choice with the knowledge of how to apply and maintain it for optimal results.
Final Thoughts and Best Practices for Screen Protector Maintenance
Maintaining a screen protector is crucial for ensuring your device’s screen remains pristine. By following the advice and tips provided, such as how to get rid of bubbles in a screen protector, not only can you enjoy a bubble-free display, but you can also extend the life of your screen protector. Here are some final thoughts and best practices to keep in mind:
- Regularly Inspect Your Screen Protector: Consistent checks can help spot early signs of wear, bubbles, or dirt.
- Clean Your Screen Gently: Use a microfiber cloth with gentle pressure to remove fingerprints and smudges without damaging the protector.
- Avoid Excessive Heat: High temperatures can warp protectors and create bubbles. Keep your device out of the sun or hot cars.
- Be Cautious with Impact: Dropping your device or applying heavy pressure can cause bubbles and damage. Handle with care.
- Apply Correctly from the Start: Proper application avoids most issues. Follow the instructions and take your time during installation.
- Replace When Needed: Don’t hesitate to replace your screen protector if it has persistent bubbles, cracks, or has lost adhesion.
By implementing these maintenance strategies, you protect not only your screen protector but also the valuable device beneath it. Remember, a little effort in upkeep can prevent the need for frequent replacements and keep your device looking as good as new.
