Introduction to Screen Protector Installation
Installing a screen protector can be a tricky affair, but with the right guidance, it should be trouble-free. The perfect application promises a pristine display without any annoying bubbles. It might feel like you have only one shot at it, and there’s truth to that—misplace a screen protector, and it’s often a waste. But don’t worry, whether it’s tempered glass or a film protector, a smooth application is possible.
The journey to a bubble-free screen begins with proper preparation, which includes having the correct tools and a clean workspace. Mind the environment—it should be free of dust and wind. The device itself must be thoroughly cleaned; even the smallest speck of dust can lead to a pesky bubble. A microfiber cloth generally does the trick for cleaning.
When removing the screen protector from its packaging, know which side will stick to the screen. Some protectors come with helpful tabs or stickers to assist with this. After aligning it precisely, secure it with strips of tape or the stickers provided, if any. Cleaning the screen a second time right before the application is key to ensuring that no new dust has settled.
The application itself must be swift and steady. Peel off the protector’s backing, apply it all at once, and press out any bubbles with a squeegee or card. Bubbles that appear should not contain dust, making them easier to eliminate.
While this introduction sets the stage, the following sections will take you through each step in detail. The goal is a flawlessly protected screen with a clear view onto your digital world.
Required Tools and Materials for a Smooth Application
The right tools make the job easier. For a smooth screen protector application, gather these items beforehand:
- A high-quality microfiber cloth: It’s for cleaning your screen before application.
- Dust removal stickers or tape: Use these to pick up any lingering dust.
- A squeegee or plastic card: You’ll need this to smooth out bubbles on the protector.
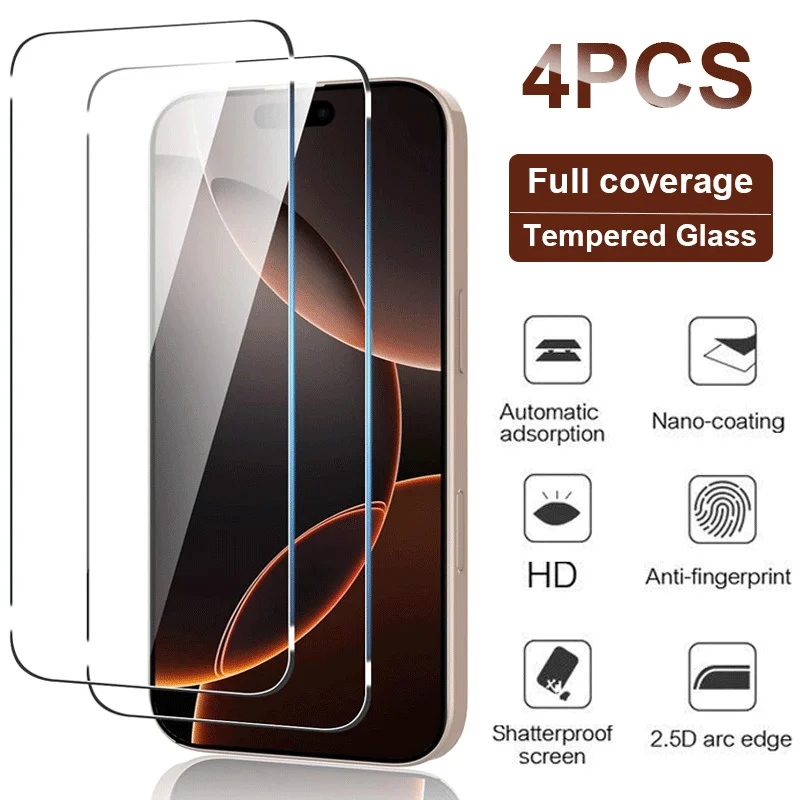
- The screen protector: Choose a quality tempered glass or film product.
- Alcohol wipes (optional): Some people use these for an extra-thorough screen cleaning.
- A dust-free workspace: A clean, indoor environment is ideal.
Make sure your workspace is away from windows or fans that might blow dust onto the screen. Avoid using paper towels or tissues as they can leave residue or lint. Each tool plays a part in ensuring a clean, bubble-free finish. From the gentle cleaning power of the microfiber cloth to the precision of dust removal stickers, each item contributes to the overall effectiveness of the installation.
Preparing Your Device and Work Environment
Before beginning the screen protector application, preparation is critical. Ensure that you have a dust-free area, such as a clean room indoors. Taking the time to prepare your workspace helps prevent dust particles from getting between your device’s screen and the screen protector, which can cause bubbles.
First, remove any case from your device. Use a microfiber cloth to wipe the screen thoroughly, removing fingerprints and smudges. Be gentle but effective, especially in clearing visible debris. While a rough initial clean is good, you’ll need to be more meticulous later in the process.
Remember, avoid using tissues or paper towels for cleaning, as they might leave lint behind. If needed, breathe lightly on the screen to add slight moisture, assisting the removal of stubborn smudges. Alcohol wipes are an optional step for deep cleaning, but not necessary for all installations.
Also, ensure you have all tools and materials nearby. This includes your quality screen protector, microfiber cloth, dust removal stickers or tape, and a squeegee or plastic card. Having everything within reach streamlines the process and reduces the chance of introducing dust during application.
With your tools set and the environment prepared, you’re ready to move on to the precise steps of applying your screen protector. An organized space and clean device surface are the foundations of a successful, bubble-free installation.
Step-by-Step Application Process for Screen Protectors
The process of applying a screen protector can make or break your bubble-free result. Follow these steps carefully to ensure success:
- Positioning the Screen Protector: Begin by aligning the screen protector with your device’s screen. Check for camera and speaker cutouts to guide your alignment. Once in place, use a small piece of adhesive tape or stickers from the package to temporarily secure the protector to your device.
- Peeling Back the Film: Carefully peel back the film from one corner of the screen protector to expose the adhesive side. Avoid touching the adhesive with your fingers to prevent smudges.
- Applying the Protector: Gently place the exposed adhesive onto the screen, starting from one end and gradually applying it towards the other. Be sure to keep the protector aligned as you go.
- Smoothing Out Bubbles: Once placed, use the squeegee or a plastic card to push any air bubbles toward the nearest edge of the screen. Start from the center and move outwards in a firm, yet gentle motion.
- Final Adjustments: After smoothing out bubbles, carefully remove any remaining pieces of tape or stickers. Inspect the screen for alignment and bubble issues. If necessary, carefully lift an edge and reapply to improve the fit.
By precisely following these steps and using the needed tools, you can achieve a clean, bubble-free screen protector application. Remember to take your time and handle each step with care for the best results.
Tips for Aligning the Screen Protector Accurately
The key to a bubble-free screen protector lies in perfect alignment. Here’s how to ace it:
- Work in Good Lighting: Start by choosing a spot with ample lighting. Good visibility is essential for exact alignment.
- Use Guiding Marks: If your screen protector comes with guiding stickers or tabs, use them. They help you line up the protector precisely.
- Check Orientation: Verify the screen protector’s orientation before applying. The camera, speaker, and button cutouts should match your device’s features.
- Start from One End: When you’re ready, peel back part of the adhesive. Align and apply the screen protector from one end, usually the bottom, and slowly move upwards.
- Be Patient: Take your time to adjust the protector’s position. A slight nudge before it fully adheres can mean the difference between perfect fit and misalignment.
- Use the Hinge Method: Apply tape to one side of the protector creating a ‘hinge’. Align it, then swing it down slowly. This helps keep the alignment steady.
By meticulously focusing on alignment and taking these steps seriously, you set yourself up for a successful application with no frustrating misalignment or bubbles.
Effective Techniques for Removing Bubbles
Achieving a bubble-free finish on your screen protector is essential for clear visibility. Here are effective techniques to remove any bubbles:
- Start from the Center: Gently press from the center of the screen protector outward. This helps move bubbles to the edge.
- Use a Squeegee or Card: A credit card works well. Start in the middle and slide towards the edges. Do this with firm, even pressure to push out bubbles.
- Go Slow: Do not rush. Pressing too hard or too quick can damage the protector or your device.
- Tape Trick: Sticky tape can lift a screen’s corner slightly. You can then push bubbles out.
- Be Patient: Some small bubbles disappear within a few days. Wait a bit and check back.
If you find large bubbles or ones that don’t go away, you may need to lift the protector slightly and reapply it. Make sure to clean the screen again before reapplying to remove any dust.
Remember, the key is to work carefully and systematically. With these techniques, you can enjoy a smooth, bubble-free screen protector.
Final Touches and Cleaning After Installation
Once you have successfully applied the screen protector and removed the bubbles, it’s time for the finishing touches. This last step is vital to ensure that your screen looks flawless and your device is ready for use. Here’s how you get there:
- Inspect the Edges: Check all around the edges of the screen protector. Make sure it is securely attached to the device’s screen with no lifting corners.
- Clean the Surface: Use a microfiber cloth to gently wipe the top of the screen protector. This will remove any fingerprints or smudges accumulated during the application.
- Review Alignment: Take a moment to review the alignment of the screen protector. If you notice any misalignment, gently lift and reapply the edge to fix it.
- Check Responsiveness: If your screen protector is over a touch screen, test the screen’s responsiveness. Make sure it reacts correctly to your touches.
- Remove Protective Layer: If your screen protector has a second protective layer, peel it off slowly to reveal the crystal-clear screen.
- Store the Extras: Keep any additional materials, like the microfiber cloth and dust removal stickers, for future use. They may come in handy for touch-ups or reapplications.
Following these steps after installation guarantees that your screen protector is not only bubble-free but also clean and well-maintained. By ensuring that every final detail is addressed, your device is all set for an enhanced, protected viewing experience.

Troubleshooting Common Installation Issues
After applying a screen protector, you might encounter some common issues. Here’s how to address them:
- Dust Particles Underneath: If you spot dust, gently lift the protector near the speck. Use tape to remove the particle, then reapply the protector smoothly.
- Misalignment: For a protector that’s off-center, carefully peel it back. Realign, then press down firmly from the center outward.
- Excess Bubbles: Can’t remove a bubble? Lift the edge of the protector slightly and use a card to push the air out towards the edge.
- Inadequate Responsiveness: Touch screens should work with protectors. If they don’t, ensure the protector aligns correctly and isn’t too thick.
- Edge Lifting: If the protector lifts at the edges, it may be too big. Ensure the protector is the right size for your device.
- Protector Cracks During Installation: Be gentle during application. If the protector cracks, it’s best to replace it with a new one.
These troubleshooting tips can help fix common problems when learning how to put a screen protector on. Stay patient and apply gentle pressure when fixing issues.