Introduction to Power Banks
Power banks have become essential in our always-connected lives. They are portable batteries that store electrical energy, which we can later use to charge electronic devices on the go. With smartphones, tablets, and other gadgets playing critical roles in our daily routines, the need for an uninterrupted power supply is paramount. This is where power banks come into the picture.
There are several types of power banks available, each with its distinct features. Some rely on the sun, while others use wireless technology to charge devices. We will explore these varieties and also dive into the battery science that makes them tick.
In this guide, we take on the adventurous task of crafting a power bank. From choosing the right batteries to piecing together the circuit, we detail every step to empower you to create your own portable power source. Not only can this be a rewarding DIY project, but it can also provide insight into how power storage devices work.
Building a power bank requires careful selection of batteries, understanding circuit assembly, and attention to safety precautions. We provide tips and techniques to ensure your creation is both functional and safe to use. Join us as we embark on this journey into the world of power banks.

Types of Power Banks
Exploring types of power banks opens up a range of options for your DIY project. Let’s look at the primary types available today.
Solar Power Banks
Solar power banks harness sunlight, converting it into electrical energy for charging. They’re eco-friendly and perfect for outdoor enthusiasts.
Wireless Power Banks
Wireless power banks provide the convenience of charging without cables. Devices must support wireless charging to use this type of power bank.
Standard Power Banks
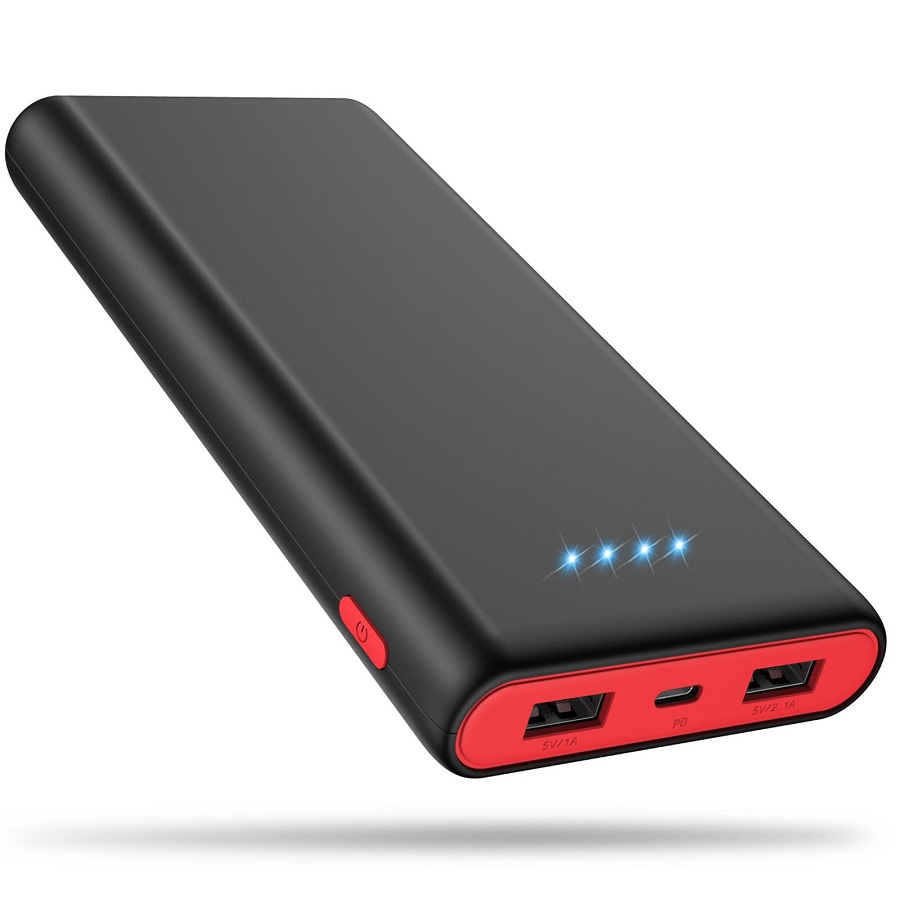
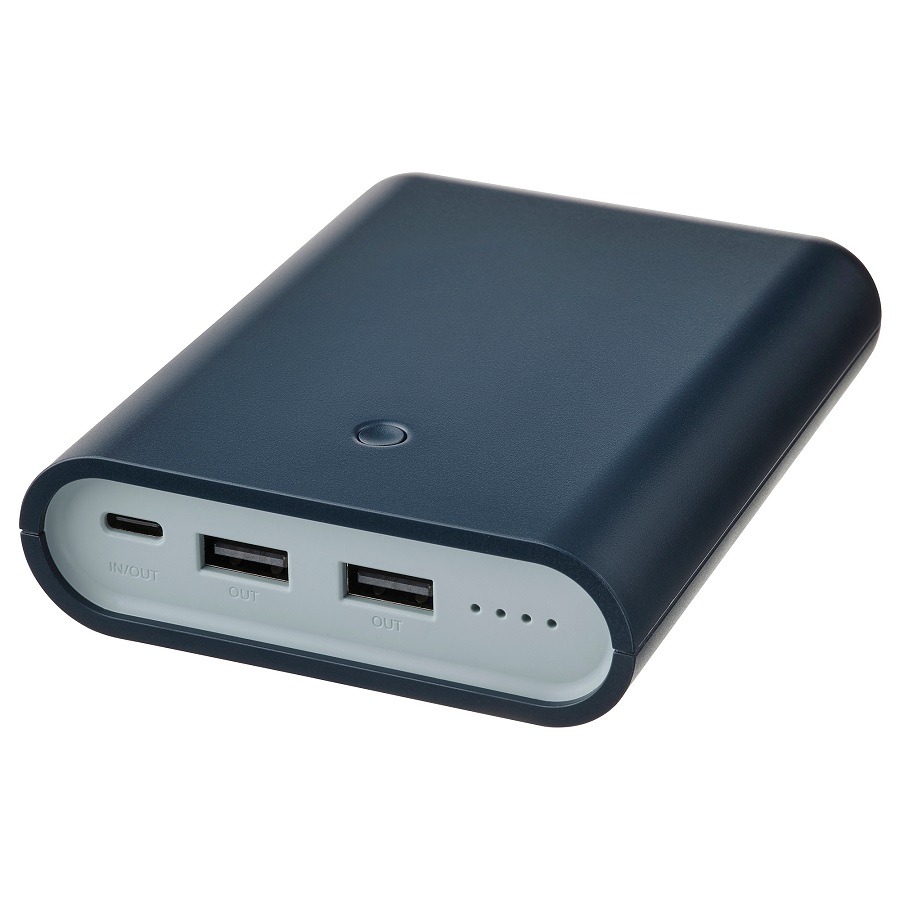
The most common type, standard power banks connect via USB and charge a variety of electronic devices. These are versatile and widely used.
Understanding Battery Technology
To build an efficient DIY power bank, a clear understanding of the batteries is crucial. Battery technology is at the heart of power bank design, influencing charge capacity, safety, and performance.
Lithium-Ion Batteries
Lithium-Ion (Li-Ion) batteries are popular for DIY power banks. They are known for their high energy density, which means they can store a significant amount of energy in a compact space, making them ideal for portable applications. Additionally, they have a low self-discharge rate, so they retain their charge well over time.
When selecting Li-Ion batteries for a DIY power bank, consider their voltage, capacity (usually measured in milliampere-hours or mAh), and discharge rate. Ensure these match your charging needs.
Lithium-Polymer Batteries
Lithium-Polymer (Li-Po) batteries are another option. They are similar to Li-Ion batteries but use a solid polymer electrolyte instead of a liquid one. This allows for thinner, lighter batteries with a possibility of custom shapes.
Li-Po batteries are less prone to leakage since they don’t contain a liquid electrolyte, and they can provide a higher specific energy. However, they usually come at a higher cost and have a more complex charging circuit. When building your power bank, consider if the benefits of Li-Po batteries align with your portability and safety goals.

How Power Banks Work
Understanding how power banks work is essential for anyone looking to build their own. Essentially, a power bank is a portable energy storage device. It draws power from an electrical outlet and stores it in its batteries. Later, this power can be used to charge various electronic devices. The central component of a power bank is its battery. Most commonly, these are lithium-based, such as lithium-ion or lithium-polymer batteries.
Power banks have a charging circuit that manages power flow. It ensures batteries charge safely and efficiently. When a device is plugged in, the circuit delivers power from the batteries to the device. Modern power banks are equipped with smart electronics. These prevent overcharging and overheating. This helps extend the life of both the power bank and the connected devices.
Additionally, power banks come with a USB port or multiple ports. This allows for charging a variety of devices at once. The stored power is transferred to your device through these ports. The amount of energy a power bank can store is denoted in milliampere-hours (mAh). Higher mAh ratings mean more potential charges for your devices.
In summary, power banks work by storing electric energy in their batteries. They then distribute it to other devices on demand. Understanding this process is critical when creating a DIY power bank. It’s important to select the right batteries and components. Doing so ensures safety, efficiency, and effectiveness in charging your devices.
DIY Power Bank Basics
Creating a power bank yourself involves gathering components, building a battery pack, and assembling a charging circuit.
Materials Needed for a DIY Power Bank
To start your DIY power bank project, you need several materials:
- Lithium cells, either 18650 or 21700 type
- A charge control board to manage input and output
- A soldering iron and solder for making secure connections
- Wiring to connect the components
- A multimeter for testing
- Heat shrink tubing or electrical tape for insulation
- A casing to protect and encase the final product
Ensure you have all items before you begin assembling your power bank.
Constructing the Battery Pack
The battery pack is the heart of your power bank. Here’s how to construct it:
- Select identical lithium cells with equal voltage.
- Use a spot welder or solder to connect the cells in parallel or series, based on your desired capacity and voltage.
- Attach a Battery Management System (BMS) for safety and effective charging.
Understanding how to arrange your cells is key to a high-functioning power bank.
Assembling the Charging Circuit
Assembling a safe and effective charging circuit involves a few critical steps:
- Solder the BMS to your battery pack’s positive and negative terminals.
- Connect the charge control board to the BMS.
- Attach USB ports to the charge control board for output.
- Use the multimeter to check all connections for safety.
Making sure the circuit is assembled correctly will ensure your power bank charges efficiently.
Step-by-Step Guide to Building Your Power Bank
Now, let’s dive into the hands-on part of building your DIY power bank. The process may seem complex, but I’ll break it down into manageable steps. Following these steps will guide you through creating a power bank tailored to your needs.
Step 1: Gather Materials and Tools
Begin by collecting all necessary items for your power bank. You will need:
- Lithium cells (18650 or 21700 type)
- A charge control board
- A soldering iron and solder
- Appropriate wiring
- A multimeter
- Heat shrink tubing or electrical tape
- A protective casing
Remember, having the right tools and materials is crucial for a successful project.
Step 2: Assemble Your Battery Pack
Carefully connect your chosen lithium cells. You can wire them in parallel for more capacity or in series for higher voltage. Secure connections are essential, so consider using a spot welder or soldering. Once connected, attach a Battery Management System (BMS) for safe operation.
Step 3: Solder the Charging Circuit
Now, solder the BMS to your battery pack’s terminals. Next, connect the charge control board to the BMS, and then solder the USB ports to the board. These ports will serve as the output for your power bank.
Step 4: Test the Power Bank
It’s crucial to test your power bank to ensure it functions properly. Use the multimeter to check each connection. Look for any issues before proceeding to the final step.
Step 5: Encase Your Power Bank
The final step is to protect your creation. Place your power bank inside a casing, ensuring all components are secure. Insulation is key to preventing short circuits and possible hazards.
By following these steps, you create a customized power bank. You ensure its safety, capacity, and reliability. Get ready to enjoy the convenience of your very own power source.

Charging and Maintenance of DIY Power Banks
To keep your DIY power bank at peak performance, proper charging and maintenance are vital.
Charging Your DIY Power Bank
To charge your DIY power bank:
- Connect it with the provided cable to a power source.
- Use a charger with the correct voltage and current for your batteries.
- Charge until the indicator shows it’s full; do not overcharge.
Overcharging can harm lithium cells, so a control board with protection circuits is a must. Such boards manage the flow and cut off when the battery is full.
Maintaining Your DIY Power Bank
Keep your power bank working well with these tips:
- Store it in a cool, dry place away from sunlight.
- Avoid draining the battery completely; charge it before it’s empty.
- Clean the ports gently with a soft cloth to remove dust.
- Charge it every few months if you’re not using it regularly.
- Keep an eye on battery health, and replace worn-out cells promptly.
Regular check-ups can prevent many issues. If you notice any swelling, leakage, or odd behavior, stop using the power bank immediately. Safety comes first, always.
By charging correctly and maintaining your power bank, you ensure its longevity. Remember, proper care now can prevent problems later. Charge wisely, maintain regularly, and enjoy the convenience safely.
Safety Considerations When Building Power Banks
When constructing a DIY power bank, safety is paramount. Here are essential safety tips to follow:
Choose Quality Components
Select high-quality batteries and circuitry. Poorly made parts can cause fires or injuries.
Use a Battery Management System
Incorporate a BMS to prevent overcharging and short circuits. This protects you and extends battery life.
Insulate and Protect Connections
Cover all connections with heat shrink tubing or electrical tape. This prevents shorts and ensures safety.
Avoid Overheating
Work in a well-ventilated area. Batteries can overheat, posing a risk of combustion.
Test Thoroughly
Always check your power bank with a multimeter. Ensure voltages and connections are correct before use.
Keep Away from Water
Water can cause shorts and corrosion. Keep your power bank in a dry place at all times.
Monitor During Charging
Watch your power bank when charging. Unplug if it gets too warm or shows any signs of distress.
Regular Safety Checks
Do regular inspections. Look for any damage or changes like bulging or leaks.
Following these safety steps can help avoid accidents. Be diligent and careful to enjoy your DIY power bank safely.
Conclusion: The Benefits of a DIY Power Bank
Creating your own power bank has many advantages. First, it gives you control over the design and capacity. You can choose the size and the number of battery cells. This allows you to make a power bank that fits your specific needs. Whether you need a compact power source for daily use or a larger one for extended trips, it’s up to you.
Second, understanding how power banks work deepens your knowledge of electronics. It’s an educational experience that can spark interest in further DIY projects. Plus, you get a custom power bank at a potentially lower cost than commercial options.
Third, by selecting quality components and assembling them with care, you create a durable item. This can outlast off-the-shelf ones that may use cheaper materials. Building your own means you can replace parts if needed, extending its life.
Finally, a homemade power bank can be more eco-friendly. You can reuse cells from old devices, reducing waste. You also avoid the environmental impact of manufacturing and shipping a new product.
The time and effort you put into a DIY power bank pay off. Not only do you end up with a practical and personalized charging solution, but you also gain valuable skills and contribute to sustainability.


