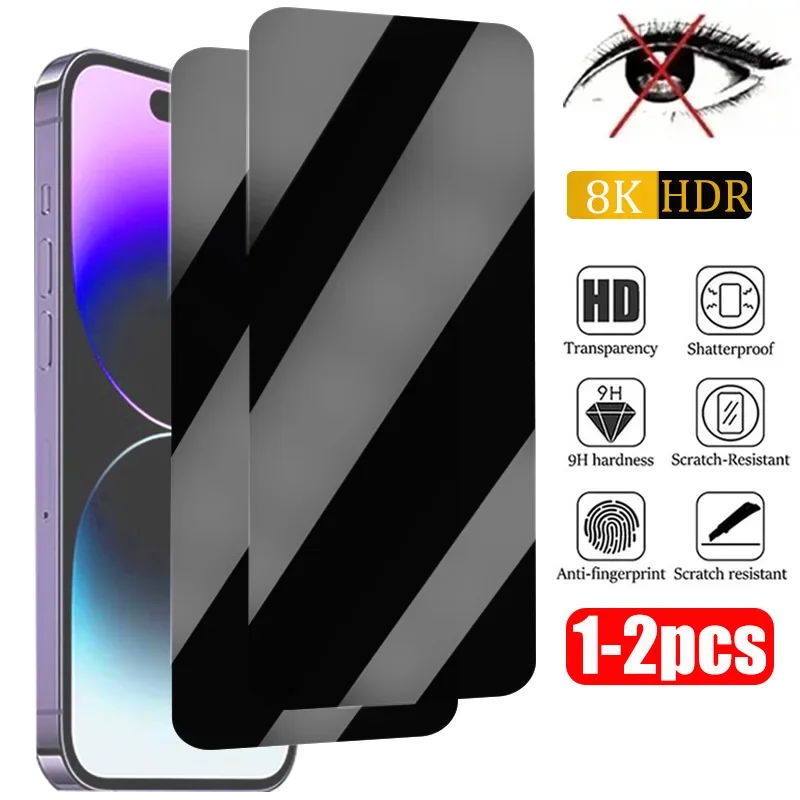
Applying a screen protector to your device can seem like a daunting task, but with the right approach and techniques, it can be done easily and effectively. This guide will provide you with a comprehensive, step-by-step process to ensure a smooth, bubble-free application. Whether you’re using a tempered glass protector or a film-based one, these tips will help you achieve professional results.
Understanding Screen Protectors
What Is a Screen Protector?
A screen protector is a thin layer of material designed to protect the display of your device from scratches, smudges, and other types of damage. They come in various forms, including tempered glass, PET film, and TPU film. Each type has its own advantages and disadvantages, making it essential to choose one that suits your needs.
Types of Screen Protectors
- Tempered Glass: Known for its durability and high level of protection, tempered glass screen protectors are made from heat-treated glass. They offer excellent clarity and feel similar to the original screen.
- PET Film: A more flexible option, PET film protectors are thinner and less visible than glass. They offer basic protection against scratches but may not withstand drops as well.
- TPU Film: This type is slightly thicker and offers good protection against scratches and minor impacts. TPU is self-healing, meaning it can recover from minor scratches over time.
Understanding the differences can help you select the best protector for your device and lifestyle.
Preparing for Installation
Gather Your Supplies
Before you begin, gather all the necessary supplies to make the installation process smooth and efficient. You’ll need:
- A screen protector compatible with your device.
- A microfiber cloth for cleaning the screen.
- An alcohol wipe or screen cleaner to remove oils and dust.
- A dust-removal sticker (usually included with the protector).
- A credit card or similar object for smoothing out air bubbles.
Having these items on hand will ensure that you don’t have to stop midway through the process, which can lead to mistakes or dust contamination.
Clean Your Workspace
Find a clean, well-lit workspace to apply your screen protector. A clutter-free area reduces the likelihood of dust settling on the screen while you work. Ideally, choose a location with minimal air movement to prevent dust from swirling around.
Make sure your hands are clean as well. Wash them thoroughly to remove oils and dirt, which can transfer to the screen and disrupt adhesion. If possible, consider working in a bathroom after running a hot shower, as the steam can help settle dust in the air.
Cleaning the Screen
Importance of a Clean Screen
The key to a successful screen protector installation lies in the cleanliness of your device’s screen. Any dust, fingerprints, or smudges can cause bubbles or affect the adhesion of the protector. A clean surface ensures that the screen protector sticks properly and performs as intended.
Cleaning Steps
- Use an Alcohol Wipe: Start by using an alcohol wipe to clean the screen. This will remove oils and residues that regular cloths might miss. Wipe in a circular motion to cover the entire surface evenly.
- Follow Up with a Microfiber Cloth: After cleaning with the alcohol wipe, use a microfiber cloth to polish the screen and remove any remaining moisture. Make sure there are no streaks left behind.
- Inspect for Dust: After cleaning, inspect the screen for any dust particles or fingerprints. Use the dust-removal sticker to pick up any remaining debris. It’s crucial to ensure that the screen is spotless before proceeding.
Aligning the Screen Protector
Understanding Alignment
Correct alignment is crucial for a successful installation. Misalignment can lead to an uneven application, leaving parts of the screen exposed or causing issues with touch sensitivity.
Steps for Proper Alignment
- Check Orientation: Before peeling off the backing of the screen protector, determine the correct orientation. Most protectors will have a small notch or cutout for the front camera or home button that indicates how it should be placed.
- Position the Protector: Without removing the backing, hold the protector above the screen to visualize its placement. Ensure that it aligns perfectly with the edges of the screen.
- Mark the Position: If you’re concerned about shifting during installation, you can lightly mark the edges of the protector on the screen with a pencil or a small piece of tape. This gives you a reference point to return to if needed.
Applying the Screen Protector
Peeling Off the Backing
Once you’re confident in the alignment, it’s time to peel off the backing. This step needs to be done carefully to avoid touching the adhesive side, which can introduce oils or dust.
- Start from One Edge: Gently lift one edge of the screen protector, being careful not to touch the adhesive surface. It’s usually easiest to start from one corner.
- Avoid Touching the Adhesive: As you peel the backing away, try to keep your fingers to the edges of the protector. This minimizes the risk of getting fingerprints on the adhesive.
Positioning the Protector
With the backing removed, lower the screen protector onto the screen, starting from one edge. Align it with your previously marked points or with the edges of the screen.
- Lower Slowly: Take your time when placing the protector down. Start from one edge and gradually lower it onto the screen, allowing it to fall into place.
- Do Not Force It: If you notice any misalignment after placing the protector, do not force it. Instead, gently lift it back up and re-align it carefully.
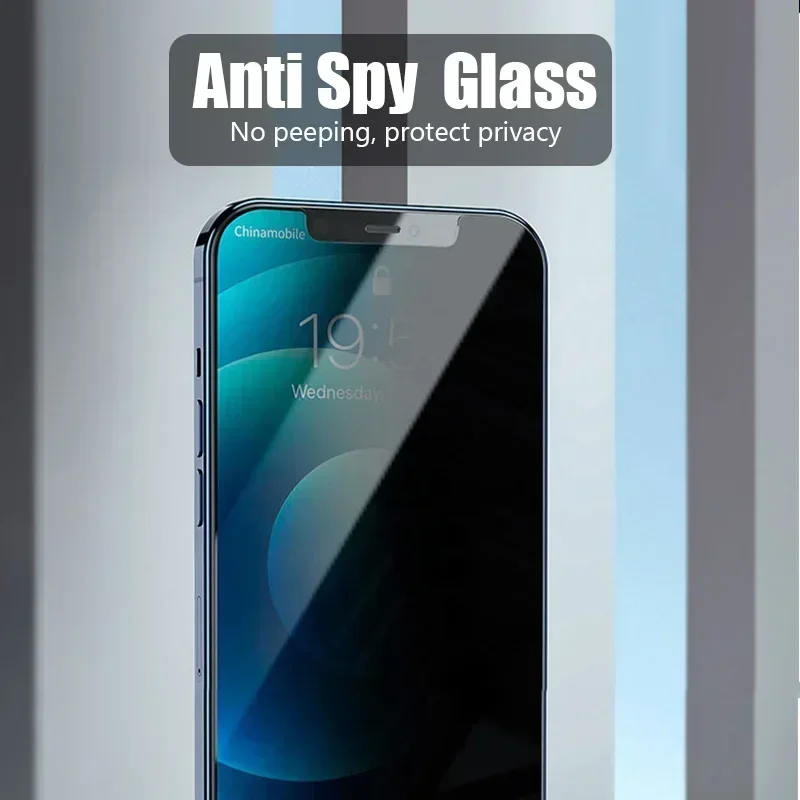
Removing Air Bubbles
Why Air Bubbles Form
Air bubbles can occur during the application process, particularly if the screen protector isn’t placed evenly or if dust particles get trapped underneath. Removing these bubbles is essential for both aesthetics and touch sensitivity.
Bubble Removal Techniques
- Use a Credit Card: Once the protector is in place, take a credit card or a similar object and gently push any air bubbles toward the edges of the screen. Start from the center and work your way outwards.
- Apply Pressure: Use moderate pressure while smoothing out the bubbles. Be careful not to press too hard, as this might crack a tempered glass protector or displace the adhesive.
- Repeat if Necessary: If bubbles remain after the first pass, try repeating the process. Sometimes, a little patience is required to achieve a bubble-free finish.
Final Touches and Inspection
Checking for Imperfections
After smoothing out the bubbles, take a moment to inspect the screen protector for any imperfections. Look for dust particles that may have been trapped and any areas that may not have adhered properly.
- Examine the Edges: Check the edges of the screen protector to ensure it has adhered fully and that there are no gaps.
- Address Any Issues: If you spot dust or imperfections, you may need to carefully lift the protector again, clean the area, and reapply. This may require patience, but it’s worth it for a perfect finish.
Allowing Adhesive to Set
After confirming that the protector is applied correctly, allow it some time to set. Most manufacturers recommend not using your device immediately after installation to let the adhesive bond fully.
- Follow Manufacturer’s Guidelines: Check if the screen protector comes with specific instructions regarding the setting time. This can vary based on the type of protector.
- Avoid Touching the Edges: During the initial setting time, try to avoid touching the edges of the screen protector to ensure it adheres well.
Maintenance Tips for Your Screen Protector
Regular Cleaning
To maintain the clarity and effectiveness of your screen protector, regular cleaning is essential. Dust, fingerprints, and smudges can accumulate over time, affecting visibility and touch responsiveness.
- Use the Right Cleaning Products: Use a microfiber cloth and, if necessary, a screen-safe cleaner. Avoid using harsh chemicals, as they can damage the screen protector or the device’s screen.
- Wipe Gently: When cleaning, wipe gently in a circular motion to avoid scratching the surface. This will keep your protector looking new while ensuring it remains functional.
Replacing the Screen Protector
Screen protectors are not permanent, and over time, they may get scratched or lose their effectiveness. Knowing when to replace your screen protector is crucial for maintaining device protection.
- Monitor for Damage: Regularly check for scratches, cracks, or lifting edges. If the protector has visible damage, it’s time to replace it.
- Follow the Removal Process: When you decide to replace the screen protector, carefully lift it from one edge using your fingernail or a card. Remove it slowly to avoid damaging the screen beneath.
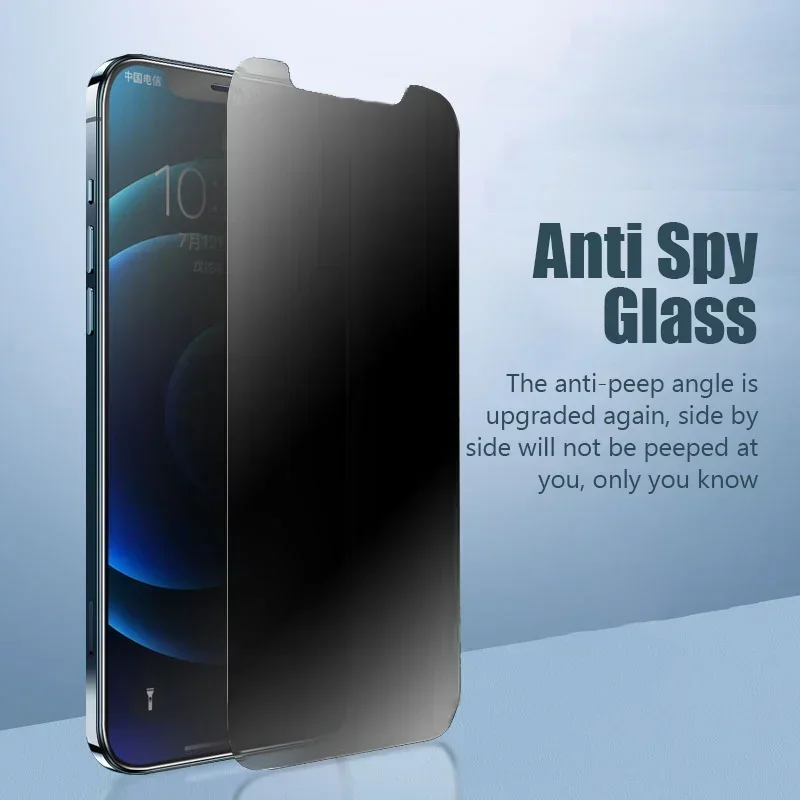
Conclusion
Putting on a screen protector may seem complicated, but with this step-by-step guide, you can achieve a flawless, bubble-free application. By preparing properly, cleaning thoroughly, aligning carefully, and addressing any air bubbles, you can protect your device’s screen effectively. Remember to maintain your screen protector with regular cleaning and be aware of when it’s time to replace it. With these tips, your device will remain protected and looking great for years to come.
