Causes of Bubbles Under Screen Protectors
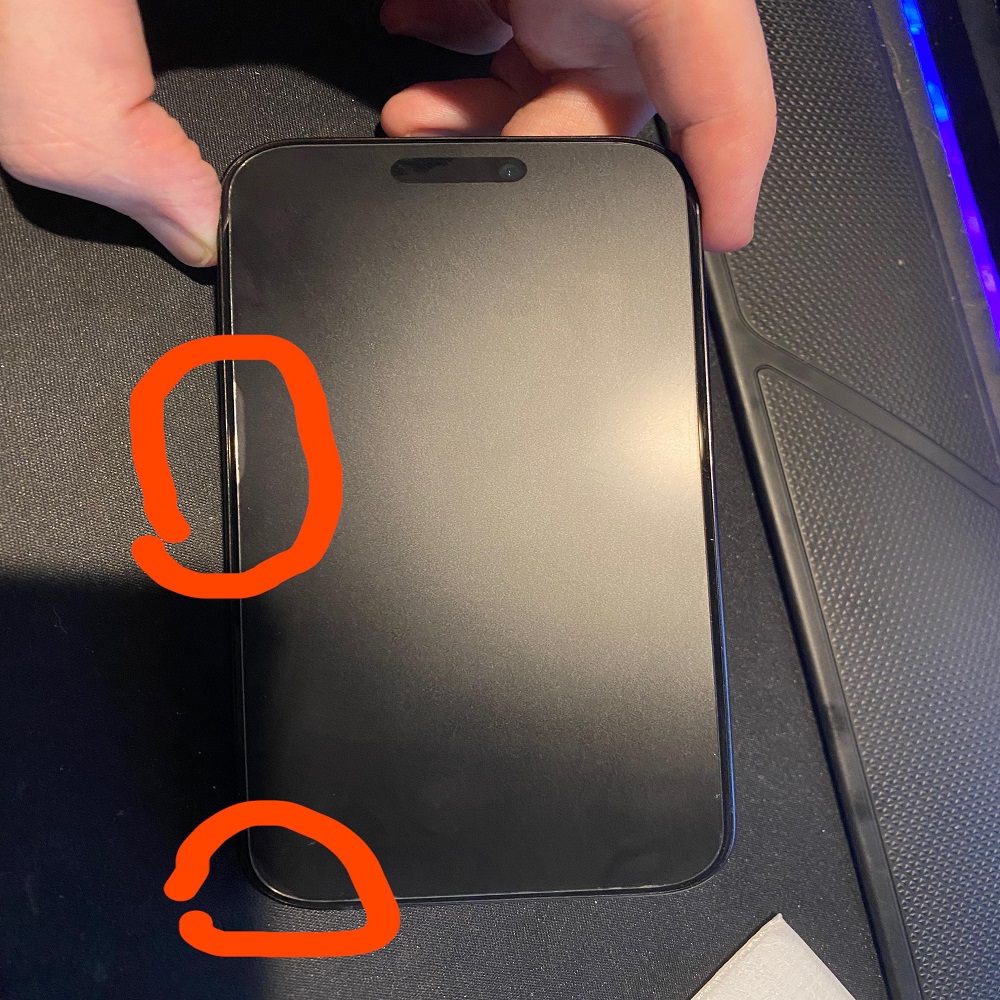
Bubbles under screen protectors can be a hassle. They can form at any time and ruin the sleek look of your device. More than just an eyesore, they can also weaken the protector’s effectiveness.
Varieties of Screen Protectors and Their Vulnerabilities
Screen protectors come in many types. Some offer privacy, while others focus on preventing scratches. However, each kind has its weak points. A common issue is that air gets trapped during the application, leading to bubbles.
Common Installation Errors Leading to Bubbles
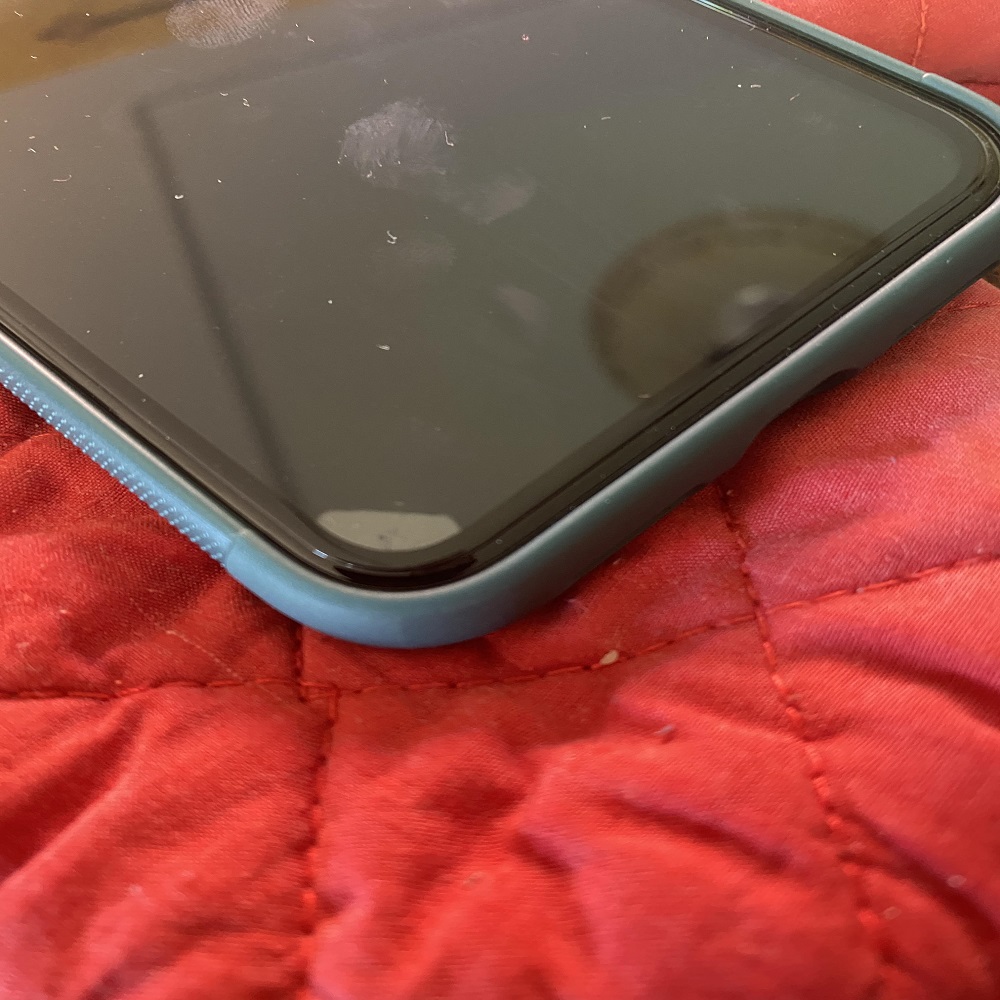
Wrong installation often causes bubbles. It can happen if the screen is dirty or if we don’t align the protector well. Even small bits of dust or oil from fingers can prevent a tight seal and create bubbles.
Environmental Factors and Wear Over Time
Screen protectors can also suffer from daily wear and tear. Drops or heavy pressure on the screen may cause the protector to shift and form bubbles. Over time, the glue holding the protector can weaken, which makes bubbles more likely.
Preparation Before Installation
Proper preparation is crucial to installing a screen protector without bubbles. Here’s how to set up your workspace and prepare both your phone and yourself for the process.
Importance of a Clean Working Environment
A clean working environment is essential to prevent dust and debris from getting trapped under the screen protector. Choose a dust-free area and lay down a clean cloth to work on. Ensure the space is well-lit so you can see even the smallest speck of dust.
Ensuring Proper Screen and Hands Cleaning
Before you begin, wash your hands with soap to remove oils and dirt. Using the alcohol pad provided with your screen protector, clean your phone’s screen thoroughly. Make sure the screen is completely dry and free of fingerprints and dust before you start the application. This step is critical for ensuring a perfect, bubble-free installation.
Step-by-Step Installation Guide
Installing a screen protector correctly is crucial to avoid bubbles. Follow these steps to ensure a smooth, bubble-free application.
Aligning the Screen Protector Correctly
First, remove any existing screen protector from your device. Hold the new screen protector from the edges and carefully peel off the protective backing. Position the screen protector over the device screen. Align it carefully with the edges of the screen. Ensure it matches the speaker, camera, and home button cutouts precisely. Once properly aligned, lightly place the protector on the screen without pressing it down.
Techniques to Form a Proper Seal
Begin at one end of the screen protector and slowly apply gentle pressure with your fingers. Use a credit card or a similar tool to smooth out the protector from the center to the edges. This technique helps eliminate any potential air pockets forming beneath the surface. Work slowly and steadily to ensure no dust particles or fibers get trapped. If a bubble forms, immediately lift the nearby area slightly and smooth it out again. A proper seal ensures that your screen protector adheres securely, providing optimal protection against scratches and impacts. If you notice any misalignment, lift the protector gently, realign, and start the process again. Adhering to these steps will help you get the best results from your screen protector installation.
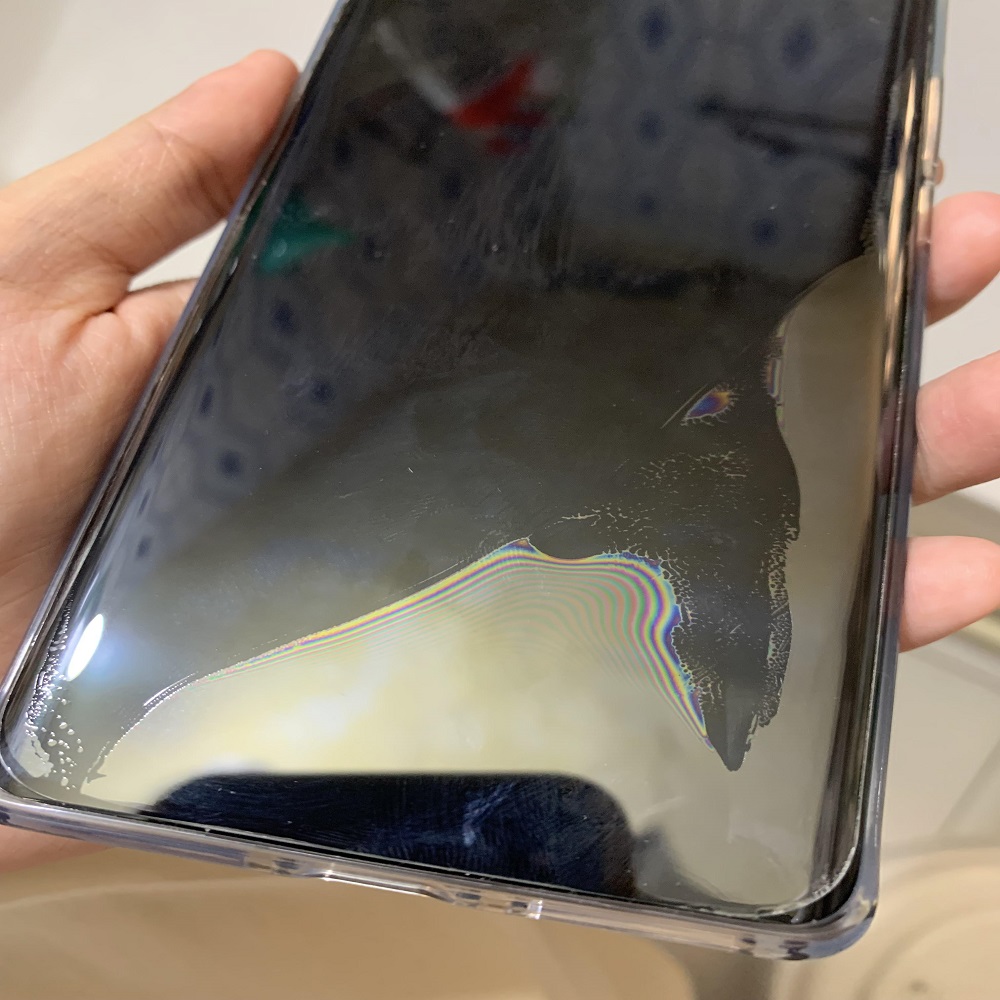
Effective Methods to Remove Bubbles
Removing bubbles from screen protectors can enhance both appearance and functionality. Here’s a couple of effective methods to assist you in eliminating those pesky air pockets.
Using a Plastic Card to Remove Bubbles
A common and effective way to remove bubbles is using a plastic card, like a credit card. Start by ensuring the card is clean and free of any debris. Gently press the card against the bubble and slowly push it towards the nearest edge of the screen. This should gradually move the air out without damaging the Screen Protector Bubbles. Remember to push the bubbles slowly; rushing can create more bubbles or misalign the protector.
Techniques for Handling Edge Bubbles
Sometimes, bubbles form along the edges and are trickier to remove. Here, a different approach is required. Very gently lift the nearby corner of the screen protector, being mindful not to touch the adhesive with your fingers as oils can worsen the issue. Use a thin piece of plastic, not metal, to lift it slightly—just enough so that you can smooth out the bubble underneath with your plastic card. Once aligned properly, press it back down carefully to reseal it to the screen.
These methods should help you tackle most common bubble issues with your screen protector. Remember, patience and precision are your best tools here.
When to Replace a Screen Protector
Even with effective bubble removal methods, there comes a time when you might need to replace your screen protector. Recognizing when a replacement is necessary can save your device’s screen from damage and maintain its functionality.
Signs That Indicate Replacement is Needed
Here are some clear indicators that it’s time to replace your screen protector:
- Persistent Bubbles: If bubbles reappear soon after you remove them, the adhesive might be failing.
- Scratches or Cracks: Visible scratches or cracks reduce the effectiveness of your screen protector.
- Peeling Edges: When the edges of the protector start peeling off, it’s less likely to stay on the device.
- Discoloration or Cloudiness: Any change in clarity, such as cloudiness or yellowing, impairs visibility.
These signs suggest that your screen protector isn’t offering the best protection anymore. It’s wise to consider a replacement to ensure ongoing screen safety.
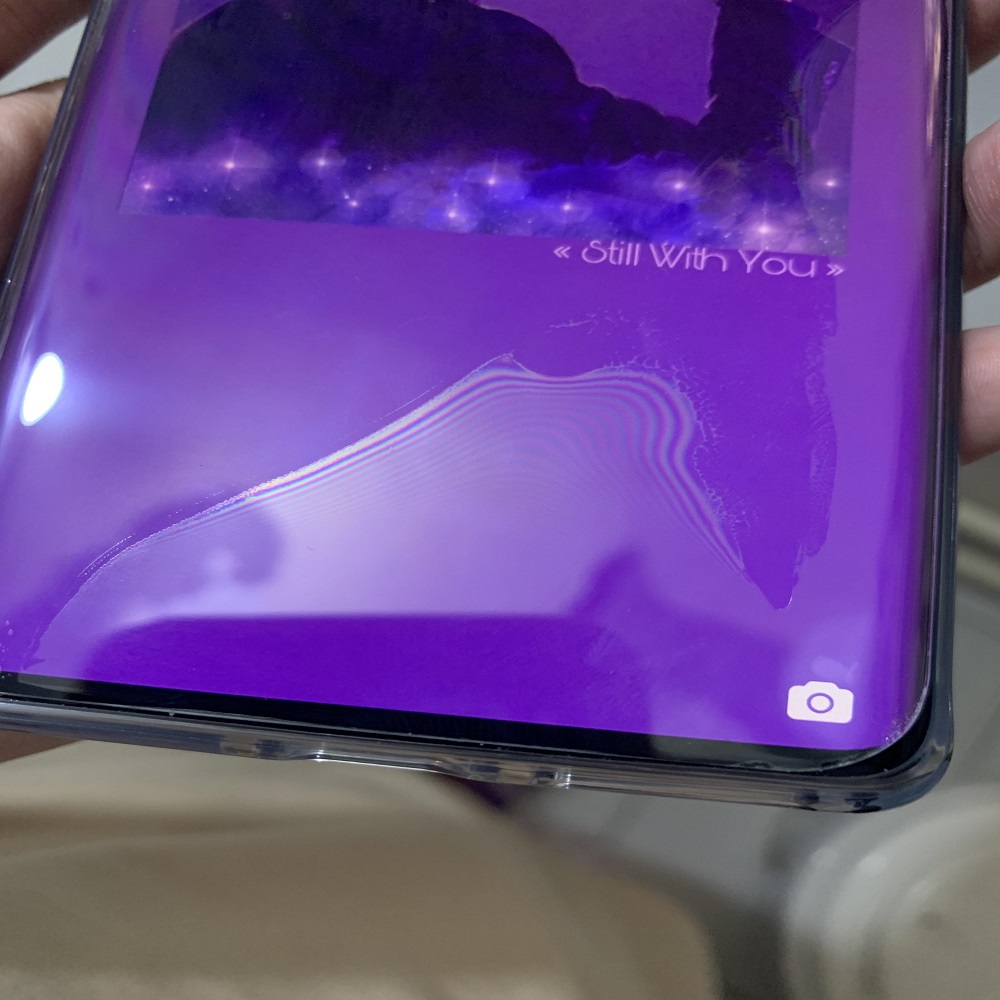
Choosing the Right Screen Protector
Selecting the right screen protector involves several factors:
- Material: Choose between tempered glass or plastic based on your preference for feel and level of protection.
- Compatibility: Ensure the protector fits your device model perfectly. Incorrect sizes can cause bubbles.
- Features: Consider additional features like privacy filters or anti-glare properties based on your needs.
- Brand Reputation: Opt for brands with positive reviews and proven track records for durability.
By following these guidelines, you can select a screen protector that not only fits your device perfectly but also offers the best protection.
Tips on Preventing Future Bubbles
To keep your screen protector bubble-free, follow these tips. They can help extend the life of your screen protector.
Best Practices for Long-term Maintenance
- Keep Your Device Clean: Regularly clean your device’s screen with alcohol wipes. Avoid touching it with dirty hands.
- Apply Carefully: When installing a new protector, do it in a dust-free area. Take your time to align it right.
- Use Quality Protectors: Invest in high-quality screen protectors. They often have better adhesive and are less prone to bubbling.
- Check Edges: Make sure the protector’s edges are sealed. Press them down firmly after installation.
- Avoid Pressure: Don’t press too hard on the screen. This can cause the protector to shift and form bubbles.
Useful Tools and Resources
- Microfiber Cloths: Use these to clean your device without leaving lint.
- Squeegee Card: This tool helps push out air bubbles smoothly.
- Dust Absorber Sticker: It picks up any dust before you apply the screen protector.
- Installation Kits: Some kits come with all the tools you need for a perfect fit.
Preventing bubbles is easier when you have the right tools and follow best practices. Keep your screen looking great by taking these preventative steps.
