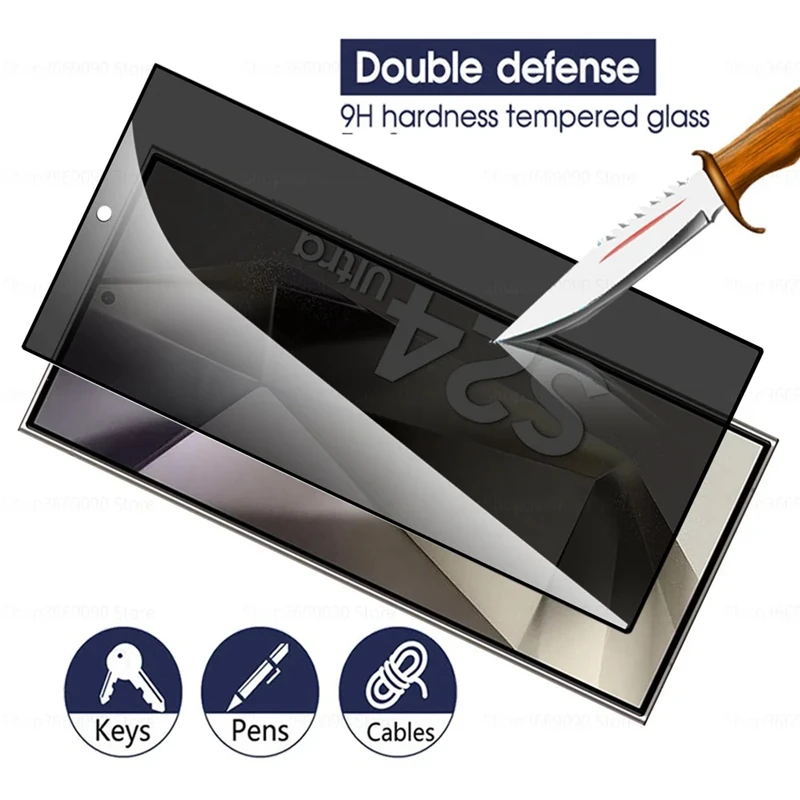
Applying a screen protector can make a world of difference in maintaining the integrity and functionality of your mobile device. However, it’s not uncommon for bubbles to form during the application process, leading to a less-than-perfect finish. In this article, we will delve into effective tips and tricks for fixing bubbles in your screen protector to achieve a flawless look and functionality.
Understanding the Cause of Bubbles
What Causes Bubbles During Application?
Screen protectors can develop bubbles for various reasons during the application process. One of the main causes is improper installation. If the screen protector is not aligned correctly or if dust and dirt get trapped between the screen and the protector, air can become trapped, resulting in bubbles. Additionally, environmental factors, such as humidity or temperature, can also contribute to bubble formation. Understanding these causes is the first step toward effectively fixing the problem.
The Importance of a Dust-Free Environment
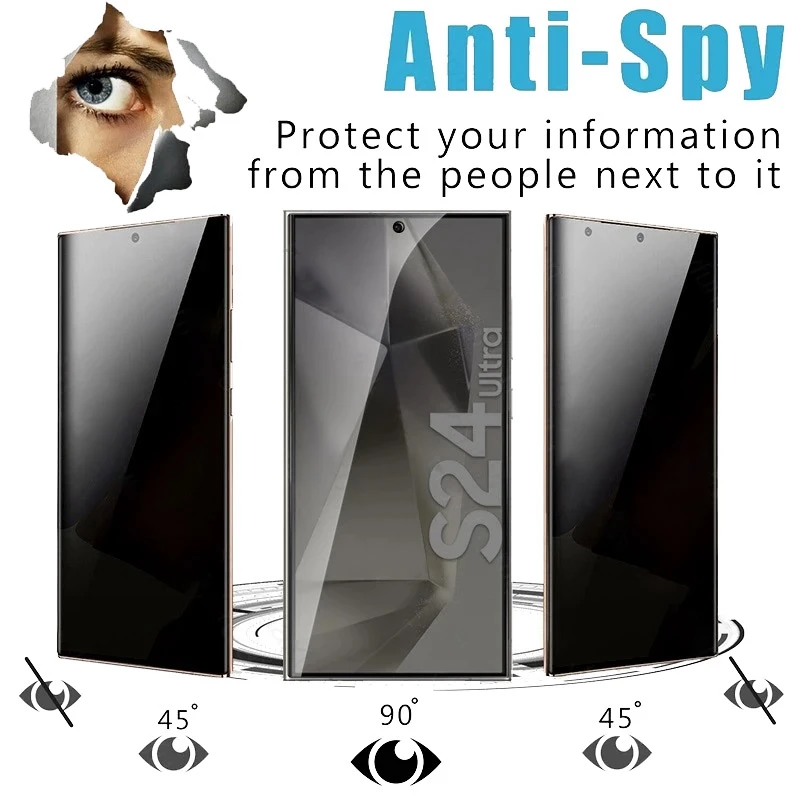
Reducing bubble formation begins with ensuring a clean and dust-free environment when applying your screen protector. Dust particles can easily interfere with the adhesion of the screen protector to your device. It’s advisable to apply the screen protector in an area with low dust activity, such as a bathroom after a hot shower, as the steam can help settle dust particles in the air. Taking time to prepare the area helps minimize the risk of air bubbles forming in the first place.
Pre-Application Preparation
What You Need Before Application
Before tackling the application of a screen protector, gather the necessary tools to ensure the best outcome. You will need cleaning wipes, microfiber cloths, and a credit card or similar object to smooth out bubbles. Additionally, having a lint-free environment will further prepare you for successful application. Having everything readily at hand will allow you to focus solely on the task without distractions or interruptions.
Cleaning Your Device Thoroughly
Properly cleaning your device’s screen cannot be overstated. Use an alcohol-based cleaning solution along with a microfiber cloth to wipe away any fingerprints, smudges, or dust particles on the screen. This step ensures that the surface is prepped for maximum adhesion, which helps in preventing bubbles. Pay special attention to the corners and edges; these areas are often neglected but are crucial for proper adhesion.
The Application Process
Step-by-Step Guide for Applying the Screen Protector
The moment has arrived to apply the screen protector. First, ensure your hands are clean and free of oils. Peel off the backing on the protector and carefully align it with your screen, starting from one end to avoid trapping air. Slowly lower the protector onto the screen while using your other hand to guide and keep it straight. Once in place, gently press down on the center of the protector, allowing it to adhere.
Smoothing Out Initial Bubbles
Once the screen protector has settled, you may notice small bubbles forming beneath it. Use a credit card or another flat object wrapped in a microfiber cloth to gently push the bubbles toward the edges of the screen. Start smoothing from the center and work your way outwards to prevent further bubbles from forming. Use a light and even pressure; too much force can break the protector or damage the screen underneath. Smoothing out these bubbles immediately after application is easier than trying to fix them later.
Dealing with Persistent Bubbles
Assessing the Bubble Situation
After you’ve finished applying and pressing out visible bubbles, take a good look at your protector. Some bubbles may persist even after smoothing. Assess their size and location; smaller, less noticeable bubbles can often be ignored, while larger bubbles may require additional attention. If the bubbles are not interfering with the visibility or touch sensitivity of your device, it may be best to leave them be.
Using Heat to Release Bubbles
A common trick for easing stubborn bubbles is to apply a gentle source of heat. Using a hairdryer on the lowest setting, hold it approximately 6-8 inches away from your device. Lightly go over the area with bubbles, being careful to avoid overheating, which can damage the screen or the protector. The heat causes the adhesive to soften, making it easier to push bubbles out. Once warm, use the credit card method again to smooth them out.
Maintenance After Application
Avoiding Future Bubble Formation
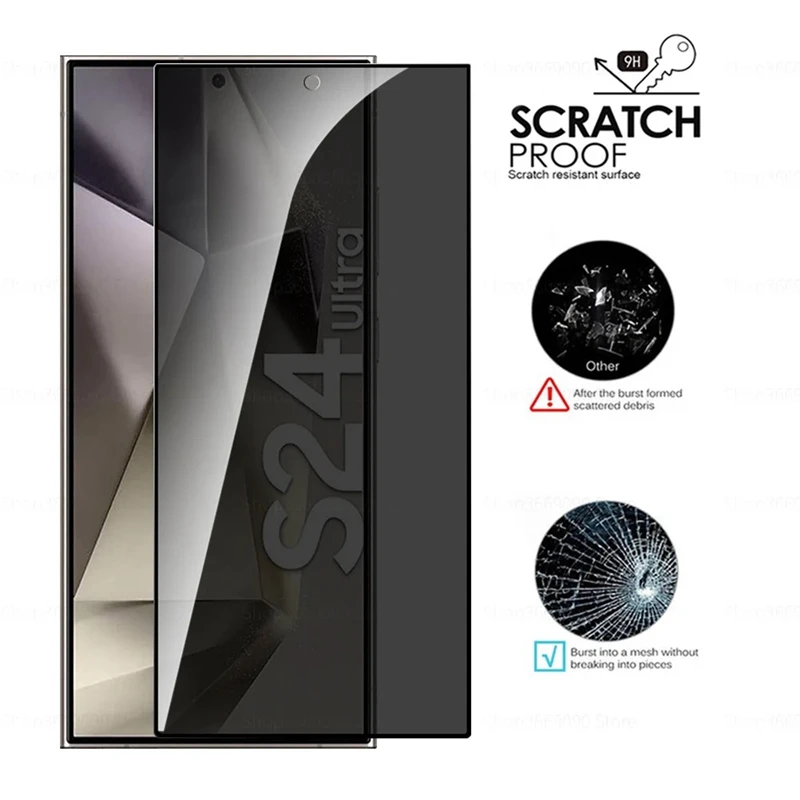
After successfully applying your screen protector, it’s important to maintain its integrity to prevent future bubbles. Avoid placing your device in pockets or bags without additional protection, as friction can lift the edges of the screen protector and allow air to seep underneath. Be cautious of how you clean your device; using abrasive materials can lead to wear and tear on the edges, increasing the likelihood of bubbles forming over time.
Proper Cleaning Techniques
When it comes to cleaning your screen protector, opt for a soft microfiber cloth dampened with water or a gentle cleaning solution specifically designed for screens. Avoid using harsh chemicals, as these can degrade the adhesive over time, leading to bubbling and peeling. Regularly cleaning the screen protector can help maintain clarity and touch sensitivity as well, ensuring your device looks great and operates smoothly.
When to Replace Your Screen Protector
Recognizing Signs of Damage
Sometimes, despite all your best efforts, a screen protector might need replacing. If you notice significant bubbling that affects touch sensitivity or visibility, it could be time to consider a replacement. Furthermore, if there are scratches or cracks, even small ones, these can compromise the protective capabilities of the screen protector, making it less effective. It’s better to replace a damaged protector than to risk damage to your device’s screen underneath.
Choosing the Right Replacement
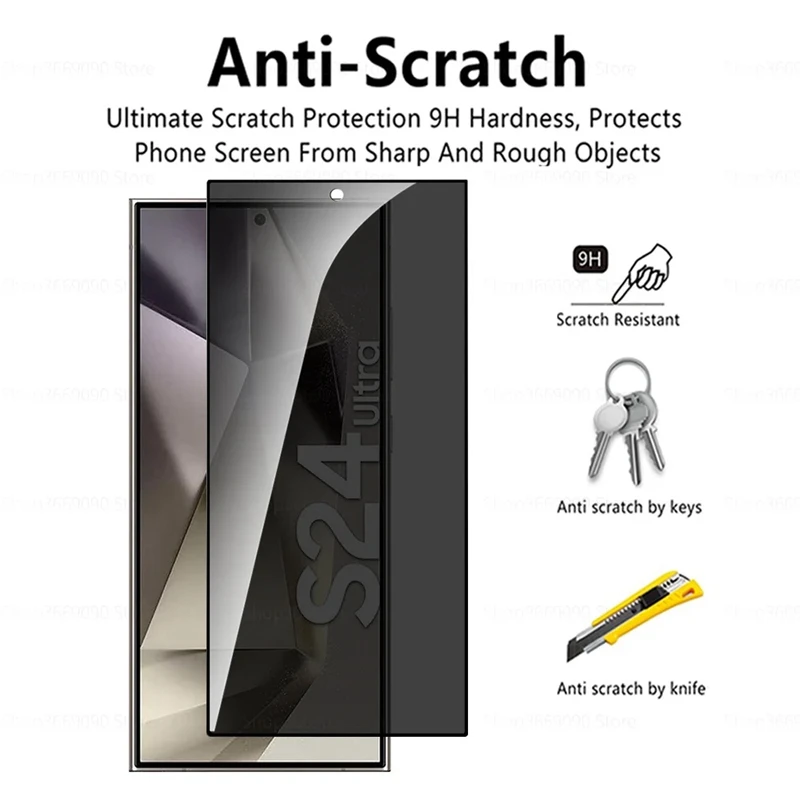
When selecting a new screen protector, consider factors such as material, thickness, and brand. Tempered glass protectors tend to be more durable and scratch-resistant than plastic options, for example. Additionally, look for features like anti-glare or blue light filtering based on your personal preferences and how you typically use your device. By choosing the right protector, you can have a more pleasant experience and minimize the likelihood of future bubble issues.
Installation Tips for a Flawless Fit
Installing a new screen protector can make all the difference in how well it performs. Start by ensuring that both your device and the screen protector are clean. Use a microfiber cloth and an alcohol wipe to remove dust, fingerprints, and oils before application. It’s also advisable to work in a dust-free environment to minimize particles that could get trapped under the protector. Align the protector carefully before applying, as any misalignment can lead to bubbling or uneven coverage. Many screen protectors come with installation kits that include guides, so take advantage of these tools to help position the protector correctly.
Conclusion: Perfecting the Application Process
Emphasizing Preparation and Technique
In conclusion, fixing bubbles in your screen protector boils down to proper preparation and effective techniques. From cleaning your device meticulously before application to using tools like credit cards and gentle heat, each step contributes to a successful installation. Attention to detail during the application phase is crucial and can help prevent a multitude of common issues, including bubbles.
Final Thoughts
Achieving a flawless finish on your screen protector not only enhances the aesthetics of your device but also maximizes screen protection. While bubbles might seem like a daunting issue, they can be effectively managed with the right tips and tricks. Remember, should the need arise, don’t hesitate to replace the screen protector altogether, ensuring that your device remains in top condition. With these insights, you’re well-equipped to tackle any challenges that may arise during your screen protector application process.
