Removing a screen protector from your phone can be a delicate process. Whether you want to replace an old screen protector, upgrade to a higher quality one, or simply clean your screen, it’s essential to do this carefully to avoid damaging your device. In this article, we will explore the steps you need to follow, tools you might require, and tips for ensuring that the removal process goes smoothly.
Understanding Screen Protectors
What Are Screen Protectors?
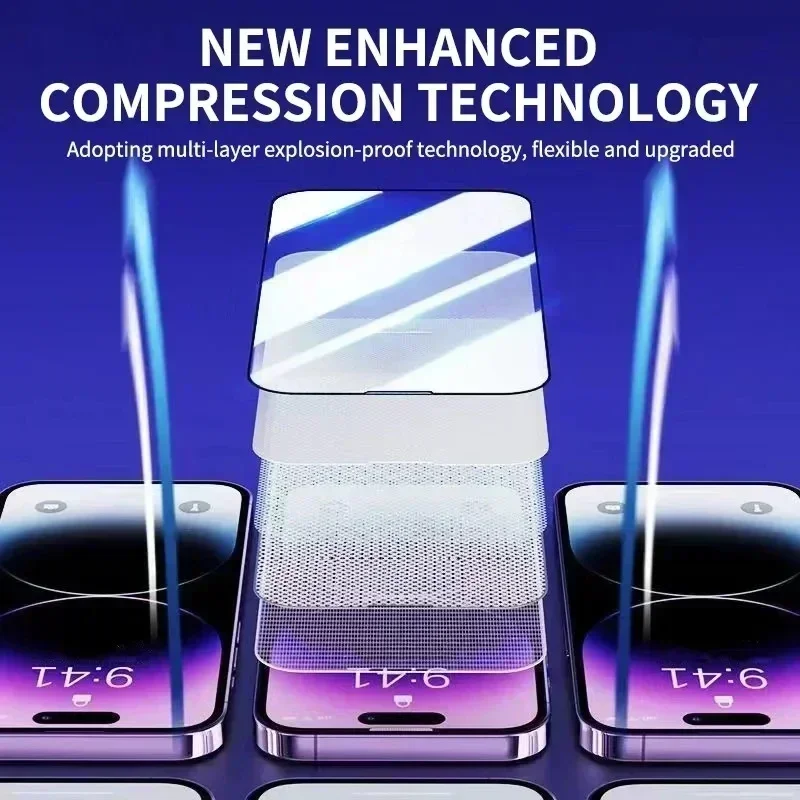
Screen protectors are thin films or glass designed to shield your phone’s display from scratches, fingerprints, and other types of damage. They’re typically made from materials like tempered glass, polymer, or plastic, each offering varying degrees of protection and durability. A good quality screen protector can help maintain your device’s resale value while reducing the risk of cracks and scratches on your screen. However, over time, even the best screen protectors can accumulate scratches or may become yellowed and less effective. Knowing how to remove them safely is crucial to maintaining the integrity of your device.
Types of Screen Protectors
Screen protectors come in different types, each with their unique removal technique. The most common types include tempered glass protectors, flexible plastic protectors, and liquid screen protectors. Tempered glass protectors are the most popular choice for their durability and clarity. They can be more challenging to remove because they often adhere strongly to the screen. Flexible plastic protectors, on the other hand, are often easier to peel off but can sometimes leave a sticky residue. Liquid screen protectors, while not physically removed in the same way, may require specific cleaning methods. Knowing which type you have is the first step in ensuring safe removal.
Preparing for the Removal Process
Gather Necessary Tools
Before you begin the removal process, it’s important to gather the right tools. While you might think that all you need is your fingers, having the correct supplies can make the job easier and less risky for your device. You’ll want a pair of tweezers or a credit card, a microfiber cloth, and a clean workspace. Some people also find it helpful to have a hairdryer on hand. The warmth from the hairdryer can help soften the adhesive, making it easier to remove certain types of screen protectors. Having these tools ready will ensure that you have everything you need when it’s time to get started.
Find a Suitable Workspace
Creating a clean and well-lit workspace is crucial for this task. Ideally, you’d want to work on a flat, hard surface where you can easily manipulate your phone without moving it around too much. Make sure to remove any items that could potentially scratch the screen or accidentally get in the way, such as other devices, keys, or stationery. Dust and debris can complicate the removal process, so a clean area will also help prevent unwanted residues from clinging to your phone’s screen or the new screen protector.
The Removal Step-by-Step Guide
Step 1: Power Off Your Device
Before attempting to remove the screen protector, always power off your device. This not only minimizes the risk of accidental touchscreen activation but also reduces the likelihood of static electricity, which can harm sensitive components. By taking a moment to turn off your phone, you ensure it’s safe to handle and can focus on the task at hand without distractions or interruptions.
Step 2: Inspect the Edges
Once your device is powered off, closely examine the edges of your screen protector. This will help you determine how tightly the protector is adhered to your phone. If you notice any lifting at the corners or edges, this is where you should begin your removal. If the protector appears to be fully sealed along the edges, you may need to use tools to gently pry it up without damaging the screen beneath.
Step 3: Use a Tool to Lift the Protector
If the edges are easily accessible, you can take your tweezers or a credit card to carefully lift the corner of the screen protector. It’s essential to do this gently; applying too much force can cause the protector to shatter or leave residue on your screen. If you’re using a credit card, slide it carefully under the edge and pry it up just enough to create a gap. Be mindful during this step; if you feel resistance, take a moment to see if the protector is stuck, and consider warming it with a hairdryer before proceeding.
Addressing Stubborn Screen Protectors
When the Protector Won’t Budge
Sometimes you might encounter screen protectors that refuse to lift easily. This situation is particularly common with tempered glass protectors, which are known for their robust adhesive quality. If this is the case, you can employ a few techniques. One effective method is to use a hairdryer on a low setting to slightly heat the edges of the protector. The warmth can soften the adhesive, allowing for easier removal. Keep the hairdryer at a safe distance to avoid overheating your phone, and focus on working it around the edges.
Assistance from Adhesive Removers
If the protector still won’t budge, you might explore the idea of using adhesive removers. There are commercial options available specifically designed for this purpose; however, always check the manufacturer’s guidance before applying any substances to your phone. For those who prefer a DIY alternative, a small amount of rubbing alcohol can help break down the adhesive. Apply it carefully with a cotton swab or cloth, ensuring you do not let excess liquid seep into the phone’s crevices. This method should only be used as a last resort, as the margin for error can be slim.
Dealing with Residue
Cleaning Sticky Residue
After successfully removing the screen protector, you may find sticky residue left behind. This residue can often be removed easily but requires some caution to avoid damaging your phone’s screen. One of the safest methods is to use a microfiber cloth and a solution specially designed for cleaning screens. Dampen the cloth slightly and gently rub the sticky areas. Avoid soaking the cloth; too much liquid can damage the electronic components. For stubborn residues, a drop of rubbing alcohol on the cloth can work wonders, but be sure to test it on a small spot first.
Preventing Residue in the Future
To avoid dealing with sticky residue the next time you removing a screen protector, consider choosing high-quality brands with better adhesive technology. Some screen protectors are designed specifically to minimize residue when removed. You might also read reviews or look for recommendations that focus on removing ease as part of the usability experience. Upon applying a new screen protector, ensure it’s done in a dust-free environment to reduce the chance of dirt being trapped between the protector and your device, which could lead to complications during removal in the future.
Installing a New Screen Protector
Choosing the Right Screen Protector
If you’re removing a screen protector to replace it with a new one, ensuring that you choose a high-quality product is key. Factors to consider include the type of material, thickness, and ease of installation. Tempered glass offers the highest protection but may be more difficult to apply and remove, while flexible plastic protectors are simpler but may not provide the same level of durability. Be sure to choose one that suits your lifestyle, whether you’re an active individual prone to dropping your phone or someone who primarily keeps it on their desk.
Application Process
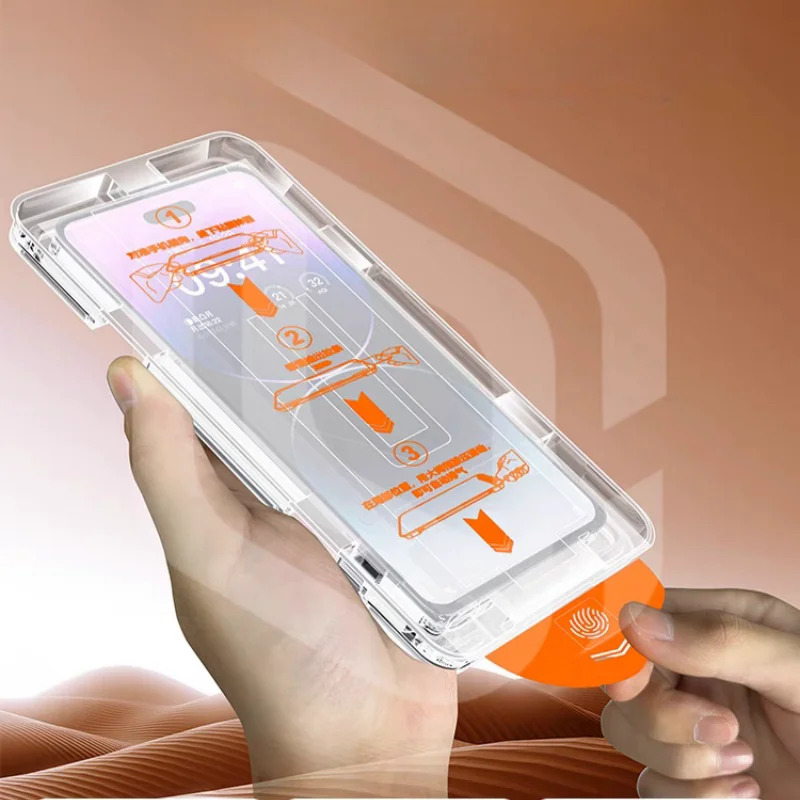
Once you’ve selected your new screen protector, follow the manufacturer’s instructions closely for installation. Usually, your phone should be thoroughly cleaned and free of any dust before applying. Typically, there will be an alignment guide included, and some products may even feature a “no bubble” installation mechanism. If bubbles do form, using a credit card to gently push them towards the edge can help. Carefully mounted screens not only look better but will also have increased efficacy in protecting your phone.
Final Maintenance Tips
Regular Cleaning
After replacing the screen protector, make it a habit to regularly clean your device to keep it in pristine condition. Use a microfiber cloth and a dedicated screen cleaner to routinely maintenance the surface. This will help in maintaining the quality of the screen protector and ensuring that your display remains visually appealing. Establishing a cleaning routine can also prevent dirt buildup from becoming an issue when it comes time to change the protector again.
Knowing When to Replace
A screen protector is not meant to last indefinitely. After a certain period, or if you start to notice scratches, chips, or a noticeable decline in clarity, it’s time to consider replacing it. Being proactive with your device maintenance can prolong the life of your phone and ensure that it remains in good working order. Periodically evaluate your screen protector and device regularly to determine the best time for replacement based on your usage.
Conclusion
Successfully removing a screen protector from your phone is an important skill that can save you both time and money. Understanding the types of protectors available, preparing adequately with the right tools, and knowing how to tackle different situations during the removal process will ensure that you do not damage your phone. This knowledge will serve you well, aiding not just in replacement but also in preserving the longevity of your device. Whether you’re upgrading to a better protector or simply maintaining your phone, taking the time to understand this process will truly pay dividends.
