Types of Screen Protectors
When it comes to guarding your phone’s screen, you’ll find several protector types available. Understanding the different options helps you make the right choice for your device.
Plastic Screen Protectors
Plastic protectors are a common choice for many. They are thin, flexible, and provide a basic level of protection against scratches. These are often easier to remove and replace, making them a popular option for those who prefer a no-frills approach. When removing screen protectors of this kind, they often come off without leaving residue, but are not as durable against impact as other types.
Tempered Glass Screen Protectors
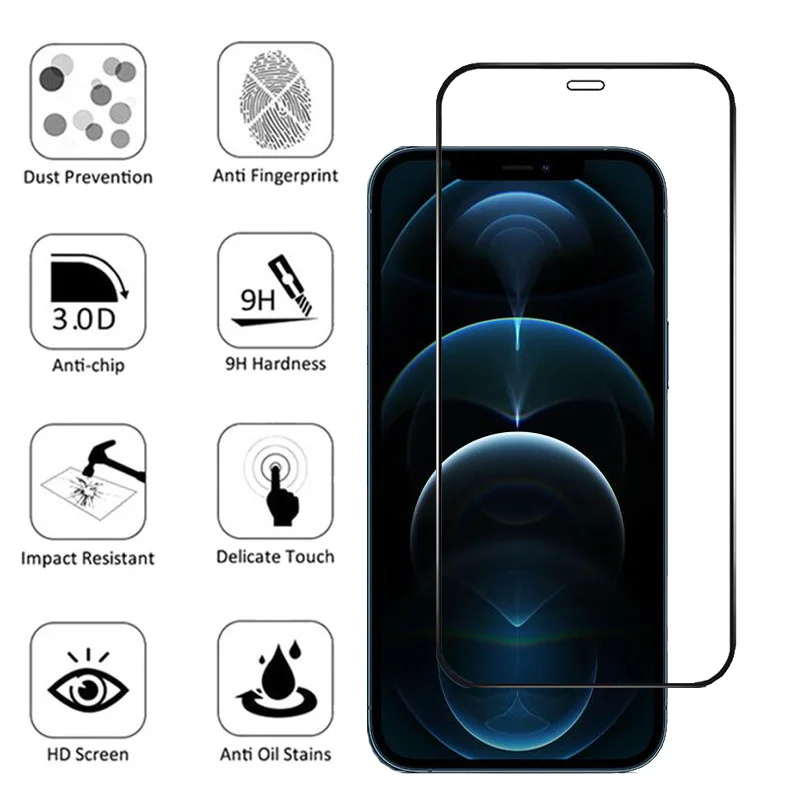
Tempered glass protectors offer a sturdier defense against drops and dings. They aim to mimic the original screen feel and can be just as clear as the actual phone screen. Removing screen protectors made of glass requires a bit more care to avoid breakage, yet the process is straightforward and doable with simple tools.
Liquid Screen Protectors
Liquid protectors stand out with their cutting-edge approach. Applied as a liquid and then hardened, they bond at a molecular level with the screen, offering a thin, practically invisible layer of protection. These protectors are not meant to be removed, integrating seamlessly with your device without the need for replacement.
Choosing the right type of screen protector can influence the long-term condition of your phone and the ease of maintenance. Each has its own set of pros and cons, with liquid protectors providing a fuss-free, ultra-thin barrier, while plastic and tempered glass types cater to those seeking tangible protection that can be changed over time.

Preparing to Remove Your Screen Protector
Proper preparation is key to successfully removing screen protectors. Start by gathering what you need and creating a workspace that’s free of dust and debris.
Removing Your Phone Case
Before peeling off the protector, the phone should be bare. Take off the phone case to reveal all protector edges. Follow detailed guides to avoid damaging your phone during this step.
Choosing the Right Tools
Selecting safe tools ensures a smooth removal process. Avoid sharp instruments that may scratch the screen or phone. Instead, use small plastic tools or a credit card to gently lift the protector. A toothpick may be useful for nudging up the corners. Find tools that are sturdy yet non-abrasive to protect your device.
The Removal Process
Removing a screen protector can be easy if done with care and patience. Here’s the step-by-step method to make the removal process smooth.
Lifting the Protector at the Corners
The key to starting is lifting the protector gently at the corners. Use a plastic card or toothpick for this. Slide it under a corner and slowly lift. Be careful not to rush the process. Keep lifting until the protector begins to come off. If it resists, try lifting from another corner.
Avoiding Damage to Your Phone
While removing the screen protector, it’s crucial to avoid damaging your phone. Do not use metal tools or force. If the protector breaks, remove any pieces with care. Always protect the actual screen from scratches or dents. Move slowly and if you face difficulty, pause and re-evaluate your method to ensure your phone remains unscathed.
Cleaning Your Phone Post-Removal
Once you’ve removed the screen protector, it’s a good chance to clean your phone thoroughly. Dust and grime can accumulate under the edges of screen protectors, and without those barriers, you can now deal with all the build-up.
Deep Cleaning Guidelines
Here are steps to follow for a deep clean:
- Power off your phone to avoid any damage to electronic components.
- Get a soft, lint-free cloth to wipe the screen gently.
- Use a dry brush or canned air to clean out any debris from ports and speakers.
- Dip the cloth in water mixed with a mild soap solution, then wring it out well.
- Gently wipe down the phone’s screen and body with the damp cloth.
- Use a dry corner of the cloth to remove any excess moisture.
Remember not to put too much pressure on the screen and avoid getting moisture into any ports or openings.
Safe Cleaning Solutions
To protect your phone, use only safe cleaning solutions:
- Use water with a drop of dish soap for gentle cleaning.
- Avoid harsh chemicals like bleach or window cleaners.
- You can use screen-cleaning wipes designed for electronic devices.
- For an eco-friendly option, choose solutions made with natural ingredients.
Keeping your phone clean not only makes it more pleasant to use but also can help maintain functionality and resale value. So, take the time to do it right after removing the screen protector. And remember, it’s important to dispose of the old protector properly and consider eco-friendly options when choosing your next screen protector.

Disposal and Recycling of Old Screen Protectors
Once you have successfully removing your screen protectors, proper disposal plays a crucial role in environmental conservation. Investigating eco-friendly ways to dispose of these items is not only responsible but often easy.
Recycling Plastic and Tempered Glass Protectors
Many screen protectors made from plastic and tempered glass can be recycled. Begin by checking local recycling guidelines. Some areas have specific facilities for recycling electronics and related accessories. It is essential to clean the protector free of any adhesive residues before recycling. Some manufacturers have recycling programs, which accept old screen protectors and repurpose the materials.
Eco-friendly Disposal Options
When recycling isn’t an option, consider other eco-friendly disposal methods. Look for local environmental organizations that accept electronics for proper disposal. This ensures harmful materials don’t end up in landfills. Additionally, consider protectors made from biodegradable materials for easier disposal in the future. Remember, proper disposal helps reduce environmental impact and promotes sustainability.
Alternatives to Traditional Screen Protectors
Traditional screen protectors offer tangible protection for your device’s screen. However, there are innovative alternatives in the market. One such alternative is the liquid screen protector. Unlike plastic or glass protectors, liquid ones bond at a molecular level with the screen, providing a thin, nearly invisible protective layer.
Benefits of Liquid Screen Protectors
Liquid screen protectors have a range of benefits. First, they offer a durable layer of protection against scratches and minor impacts. They also preserve the original touch of the phone’s screen. Furthermore, applying liquid protectors is straightforward and void of alignment issues. Finally, they eliminate the possibility of dirt or debris getting under the screen protector since they form a single uniform coating.
Environmental Impact of Screen Protectors
When considering removing screen protectors, it’s also important to examine their environmental impact. Traditional plastic and tempered glass protectors can end up in landfills if not recycled properly. Liquid screen protectors, on the other hand, are a more eco-friendly option. They reduce waste by not needing to be replaced regularly. Manufacturers of liquid protectors often use eco-friendly materials and packaging, thus lessening the carbon footprint associated with their products.
Installing Your New Screen Protector
After successfully removing the old screen protector, it’s time to install a new one. This can enhance your phone’s protection and usability.
Step-by-Step Installation Tips
- Clean Your Screen: Before applying the new screen protector, ensure your phone’s screen is spotless. Use a microfiber cloth to remove all dust and fingerprints.
- Check the Protector: Verify the new screen protector for any defects or dust particles before peeling off the protective layer.
- Align Properly: Carefully align the screen protector with your phone’s screen. Start from one end and slowly move to the other. Ensure it aligns perfectly with the screen edges and camera.
- Apply Gently: Press the protector onto the screen. Start from the center and gently push out any air bubbles towards the edges.
- Smooth Out Bubbles: If any bubbles remain, use a credit card or a similar tool to smooth them out gently from under the protector.

Dealing with Air Bubbles
Air bubbles can be frustrating but are usually easy to fix:
- Push Out Immediately: As soon as you notice air bubbles, use a card to push them to the nearest edge.
- Heat Application: Sometimes, minor heating with a hairdryer on low setting can help remove persistent bubbles. Keep the dryer at least 12 inches away from the phone to avoid heat damage.
- Prevention Tips: Ensuring a dust-free installation and correct alignment prevents most air bubbles from forming during the initial application.
By following these steps, you can ensure a smooth, bubble-free installation of your new screen protector and maintain the pristine condition of your phone’s screen.


