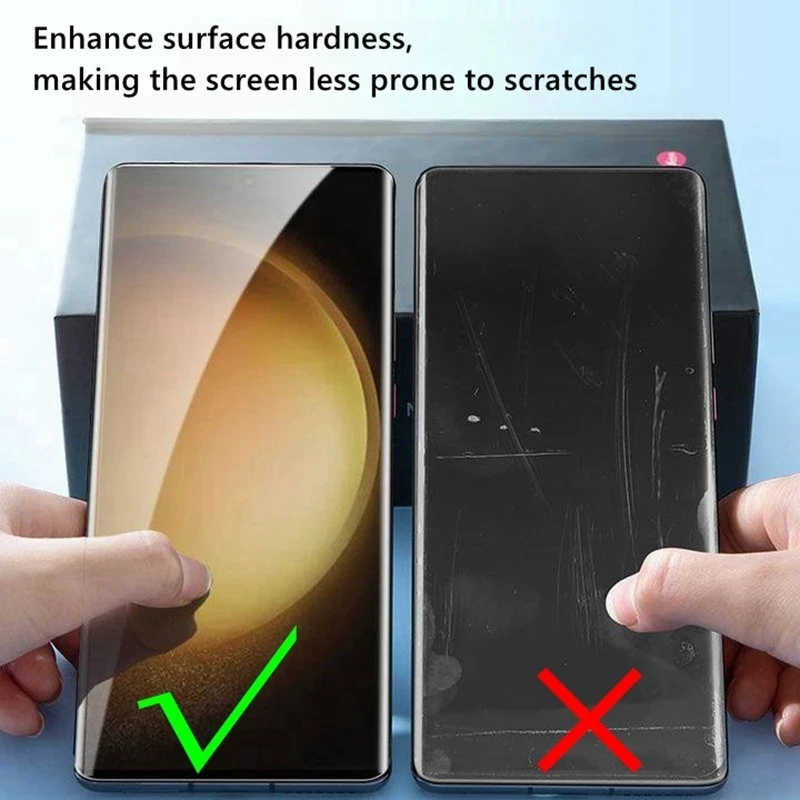
Types of Screen Protectors
Protecting your phone’s screen is crucial to maintain its look and functionality. There are three main types of screen protectors:
Hard Plastic Styles
Hard plastic protectors offer basic protection against scratches. They are thicker than other types and can be more noticeable. They fit on the screen and provide a barrier against keys and coins but may not withstand high impact.
Tempered Glass Styles
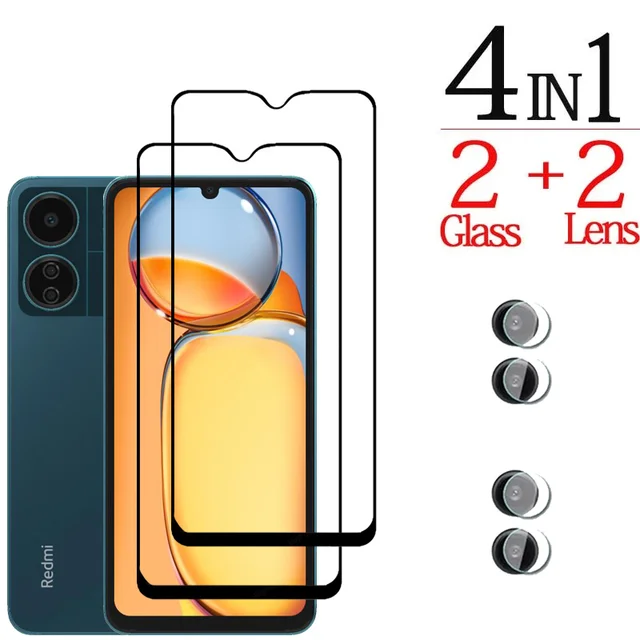
Tempered glass protectors act like a second screen. They are tough against drops and scratches. You might not even notice one on your phone because they feel like the original screen. These protectors can absorb shock and are easy to take off if needed.
Liquid Screen Protectors
Liquid screen protectors are the latest in screen protection. They form a thin layer that bonds with the screen, which is invisible to the eye. However, once applied, they can’t be removed like plastic or glass protectors, making them a permanent addition.
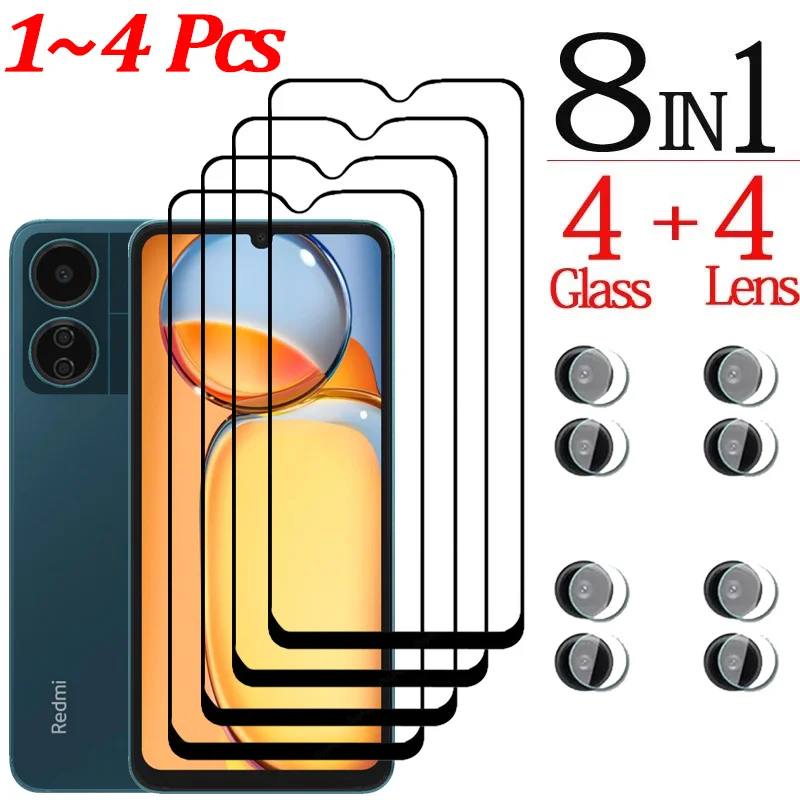
Preparing to Remove a Glass Screen Protector
Before you remove your glass screen protector, gather the right tools and set up a clean workspace. This will help you take off the protector smoothly and safely. Let’s start by listing what you’ll need.
Tools You Need
You can often find the tools for this task around your home. Here’s a list of what you’ll need:
- A hair dryer (for heating the adhesive).
- A toothpick (for lifting the protector’s edge).
- A credit card (for sliding under the protector).
- Microfiber cloth (for cleaning the screen).
An optional addition is a pair of gloves to protect your fingers from any sharp edges.
Setting Up Your Workspace
Choose a bright, clutter-free area to work in. A table with good lighting is ideal. Clear any objects that might interfere. Lay down a soft cloth to prevent scratching your phone’s back. Get a small container to keep the tools within reach. Now, you’re all set to safely remove the glass screen protector from your phone.
Step-by-Step Removal Guide
Removing a glass screen protector might seem daunting, but with proper care, it can be done safely and effectively. Follow this step-by-step guide to avoid any mishaps and protect your phone’s screen during the process.
Heating with a Hair Dryer
Start by using a hair dryer to heat the edges of your screen protector gently. Set it to a low to medium heat setting. Aim the hair dryer at one corner of the screen protector for about 15 to 20 seconds. The heat helps to loosen the adhesive, making it easier to lift off.
Lifting the Edge with a Toothpick
After heating, take a toothpick to carefully lift the edge of the protector. Angle the toothpick upwards, towards the protector, and away from the phone screen to avoid any damage. Get under a corner and gently pry it up just enough to insert a credit card in the next step.
Loosening with a Credit Card
Slide a credit card under the lifted corner of the screen protector. With slow and steady hands, glide the card around the edges. Work your way around all sides of the screen protector to loosen it completely. This helps prevent any snags or cracks as you remove it.
Handling a Damaged Screen Protector
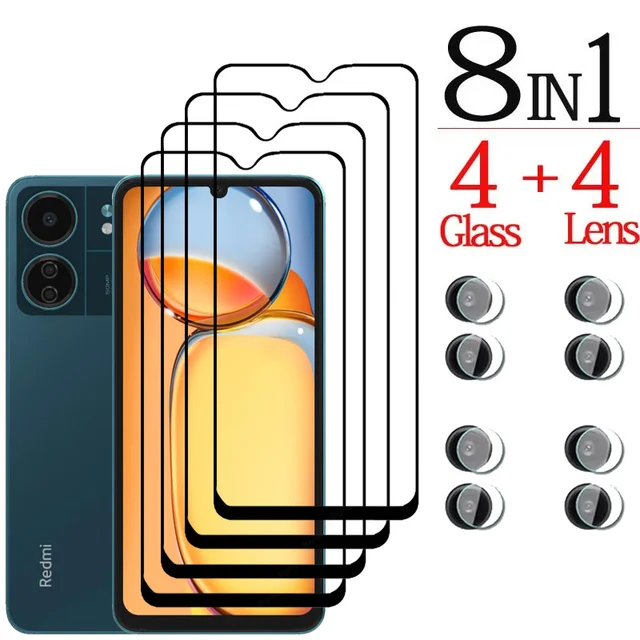
When your screen protector is visibly damaged, like cracked or deeply scratched, it’s time to remove it. Removing a damaged protector needs extra care to prevent harming your device.
Assessing the Protector’s Condition
Look closely to determine the extent of the damage. Tiny cracks may not need special attention, but larger fractures require caution. Handle the protector’s edges gently to avoid injury from broken glass.
Removal Techniques for Broken Protectors
Start by lightly warming the protector with a hairdryer. This process helps loosen the adhesive, making the removal safer. With a toothpick, lift at the protector’s edge, then slide a credit card underneath. Slowly work around the edge, moving meticulously to keep all glass pieces intact. If shards have formed, be extra cautious. Go slow to ensure the pieces don’t scatter on the surface. Gently lift away the broken protector. Dispose of it carefully to avoid accidents.
Post-Removal Cleaning
After safely removing the screen protector, it’s vital to properly clean your phone’s screen.
Cleaning the Screen
Use a microfiber cloth to wipe the screen gently. This will remove any leftover adhesive. For stubborn residue, lightly dampen the cloth with water and vinegar. Avoid soaking the screen. Dry with a clean cloth.
Disposing of the Old Protector
Don’t just toss the old protector in the trash. Check if it’s recyclable. Visit your local recycling website for details on disposing of glass wastes. If it’s not recyclable, wrap it in paper to prevent injury and throw it away responsibly.
Installing a New Screen Protector
Once you have successfully removed the old screen protector and cleaned your phone’s screen, the next step is to install a new one. This will ensure continued protection against scratches and impacts.
Choosing the Right Protector
Picking the right screen protector for your phone depends on your needs and preferences. Consider the following:
- For maximum impact protection, tempered glass protectors are ideal. They are similar to your phone’s screen and feel smooth.
- If you dislike bulk, opt for a liquid protector. They add no extra weight and are invisible.
- If you’re on a budget, a hard plastic protector might do the trick. It offers basic protection for less money.
Remember, liquid protectors are permanent, so only choose one if you are not planning to remove it.
Installation Tips
After choosing your screen protector, follow these tips for a smooth installation:
- Clean your phone’s screen again. Dust and smudges can cause bubbles.
- Read the instructions that come with your protector. Some require specific steps.
- Align the protector with your phone’s screen. Take your time to ensure it fits perfectly.
- Use a credit card to smooth out air bubbles. Start from the center and push them to the edges.
- If you get dust under the protector, lift the corner closest to the dust gently. Remove the dust with a piece of tape, then reapply the protector.
Properly installing your new screen protector is essential to ensure it provides the best protection for your device. Take your time and handle your phone and the protector with care.
Maintaining Your Screen Protector
Once your new screen protector is installed, it’s important to maintain it for optimal performance. Regular cleaning can help prolong its lifespan and ensure clarity. Use a microfiber cloth to wipe the screen gently, avoiding harsh chemicals that might damage the protector. If you notice any scratches or scuffs, consider whether they affect your daily use; many tempered glass protectors are designed to withstand minor wear without compromising clarity.
Understanding Warranty and Replaceability
Most screen protectors come with a warranty that covers defects in material or workmanship. Familiarize yourself with the terms to ensure you can replace it if needed. Additionally, many tempered glass protectors allow for easier replacement compared to liquid protectors. If your new protector becomes damaged over time, don’t hesitate to swap it out for a fresh one, especially since maintaining clear visibility is critical for optimal device use.
Troubleshooting Common Issues
Even with proper installation, you might encounter issues with your screen protector. Here are some common problems and their solutions:
- Bubbles: If you have air bubbles after installation, don’t fret. Use the credit card technique mentioned earlier to push them towards the edges. If they persist, carefully lift the edge of the protector and reapply while smoothing it down.
- Dust and Debris: Sometimes, small pieces of dust find their way under the screen protector during installation. If you see dust trapped, gently lift the corner (as mentioned before) and use a piece of tape to remove the dust, then reapply.
- Peeling Edges: If the edges of your protector start to peel, it might not have been aligned properly or may have accumulated dirt. Gently lift the edge, clean it, and press it back down. For severe peeling, replacement might be necessary.
When to Replace Your Screen Protector
Regularly inspect your screen protector for any signs of wear and tear. Scratches, cracks, or significant discoloration can compromise protection and visibility. It’s best to replace your protector as soon as you notice any damage. This commitment will help ensure your device remains protected and visually appealing.
Exploring Other Accessories
While a screen protector is a critical first line of defense for your phone, consider pairing it with additional accessories for comprehensive protection. A durable phone case can provide shock absorption and prevent damage from falls.
Anti-blue light screen protectors are also increasingly popular. They reduce eye strain from prolonged screen use while still providing the protection you need.
By understanding the importance of your screen protector and following these guidelines, you’ll keep your device safe and looking new for longer. Happy protecting!
