Applying a screen protector to your device can feel like a rite of passage. However, the sight of bubbles trapped underneath the protector can be an annoyance and a source of frustration. Understanding how to effectively remove these bubbles can enhance your screen’s appearance and functionality. This article will provide various strategies to address the pesky issue of bubbles under your screen protector.
Understanding Screen Protectors and Bubble Formation
The Basics of Screen Protectors
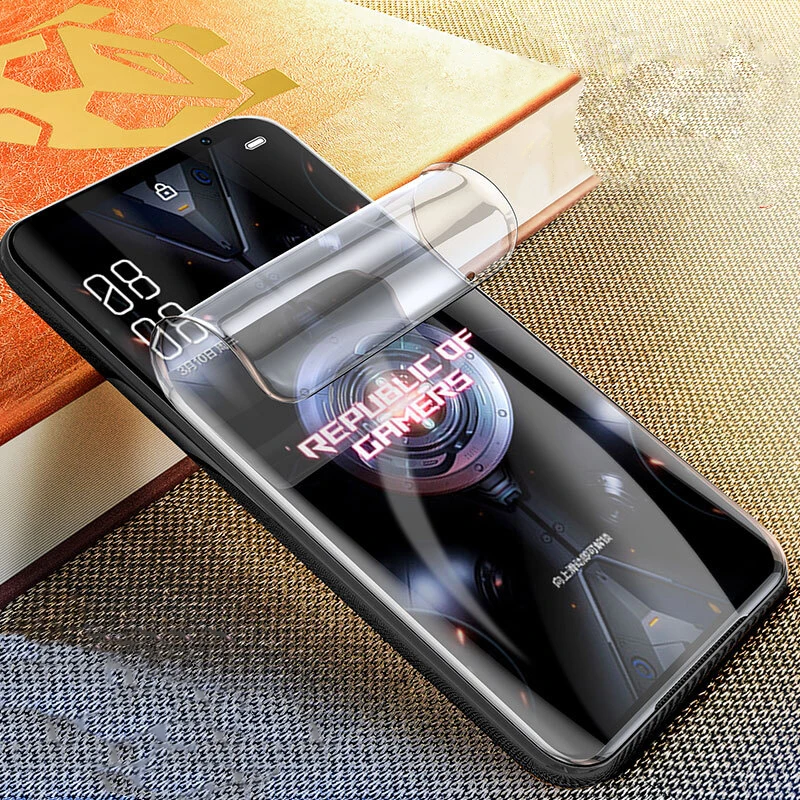
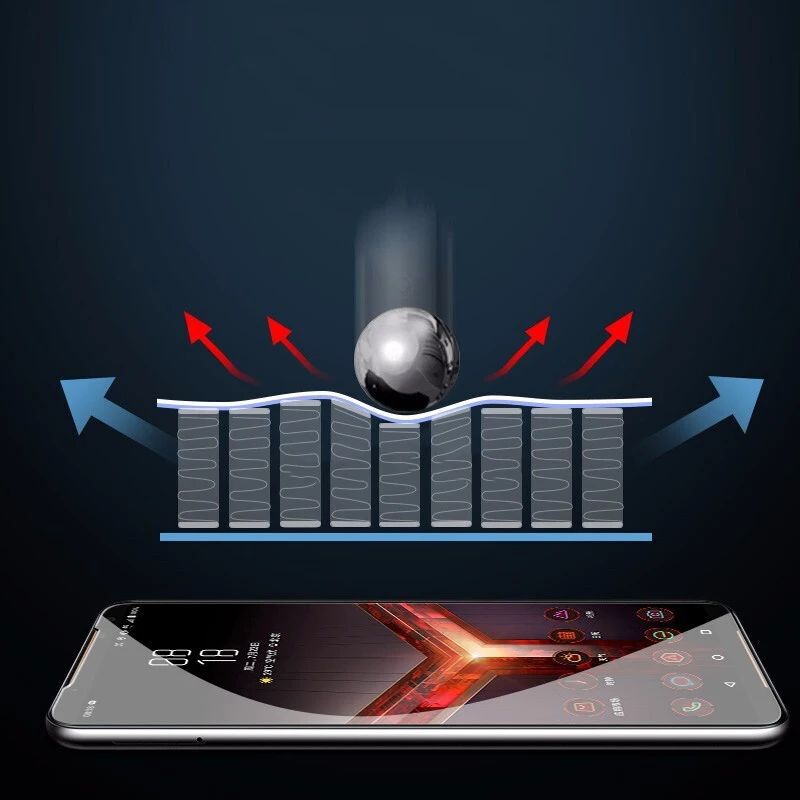
Screen protectors are thin layers of material applied over device displays to safeguard them from scratches, cracks, and other types of damage. Most screen protectors are made from either tempered glass or plastic film. Tempered glass offers superior protection and clarity, while plastic film is often thinner and more prone to bubbles. When applying a screen protector, air can become trapped beneath, leading to unsightly bubbles that can impede touch sensitivity and visibility.
How Bubbles Form
Bubbles form during the application process when air gets trapped between the screen and the adhesive side of the screen protector. This usually occurs due to improper installation techniques. Factors like applying the protector in a dusty environment or poorly aligning it can contribute to bubble formation. Understanding the reasons behind bubble formation can help you take preventive measures the next time you install a screen protector.
The Right Preparation Before Applying a Screen Protector
Cleaning Your Device
Proper preparation is crucial for achieving a bubble-free installation. Start by cleaning your device’s screen with a microfiber cloth that is free from dust and debris. It’s advisable to use an appropriate screen cleaning solution or isopropyl alcohol to remove any grime. After cleaning, make use of a dust removal sticker that helps lift any remaining particles. Cleanliness is key; even tiny specks can lead to bubble formation.
Environmental Considerations
Environmental factors play a significant role in the installation process. It’s best to apply a screen protector in a clean, dust-free environment such as a bathroom after taking a hot shower. The steam will help settle dust particles that might otherwise interfere with the installation. Heartfelt attention to surrounding conditions can drastically reduce the likelihood of bubbles forming.
Techniques to Remove Bubbles After Installation
The Credit Card Method
One popular technique for removing bubbles is known as the credit card method. For this method, you will need a plastic card that you don’t mind scratching up a bit—an old credit card or gift card will suffice. Start by gently pressing down on the bubble with the edge of the card and push it toward the nearest edge of the screen. Use smooth, even strokes to help expel the trapped air. This method is effective for smaller bubbles, but be cautious not to apply too much pressure, as this can damage the screen or the protector itself.
The Heat Method
For more stubborn bubbles, the heat method can often do the trick. Start by using a hairdryer on the lowest heat setting and keep it approximately 6-8 inches away from the screen. The goal is to warm the adhesive slightly; this can make it more pliable. Once warm, gently press the bubble towards the edge using your finger or an application tool for screen protectors. However, caution is essential; do not overheat the device, as excessive heat could damage your screen or its components.
Preventing Bubbles in the Future
Choosing the Right Screen Protector
Prevention is always better than cure. Choosing a high-quality screen protector can significantly reduce the chances of bubbles forming during installation. Research reputable brands known for their easy application and effective adhesion. Some manufacturers even design screen protectors specifically to minimize bubbles by using advanced adhesives that are less likely to trap air.
Mastering the Application Technique
Improper application can lead to bubbles, so taking time to master the application technique is vital. Begin at one edge of the screen and carefully lower the protector down to avoid trapping air. You can use a guide to align the protector properly. As you apply, gently press down in the center and work your way outward, smoothing out any air pockets. A slow and deliberate approach will yield the best results.
Common Mistakes to Avoid While Applying a Screen Protector
Ignoring Dust and Debris
One of the most common mistakes made during the installation of a screen protector is overlooking the presence of dust or debris on the screen. Even tiny particles can lead to significant bubbling issues. Ensure that the screen is completely dust-free before application. Investing time into cleaning the screen thoroughly can save time and frustration later on.
Applying with Fingers
Another mistake is to handle the adhesive side of the screen protector with your fingers. The oils and dirt from your fingers can easily transfer onto the adhesive, making it less effective at sticking to the screen and increasing the chance for bubbles. Always use the edges of the screen protector to handle it, and if possible, wear gloves or wash your hands beforehand to ensure they are clean.
When to Replace Your Screen Protector
Identifying Damage
Sometimes bubbles can be a sign of more significant issues with your screen protector. If the bubbles do not disappear or if there are scratches and cracks visible elsewhere, it may be time to consider replacing the protector. A screen protector is only effective if it adheres well and is free from damage. Regularly examine your device for signs of wear and tear.
Knowing the Lifespan of Your Protector
Screen protectors have a finite lifespan, typically lasting several months to a few years, depending on usage and quality. You may notice a gradual decline in their effectiveness over time, from increased bubbling to diminished clarity. As a rule of thumb, if you notice performance issues, it might be prudent to invest in a new screen protector.
Choosing the Best Screen Protector for Your Needs
Understanding Material Differences
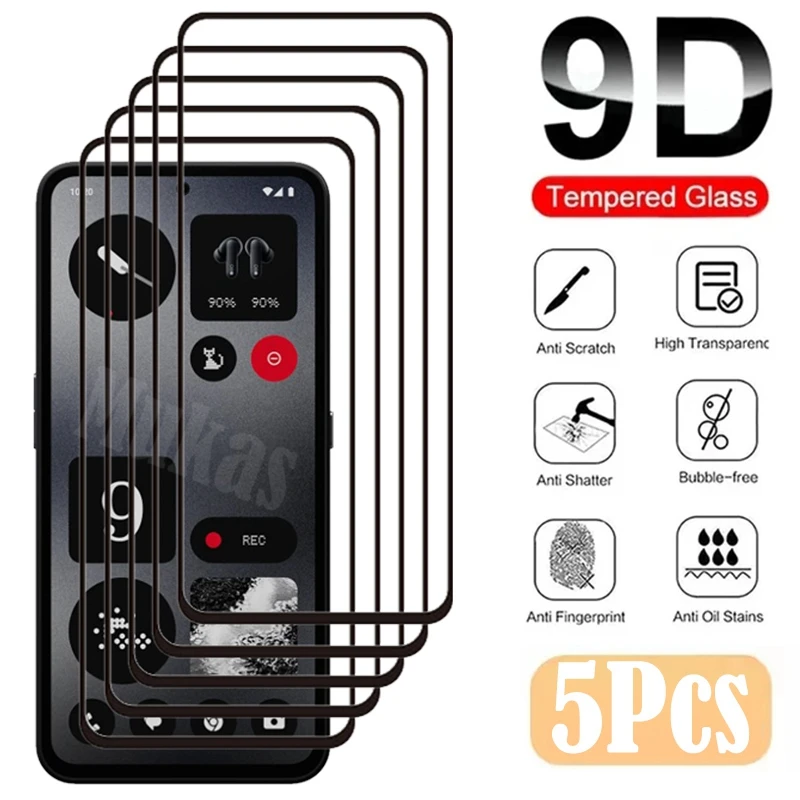
When it comes to selecting a screen protector, consider the material used. Tempered glass offers more robust protection against cracks and impacts, while plastic film may be more susceptible to bubbles but often affords superior touch sensitivity. Evaluate your lifestyle and how you use your device to make an informed choice that aligns with your needs for protection versus usability.
Reading Reviews and Recommendations
Before purchasing a screen protector, it’s beneficial to research through reviews and recommendations. User experiences can provide valuable insights into which brands and products are effective and which ones may result in ongoing bubble troubles. Websites and forums dedicated to technology can be excellent resources for gathering unbiased opinions.
Final Thoughts on Bubble Trouble
Commitment to Quality
Dealing with bubbles under your screen protector can be frustrating, but the right strategies can make it manageable. Being committed to quality in both the protector and the application process is paramount. Proper cleaning, ideal environmental conditions, and mastery of application techniques are your allies in avoiding bubble trouble.
Embracing the Digital Age
As our reliance on smartphones and tablets increases, keeping the screens of these devices in pristine condition is essential. With a bit of preparation and the right approach, you can ensure that your device displays rely on clean, bubble-free, and effective protection. Remember, every step you take toward a better screen installation is a step toward maintaining the longevity and aesthetic appeal of your beloved gadgets.
