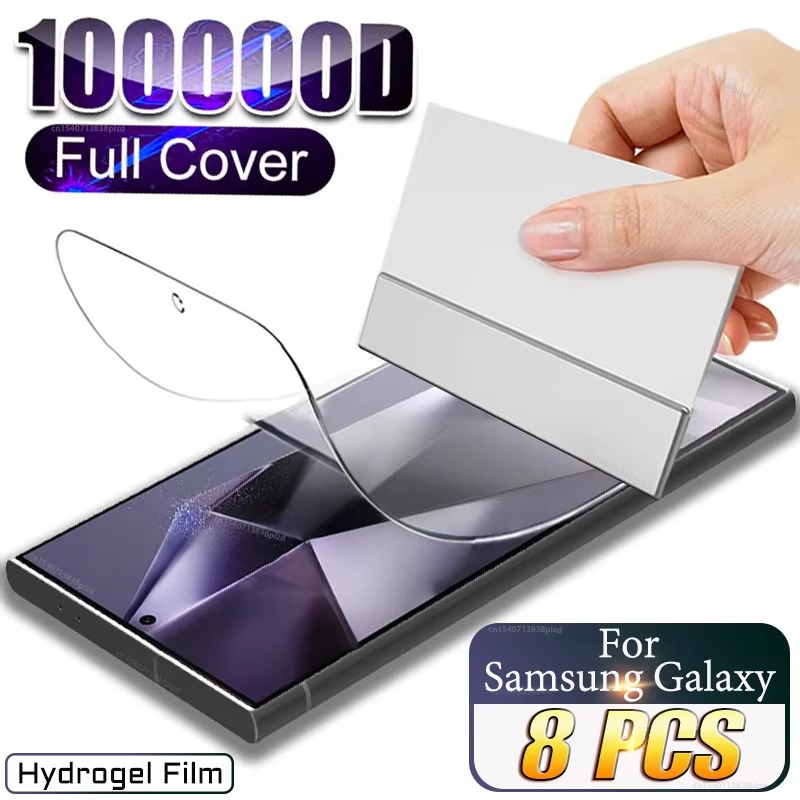
Applying a screen protector can be a daunting task that often ends with frustrating bubbles that can mar the aesthetic of your device. However, with the right technique and tools, you can master the art of bubble-free screen protector application. This article will guide you through the process, helping you achieve a seamless, flawless finish.
Understanding Screen Protectors
What Are Screen Protectors?
Screen protectors are thin sheets designed to shield your device’s display from scratches, cracks, and fingerprints. Made from materials such as tempered glass or plastic, they come in various levels of durability and flexibility. Some screen protectors are specifically designed to enhance sensitivity, while others are made with anti-glare coatings for reduced reflections. Understanding the type of screen protector that best suits your needs is the first step towards a successful application.
Types of Screen Protectors
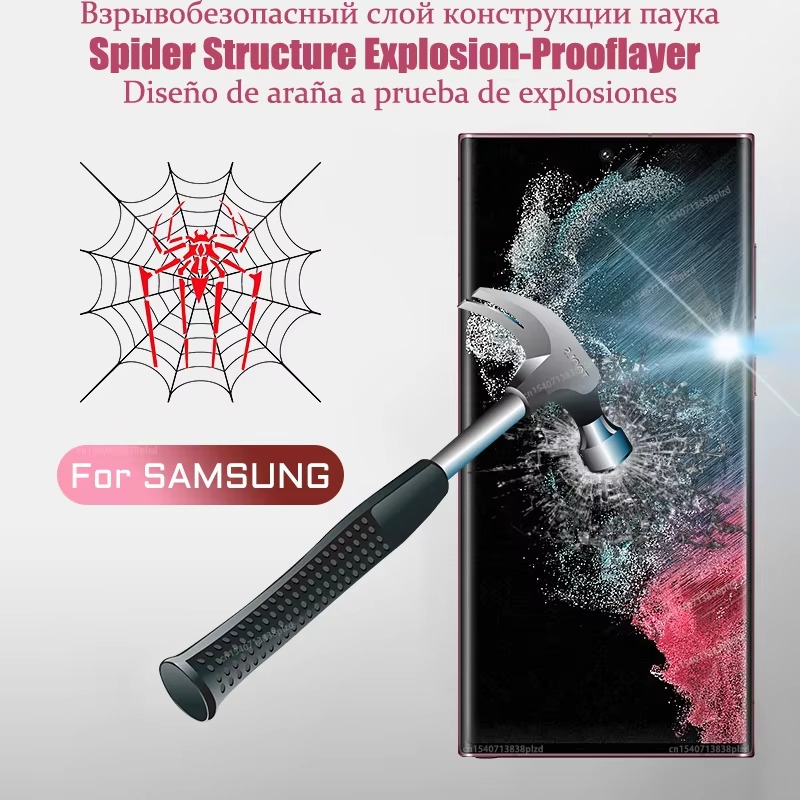
Different types of screen protectors serve unique purposes. Tempered glass protectors are popular for their high durability and excellent clarity. They provide better protection against drops and forceful impacts compared to traditional plastic films. On the other hand, film protectors are more flexible and often easier to apply but generally offer less protection. Knowing the differences will help you select the right protector for your device and guide you in applying it effectively without creating bubbles.
Preparing for Application
Gather Your Tools
Before you start applying the screen protector, it is essential to gather the necessary tools. You will need a clean, lint-free cloth, a screen cleaning solution or alcohol wipes, a plastic card (like a credit card) for smoothing out bubbles, and tweezers or a similar tool to help align the protector. Having these items ready will streamline the process and reduce the likelihood of making mistakes that result in bubbles.
Create a Dust-Free Environment
Dust and small particles can be the primary causes of bubbles when applying a screen protector. Therefore, it is vital to set up a clean workspace. Choose a location with minimal airflow, such as a calm room, to reduce the chances of particles floating onto your screen during application. Additionally, using an air blower can help clear any dust particles that may still be present. Ensuring a dust-free environment sets you up for the best possible results.
The Application Process
Clean the Screen Thoroughly
Cleaning the screen of your device properly is one of the most critical steps in applying a screen protector. Use a lint-free cloth and a suitable cleaning solution to wipe down the screen thoroughly. Any residue, oil, or dirt can lead to trapped air and, ultimately, the formation of bubbles under the protector. If you’re using a cleaning spray, make sure to apply it to the cloth, not the device itself. This helps avoid any drips that may infiltrate the device’s openings.
Align the Screen Protector
Once your screen is clean, it’s time to align the screen protector. Most protectors have a few alignment features, such as tabs or edges that help you position them correctly. Start by holding the protector above the screen to see how it will fit. It’s often helpful to have the device off during this process to see better where you’re aligning. After you’re satisfied with the alignment, gently lower the protector onto the screen, ensuring that the cutouts for cameras and sensors correspond appropriately.
Applying the Screen Protector
Start with a Corner
When you’re ready to apply the protector, start by peeling back a small portion of the backing from one corner. Avoid removing the entire backing at once, as this increases the risk of dust or debris settling on the adhesive side. By gradually peeling the backing while applying, you can maintain control over the protector’s placement.
Use the Card Technique
With the corner down, gently press down on that corner using your plastic card. Move the card across the protector to push out any air bubbles that form as the adhesive makes contact with the screen. It’s best to push from the center outward toward the edges. If you encounter a stubborn bubble, slowly lift the corner near it and reapply while using the card to smooth the area. This technique not only prevents bubbles but also ensures that the protector adheres evenly.
Dealing with Bubbles
Identifying Types of Bubbles
During application, you may notice various types of bubbles. Small air bubbles can often be pushed out easily with a card, while larger bubbles may require a bit more finesse. Understanding these types will help you decide how best to address them. An air bubble is usually small and can disappear under gentle pressure, while a trapped particle creates a larger, more noticeable bubble that requires repositioning.
Solutions for Stubborn Bubbles
For stubborn bubbles, you can consider using a small pin to pierce the edge of the bubble carefully. This will release trapped air and make it easier to push the remaining air out toward the edge. Be cautious with this method, as you don’t want to damage the protector or the screen beneath. If necessary, some users suggest leaving the bubbles for a day or two, as they may dissipate on their own over time. However, it’s highly recommended to address them immediately to enjoy a perfect finish.
Maintenance of Your Screen Protector
Keeping Your Screen Protector Clean
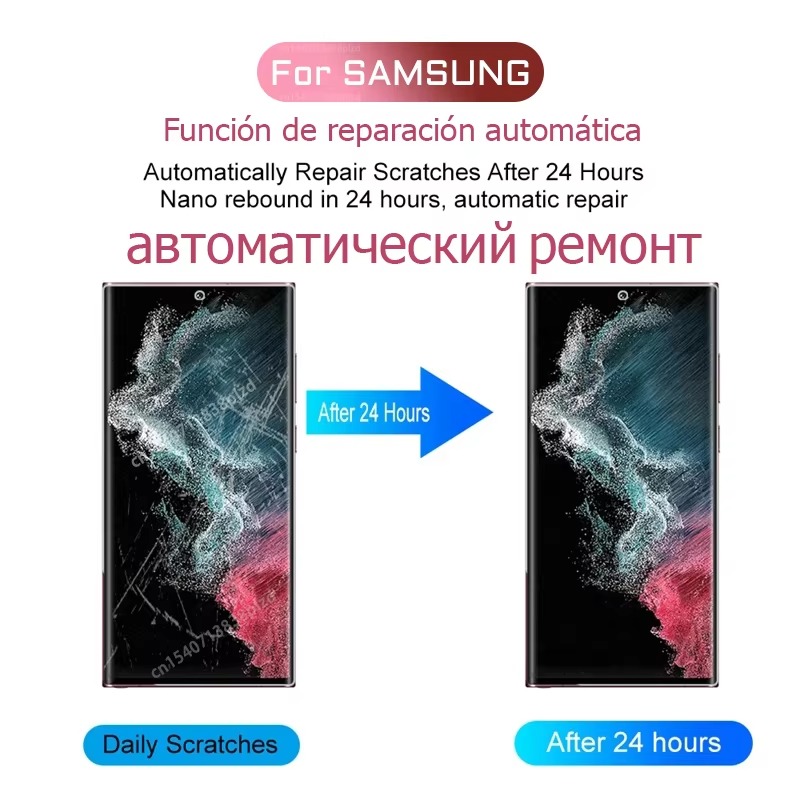
Once your screen protector is in place, it’s essential to keep it clean to maintain its appearance and effectiveness. Regular cleaning with a lint-free cloth ensures that fingerprints, smudges, and dust are removed without scratching the surface. Avoid using abrasive materials that can leave scratches or degrade the quality of the protector over time.
Handling Damage and Replacement
It is also important to recognize when a screen protector is damaged. If it has deep scratches or chips, it may be time for a replacement. Regularly assessing the protector’s condition helps prolong the life of your device’s screen, ensuring you avoid any costly repairs. When removing an old protector, gently peel it off starting from the corners and avoid using excessive force, as this can lead to unwanted damage to the screen.
Troubleshooting Common Issues
The Protector Doesn’t Adhere
Sometimes, the screen protector might not adhere properly. This could happen due to dust particles that you may have missed or due to improper application technique. If you find that your screen protector has not adhered well, carefully lifting it off and reapplying it with more attention to cleanliness may solve the issue.
Misalignment After Application
Misalignment can happen even to the best of us. If you realize that your screen protector is misaligned, don’t panic. Gently lift the edge of the protector off the screen without removing it completely. Align it correctly and then continue smoothing it down using your card. Take your time with this process; a slow and steady approach often yields the best results.
Conclusion: The Benefits of a Successful Application
Enjoying Your Device
Successfully applying a screen protector can significantly enhance your device’s durability and aesthetic value. Not only does it protect from physical damage, but it can also provide enhanced clarity and touch sensitivity. With the skills you’ve learned from this guide, you can confidently apply screen protectors in the future without the fear of creating annoying air bubbles.
A Step Towards Device Longevity
Investing time in learning how to apply a screen protector properly is a worthwhile endeavor. Each device has its own quirks, and mastering this skill can keep your device looking good as new for years to come. Always remember that the first step towards maintaining your device’s integrity begins with a high-quality screen protector applied with care and precision.
