Screen protectors have become a necessity for safeguarding smartphones and other devices from scratches, cracks, and other damage. However, applying a screen protector isn’t always a straightforward process. One common issue that many users encounter is the formation of bubbles underneath the protector. These bubbles can be distracting and may interfere with the touch sensitivity of the screen. Fortunately, there are several quick fixes to help eliminate these bubbles and achieve a flawless finish.
Understanding the Causes of Bubbles
Poor Application Technique
Bubbles under screen protector often occur during the installation process. If the protector is applied hastily or inaccurately, air can become trapped between the protector and the screen. For instance, if you apply the protector from one side to the other without allowing it to meet the surface gradually, you’re likely to end up with bubbles. Moreover, using your fingers to press down on the protector instead of a flat edge can lead to uneven pressure, making it easier for air pockets to form.
Dust and Debris Contamination
Another significant factor that contributes to bubbles is the presence of dust and debris on your smartphone’s screen at the time of application. Even the smallest particle can disrupt the adhesive layer of the protection, resulting in air pockets. Fragments of dirt clinging to the screen can prevent the protector from adhering correctly in certain areas, leading to bubbles that are difficult to remove. This is why it’s crucial to clean the screen thoroughly before applying any protective layer. Ensure that you’re working in a clean environment to minimize dust fallout.
Preparing for Application
Selecting the Right Location
Before you even begin to apply your screen protector, selecting the right location is vital. Ideally, you want to work in a dust-free environment, such as a bathroom after running a hot shower. The steam helps to settle dust particles, making for a cleaner workspace. You can also consider using a lint-free cloth and a cleaning solution specifically designed for electronics. This preparation will significantly reduce the chances of dust interfering with your application.
Cleaning Your Device’s Screen
Cleaning your device’s screen is a crucial step that should never be skipped. Start by turning off the device and lifting any existing screen protector, if necessary. Use a microfiber cloth or a soft, lint-free cloth dampened with soap and water, or a specialized screen cleaner to wipe down the display. Make sure to remove fingerprints, smudges, and any hidden dust that could cause bubbles. Once cleaned, dry the screen thoroughly to prevent moisture from interacting with the adhesive of the new screen protector.
Step-by-Step Application Guide
Aligning the Protector
After cleaning, it’s time to apply the screen protector, and alignment is key. Position the protector slightly above the device’s screen to avoid direct contact. This way, you can visually certify proper alignment with the edges of your phone. If your protector is a tempered glass variant, use the installation frame that usually comes with it to ensure the perfect fit. It’s advisable to take your time in this step as a wrong alignment can lead to subsequent adjustments, increasing the risk of air bubbles.
Applying the Protector
Once you’re satisfied with the alignment, gently lay the screen protector onto the display. Begin at one end and gradually lower the protector while applying even pressure. Try not to drop it flat from the top; instead, let it slide smoothly into place. If you’re using a liquid adhesive screen protector, follow the instructions provided for the best results. Avoid using your fingers to press down as this can further introduce air bubbles. Instead, use a rubber squeegee or the credit card method to smooth it out from the center towards the edges, effectively flushing out any trapped air.
Common Issues and Solutions
Dealing with Small Bubbles
If small bubbles form after you’ve applied the screen protector, don’t panic; they’re typically quite manageable. Start by gently pressing the bubble with your finger and then pushing it toward the nearest edge of the screen using a soft cloth or credit card. This should help disperse or eliminate the bubble. If the bubble is stubborn and won’t budge, you can use a tiny pin to carefully puncture it, allowing air to escape. Just be cautious not to damage the screen itself or the protector.
Handling Large Bubbles
For larger bubbles, the process may take a bit more finesse. First, try to press on the bubble to see if it can be smoothed out by pushing toward the edges. If this does not work, you may need to lift the screen protector gradually to release the bubble—similar to reapplication. Gently peel back the protector nearest to the bubble and smooth it down while putting pressure on the area. Make sure your hands are clean to avoid introducing new dirt or grease beneath the protector.
Long-Term Maintenance
Regular Cleaning and Maintenance
Once you’ve successfully applied your screen protector, the maintenance doesn’t stop there. Regular cleaning is essential to keep your screen and screen protector in pristine condition. Use a microfiber cloth to wipe it down daily, removing fingerprints and smudges. If you notice dust accumulating on the screen’s edges, take care to address it gently to avoid lifting any part of the protector. Establishing this routine will not only keep it looking good but can also help maintain the protective qualities of the screen itself.
Replacing When Necessary
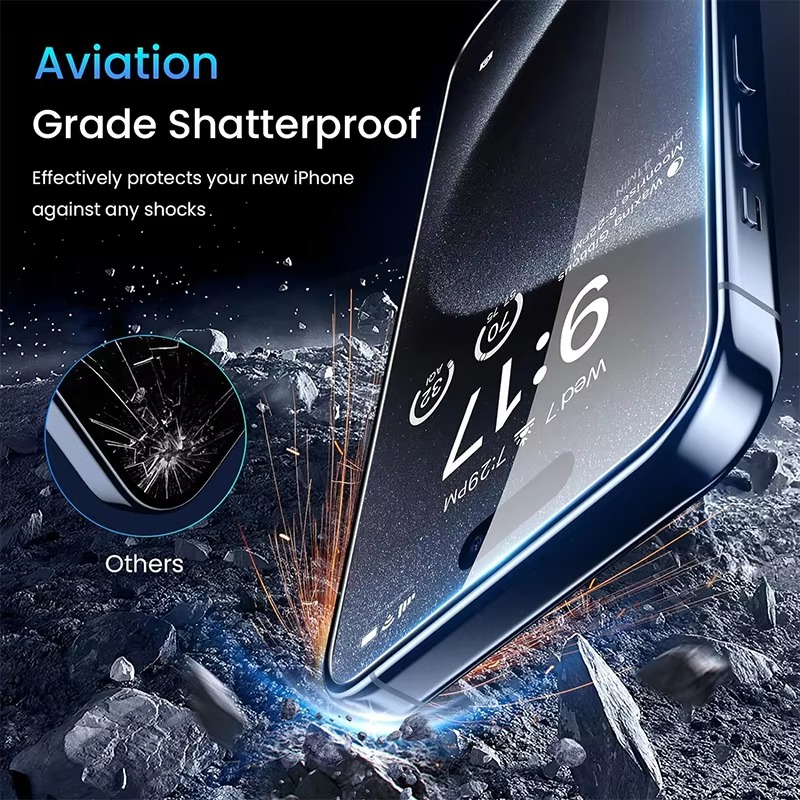
Even with all the care, a screen protector may degrade over time or suffer damage from drops and knocks. Regularly inspect your screen protector for scratches, chips, or peelings, especially at the edges. If you notice any signs of wear or damage, it’s best to replace the protector promptly to ensure your device’s screen remains safeguarded. A compromised protector might not only be ineffective but could also lead to further damage to your device if particles are allowed to reach the screen itself.
Choosing the Right Replacement Screen Protector
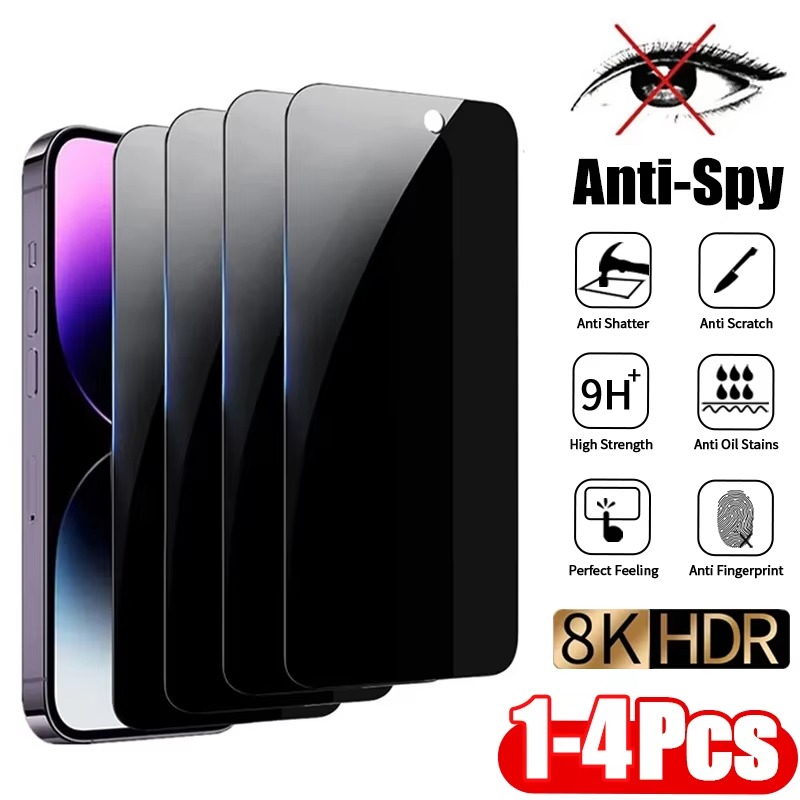
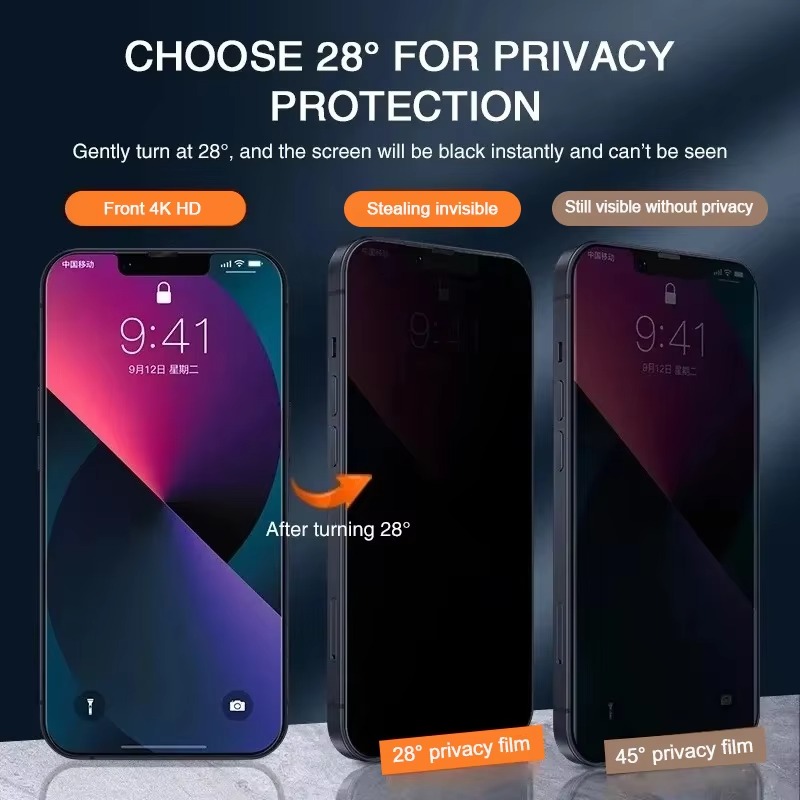
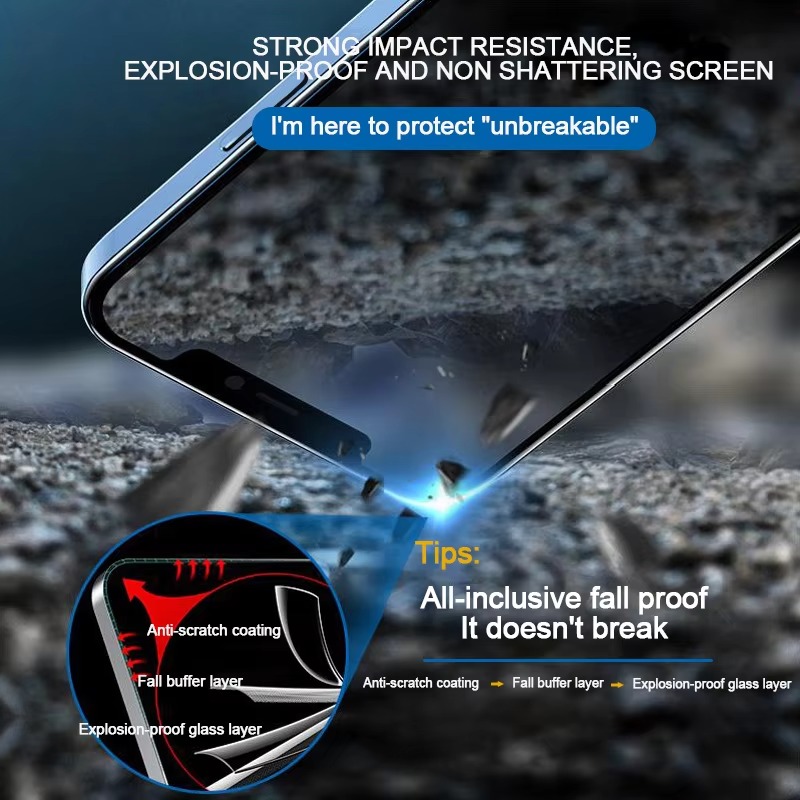
When it comes time to replace your screen protector, selecting the right one is crucial. There are various types of screen protectors available, such as tempered glass, TPU film, and privacy filters, each offering different levels of protection and features. Tempered glass protectors tend to provide superior impact resistance and clarity, while TPU film is more flexible and can self-heal minor scratches. Consider your lifestyle and how you use your device to determine which option will best meet your needs. Researching user reviews and seeking recommendations can also ensure you choose a protector that offers durability and an optimal fit.
Conclusion: Perfecting the Application Process
Key Takeaways
Achieving a flawless finish when applying a screen protector requires diligence and careful attention to detail. From understanding the potential causes of bubbles to following the right application techniques, each step plays an essential role in ensuring optimal results. Remember to always clean your device properly, select an ideal environment for application, and use accurate installation methods to diminish the likelihood of bubbles.
Final Thoughts
Bubbles under screen protector can be frustrating, but are far from the end of the road. With the right knowledge and tools in hand, you can employ quick fixes to achieve a flawless finish and keep your screen protected against everyday wear and tear. Whether you are a first-time user or a seasoned veteran in applying screen protectors, revising these steps can ensure that your device remains protected and aesthetically pleasing. Always be mindful during the installation process, and remember that patience is key for a successful application.
