Removing a screen protector can be daunting, especially if you’re worried about damaging your device or the protector itself. Whether you’re looking to replace an old protector or simply want to go back to using your device without one, this guide will walk you through the process step-by-step. Understanding the right techniques can make all the difference. Let’s dive into this comprehensive guide on how to take off a screen protector without breaking it.
Understanding the Types of Screen Protectors
Why It Matters
Before we dive into how to safely remove your screen protector, it’s vital to understand the different types available on the market. There are mainly three types of screen protectors: plastic film, tempered glass, and liquid glass. Each type has its own removal process.
Plastic Film Protectors
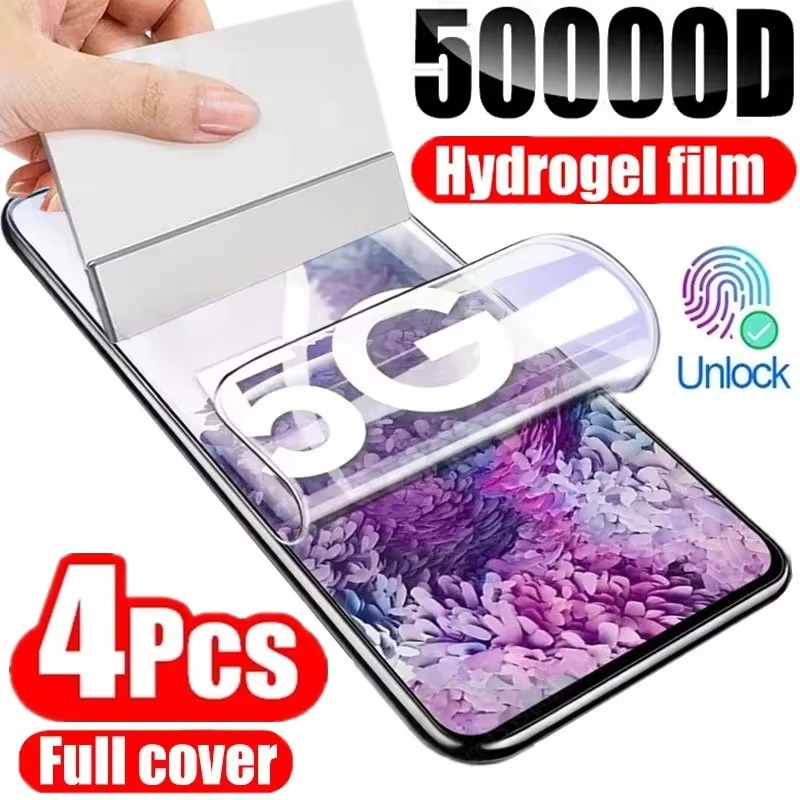
Plastic film protectors are the most common and least expensive type available. They are thinner and flexible, making them easier to peel off. Typically, you can gently lift one corner with a fingernail or a plastic card. However, they might leave some adhesive residue, which can be cleaned later.
Tempered Glass Protectors
Tempered glass protectors, on the other hand, are thicker and more protective but can be trickier to remove. When removing tempered glass, it’s best to do so slowly to avoid shattering the glass and causing small shards to fall onto your screen or surroundings. They often come with a 3M adhesive, which may require a bit more finesse to detach.
Liquid Glass Protectors
Lastly, liquid glass is formulated differently. It bonds to the screen at a molecular level and may be hard to identify as a screen protector. In this case, using a cleaning cloth may help remove any traces, but it usually does not obstruct the screen’s visibility and strength.
Understanding these differences can help set your expectations for the removal process. Knowing the type you are dealing with can also inform which materials and techniques you should use for removal.
Pre-Removal Steps: Prepare for Success
Gather Your Supplies
Before you start, have a few supplies ready. You’ll need:
- A soft cloth
- A plastic card, like a credit card (optional depending on your protector)
- Tape (scotch tape works well for this)
- Cleaning solution (if there’s adhesive residue left)
Having these materials at your disposal will make the process smoother and successful, eliminating the need to search for something partway through.
Clean the Screen
Before attempting to take off your screen protector, clean around the edges of the screen correctly. Dust or debris can get trapped between the screen and the protector, which can create scratches or lead to the protector breaking during the removal process. Use a microfiber cloth with a cleaning solution to ensure that everything is debris-free.
Assess the Condition of the Protector
Take a moment to inspect your current protector. Is it cracked, chipped, or peeling at the edges? If it’s in good condition, it’s easier to remove. If it’s damaged, proceed with extra caution—cracks can splinter when you try to peel them off, posing a risk to your device and to yourself during the removal.
Step-by-Step Guide to Removing Screen Protector
Step 1: Choose Your Starting Point
Locate a Corner
Once you’re ready to start peeling, choose a corner to begin. If your screen protector has screen edges that are already peeling, use them to your advantage. If not, use your fingernail or the edge of a plastic card to gently lift the corner.
Use Tape If Needed
If your fingernail isn’t getting enough lift, consider adding a piece of tape on the corner for better grip. Stick the tape lightly to the protector and pull gently until the corner starts to lift. Be patient; forcing it will only lead to breakage.
Step 2: Slowly Peel the Protector Off
The Art of Peeling
Once you have a corner lifted, slowly and carefully start to peel back the protector. Keep the angle between 30 to 45 degrees—this position helps in applying even pressure and reduces the risk of breaking the protector.
Work Along the Edges
As you peel, move gradually along the edges rather than trying to yank it off in one swift motion. If the protector starts to stick again, retreat a little and make sure the area is clean and dust-free before continuing.
Step 3: Watch for Adhesive Residue
Inspect for Adhesive Leftover
Once you’ve successfully removed the protector, closely inspect for any adhesive residue that may remain. This is often especially problematic with plastic film protectors.
Clean the Screen Properly
To remove any residue, use a cleaning solution and a microfiber cloth. Spray the solution on the cloth, not directly on your screen, to avoid oversaturation. Wipe gently until the area is clean and free from sticky spots. Never use sharp objects or abrasives, as these might scratch your screen.
What to Do If the Protector Breaks
Assessing the Damage
In some cases, despite your best efforts, the screen protector may crack or break during removal. If this happens, stay calm. Most screen protectors won’t damage your actual screen unless they shatter completely.
Cleaning Up the Shards
If your tempered glass protector has shattered, ensure you pick up all pieces safely before moving on. Use gloves if needed, and be cautious to avoid injury. Once cleaned, proceed to wipe down the screen with your microfiber cloth.
Prevent Future Issues
Ensure that when you replace your screen protector, it’s installed properly without lifting edges. This minimizes the risk of breaking or peeling in the future, making removal a breeze down the line.
Frequently Asked Questions
How Often Should I Replace My Screen Protector?
The lifespan of a screen protector usually ranges from six months to a year, depending on its condition and usage. Check for any cracks, chips, or scratches frequently; if it’s compromised, it’s best to replace it right away.
Can I reuse a screen protector after removing it?
In general, it’s not advisable to reuse a screen protector once it’s been removed. The adhesive can lose its effectiveness, and the protector may not apply properly or securely without air bubbles forming.
Are there any risks when I remove my screen protector?
Yes, there are potential risks when removing a screen protector, including breakage and leaving adhesive residue on your screen. Taking your time and following a step-by-step method can mitigate these issues significantly.
What Are the Different Types of Screen Protectors?
There are several types of screen protectors available, each with unique features and benefits. The most common types include tempered glass, plastic film, and liquid screen protectors. Tempered glass offers excellent protection from drops and scratches while maintaining touch sensitivity. Plastic film screen protectors are typically thinner and may provide less protection but often have a lower price point. Liquid screen protectors create a nano-coating on the screen, offering scratch resistance while being virtually invisible. Choosing the right type depends on your lifestyle, budget, and how much protection you need for your device.
Conclusion: Remove With Confidence
Removing a screen protector may seem challenging at first, but with the right approach and tools, you can do it safely and effectively. Always remember to assess the type of screen protector you’re dealing with, prepare adequately by cleaning the screen, and take your time during the removal process. Follow each step carefully, and you should have no issues with damaging the protector or your device. Armed with this guide, you can confidently tackle the task of screen protector removal whenever it arises.
