Why You Should Remove a Cracked Screen Protector
When your phone has a cracked screen protector, it may seem like a minor issue. However, ignoring it can lead to problems. Firstly, even small cracks can grow, potentially causing injury. Those little jagged edges are sharp. Plus, dirt and debris can enter through cracks. This makes your screen look messy and can even cause more damage. Also, a cracked screen protector can’t do its job well. It’s meant to shield your phone’s screen from damage. When it’s compromised, it’s less effective. This puts your expensive phone at risk for scratches or breaks.
Furthermore, a damaged protector affects screen sensitivity. This makes using your phone frustrating. Lastly, it can reduce the clarity and visibility of your display. Straining your eyes to see through scratches isn’t good. For these reasons, it’s important to remove a cracked screen protector. Do it carefully and replace it to ensure your phone stays in top condition.
Tools Needed for Safe Screen Protector Removal
Ensuring you have the right tools is crucial for safely removing a cracked screen protector. When starting this process, gather these items:
- Wooden toothpick: A toothpick can help lift a corner of the screen protector without damaging your phone.
- Credit card: It acts like a wedge. It slides under the lifted edge of the screen protector.
- Hair dryer: A short blast of low heat helps loosen the screen protector adhesive.
- Microfiber cloth: This helps clean the screen after removal. It prevents scratches during cleaning.
- Cleaning solution: Water mixed with vinegar helps dissolve adhesive residue.
These common household items are easily accessible and effective. Using them reduces the risk of damaging your phone. It is vital to use the toothpick and card with care to avoid scratches. The hair dryer should be on a low heat setting. High heat can harm your phone. A microfiber cloth is gentle on your phone’s screen. The cleaning solution should be light – too much vinegar can cause issues. With these tools, you are set to safely remove a cracked screen protector.
Step-by-Step Guide to Removing a Screen Protector
Removing a cracked screen protector is straightforward when you follow these steps. Keep it slow and gentle to avoid damage:
- Heat up the edges: Use a hair dryer on low for 15-20 seconds. This softens the adhesive.
- Lift a corner with a toothpick: Carefully slide a toothpick under one corner. Keep the sharp end up.
- Slide a credit card underneath: Once the corner lifts, push a credit card under the edge.
- Work around the screen: Gently move the card around the phone’s perimeter. Do this until the entire protector loosens.
- Peel off the screen protector: Now, you should be able to lift the entire piece off.
- Clean your phone’s display: Wipe off any adhesive with a microfiber cloth and a vinegar-water solution.
- Install a new screen protector: Now your phone is ready for fresh protection.
Remember not to rush. Take your time to prevent harming your phone’s screen. If you face trouble with any step, it might be safer to seek professional help. Especially, if the phone’s display is also damaged. Following these instructions helps to remove the screen protector safely and prepares your phone for a new one.
Professional vs DIY Removal: When to Choose Each Option
Deciding between DIY or professional help to remove a cracked screen protector depends on several factors. If your phone’s display has also suffered damage, it’s best to choose a professional service. This is because removing the protector could create tiny shards of glass that are hazardous. Also, professionals can handle the entire repair process, including screen replacement if necessary.
Opt for a DIY approach when the screen protector alone is damaged and the phone’s display is intact. If you are confident and have the necessary tools such as toothpicks, credit cards, hair dryers, and microfiber cloths, DIY can be quick and cost-effective. A simple crack or scratch on the protector doesn’t need professional intervention.
However, if there are multiple cracks or if the protector is shattered into pieces, err on the side of caution. In these cases, a professional can remove the protector safely without risking further damage to your phone. Moreover, some screen protectors come with a warranty that might be void if you attempt to remove them yourself. Check the warranty before proceeding with DIY removal.
In summary, choose DIY removal for simple, isolated screen protector damage. For complex or comprehensive damage, particularly when paired with phone screen damage, professional services are recommended. Assess the condition of your phone carefully before making a decision.
Disposing of Your Old Screen Protector Safely
Once you have successfully removed your cracked screen protector, it’s essential to dispose of it correctly to avoid any potential harm. Here are simple, effective steps to safely discard your old screen protector:
- Wrap it up: Take the removed screen protector and wrap it in tissue or newspaper. This prevents the broken glass from causing injuries.
- Seal it: Place the wrapped screen protector in a plastic bag. Seal the bag tightly. This step ensures that no small glass pieces escape and create a hazard.
- Label the bag: Mark the bag with a warning such as ‘Broken Glass’ to alert handling individuals. This is especially important if you are disposing of it outside your home.
- Use a bin: Don’t just throw the bag anywhere. Place it in a lidded bin to avoid any contact with animals or children.
- Recycling: If possible, check with local recycling guidelines. Some areas have specific recycling protocols for glass items like screen protectors.
Disposing of your screen protector safely is as important as removing it carefully. These steps help ensure environmental safety and prevent potential injuries. Always handle broken glass with care, even if it’s wrapped.
Preparing Your Phone for a New Screen Protector
Once you’ve removed your old screen protector, it’s time to place a new one on your phone. Proper preparation of your phone’s screen is crucial to ensure the new screen protector adheres smoothly and effectively. Here’s a quick guide to get your phone ready:
- Clean the display thoroughly: Use a microfiber cloth to wipe away any dust or fingerprints on your phone’s screen.
- Disinfect the screen: Apply a small amount of water-vinegar cleaning solution to another microfiber cloth, then gently clean the screen to remove adhesive residues.
- Dry the screen: After cleaning, ensure the screen is completely dry to avoid trapping moisture under the new screen protector.
- Check for debris: Inspect the screen closely. Make sure that no small particles remain as they could cause bubbles under the screen protector.
- Align the new protector: Carefully align the new screen protector with your phone’s screen, paying attention to the camera, speaker, and button cutouts.
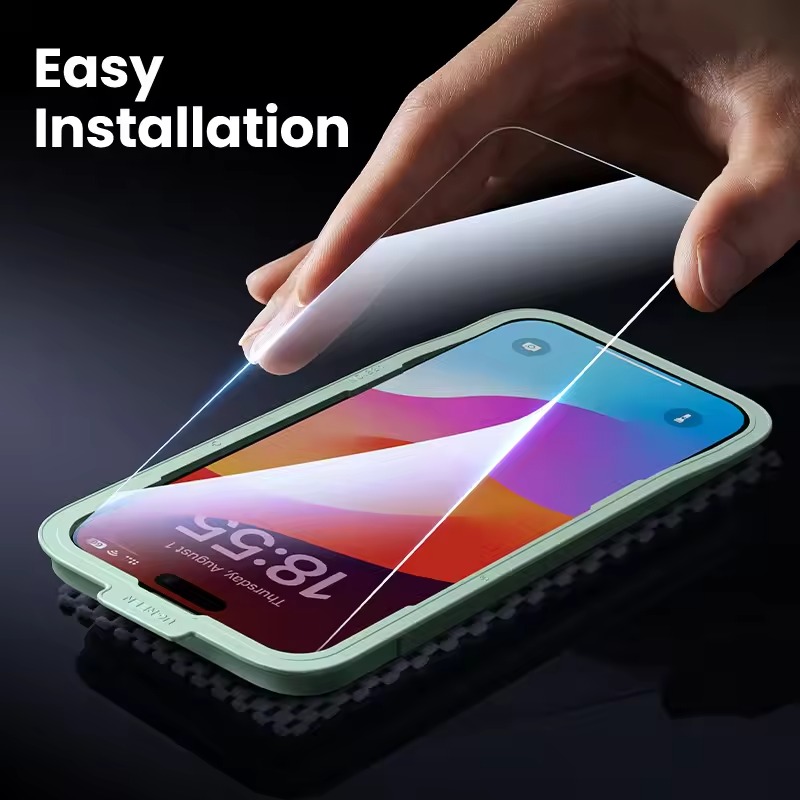
- Apply the screen protector evenly: Starting from one edge, slowly apply the screen protector, smoothing it out to avoid bubbles and wrinkles.
- Smooth out air bubbles: If any bubbles appear, gently push them out towards the nearest edge using a credit card or a smoothing tool often included with screen protectors.
By following these steps, you can ensure that your phone is prepared for a new screen protector. This will help keep your screen looking pristine and protected against future damage.
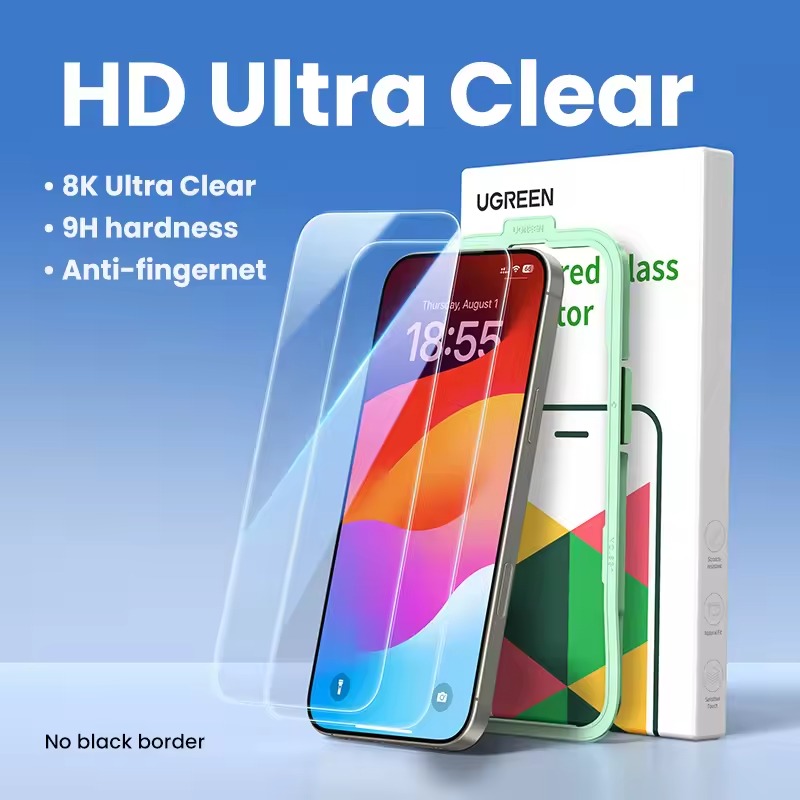
Tips to Avoid Damaging Your Phone During Removal
When removing a cracked screen protector, it’s essential to safeguard your phone. Here are key tips to ensure a damage-free process:
- Be Patient: Rushing may cause further damage. Take your time with each step.
- Use Gentle Heat: If you choose to loosen adhesive with a hair dryer, use a low heat setting to prevent overheating your device.
- Lift Carefully: Start with a toothpick to lift an edge, then gently slide in a credit card. Avoid forceful prying.
- Avoid Sharp Tools: Metal objects can scratch your phone. Stick to plastic cards and wooden toothpicks.
- Keep the Phone Stable: Use a non-slip surface to avoid accidental drops during protector removal.
- No Direct Pressure: When working the card under the protector, apply pressure to the protector, not the screen.
- Clean Softly: Use a soft microfiber cloth for cleaning. Rub the screen gently to clear adhesive residue.
- Check for Damage Beforehand: If your phone’s screen is also damaged, consider professional removal.
- Follow the Right Sequence: Adhere to the removal steps precisely. Skipping steps can result in mistakes.
By obeying these pointers, you minimize the risk of causing any further impairment to your phone during the removal of a damaged screen protector.
Alternatives to Traditional Glass Screen Protectors
While traditional glass screen protectors offer solid protection, alternatives exist. Consider these options if you’re looking for a change:
- Polyethylene Terephthalate (PET): These are plastic film protectors. They’re light and thin, offering basic protection against scratches. However, they’re less durable against impact.
- Thermoplastic Polyurethane (TPU): More flexible than PET, TPU can self-heal minor scratches. It’s also better at absorbing impact.
- Liquid Screen Protectors: This is a liquid applied to your screen and dried to form a protective layer. These protectors claim to repel water and reduce fingerprints. They offer some scratch resistance but less protection against drops.
- Antimicrobial Screen Protectors: Made with agents that kill bacteria, these are great for cleanliness. They combine traditional protection with hygiene benefits.
- Privacy Screen Protectors: These limit the viewing angle of your screen. They protect your data from prying eyes, along with providing scratch and impact protection.
Each type has its pros and cons. When choosing, consider what’s most important for your phone use. Some prefer the toughness of glass, while others value flexibility or specific features like privacy or antimicrobial properties.
