Preparing Your Workspace
Preparing your workspace correctly is a critical first step in how to install a screen protector smoothly and efficiently. A well-prepared workspace ensures that the application process is hassle-free and yields the best results.
Gather Necessary Tools
Start by gathering all the necessary tools. This typically includes:
- A microfiber cloth for cleaning the screen.
- A dust-free cleaning solution, preferably made for electronics.
- A squeegee or a credit card to smooth out bubbles.
- The screen protector itself.
- Optionally, alignment tools or guides that often come with the screen protector.
Having these tools on hand before you begin will streamline the process.
Clean and Dust-free Environment
It’s essential to ensure the environment is as clean and dust-free as possible. Here’s how you can achieve that:
- Choose a low-dust space, such as a bathroom after running hot water to settle the dust.
- Close windows and doors to minimize dust circulation.
- Clean the surface where you’ll be working with a damp cloth.
- Lay down a clean, lint-free towel to set your device and tools on.
Creating a dust-free environment will prevent particles from getting trapped under the screen protector, which can cause bubbles and impair visibility.
Choosing the Right Screen Protector
Choosing the right screen protector is vital for effective protection. This process involves understanding the different types available and matching one that suits your device model.
Types of Screen Protectors
There are several types of screen protectors to consider:
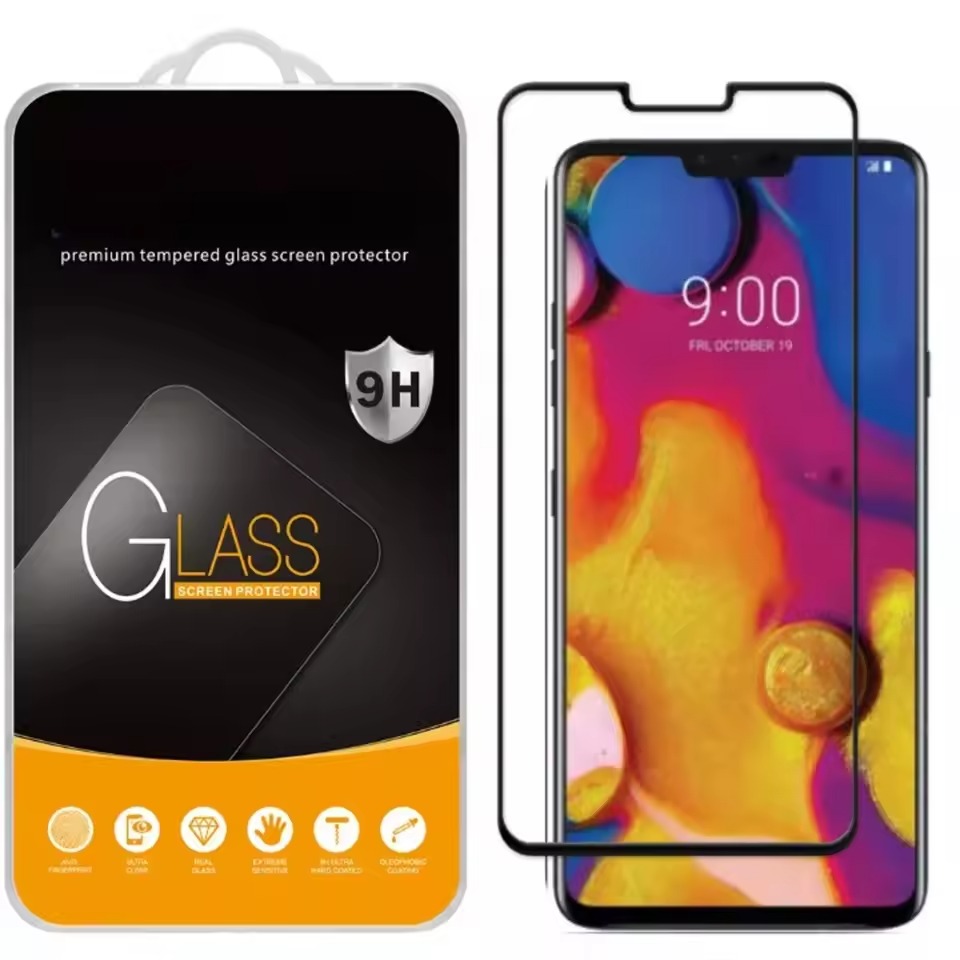
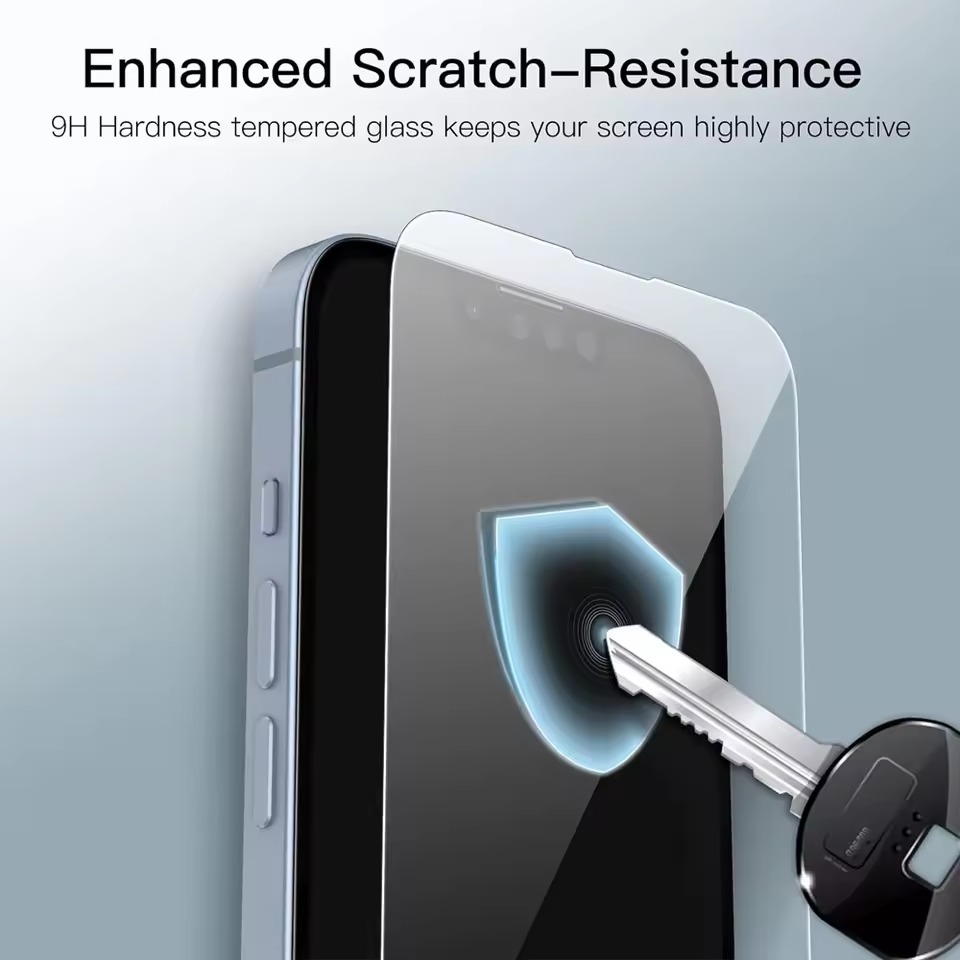
- Tempered Glass: Offers robust protection against scratches and impacts. It maintains screen clarity and touch sensitivity.
- PET Plastic: Generally cheaper, lighter, and less noticeable. However, it provides less impact protection compared to tempered glass.
- TPU Plastic: Flexible and durable, providing good impact protection. It can self-heal minor scratches over time.
- Privacy Screen Protectors: These prevent others from peeking at your screen from an angle. Ideal for those who value privacy.
- Anti-Glare Protectors: Reduce glare from sunlight or bright light, making the screen easier to see in bright conditions.
Understanding these options will help you make an informed decision based on your needs and how you use your device.
Matching Protector to Device Model
Not all screen protectors fit every device. It’s essential to choose one that fits your specific model. Here’s how you can ensure a good match:
- Check Compatibility: Read product descriptions carefully to ensure the protector is designed for your device model.
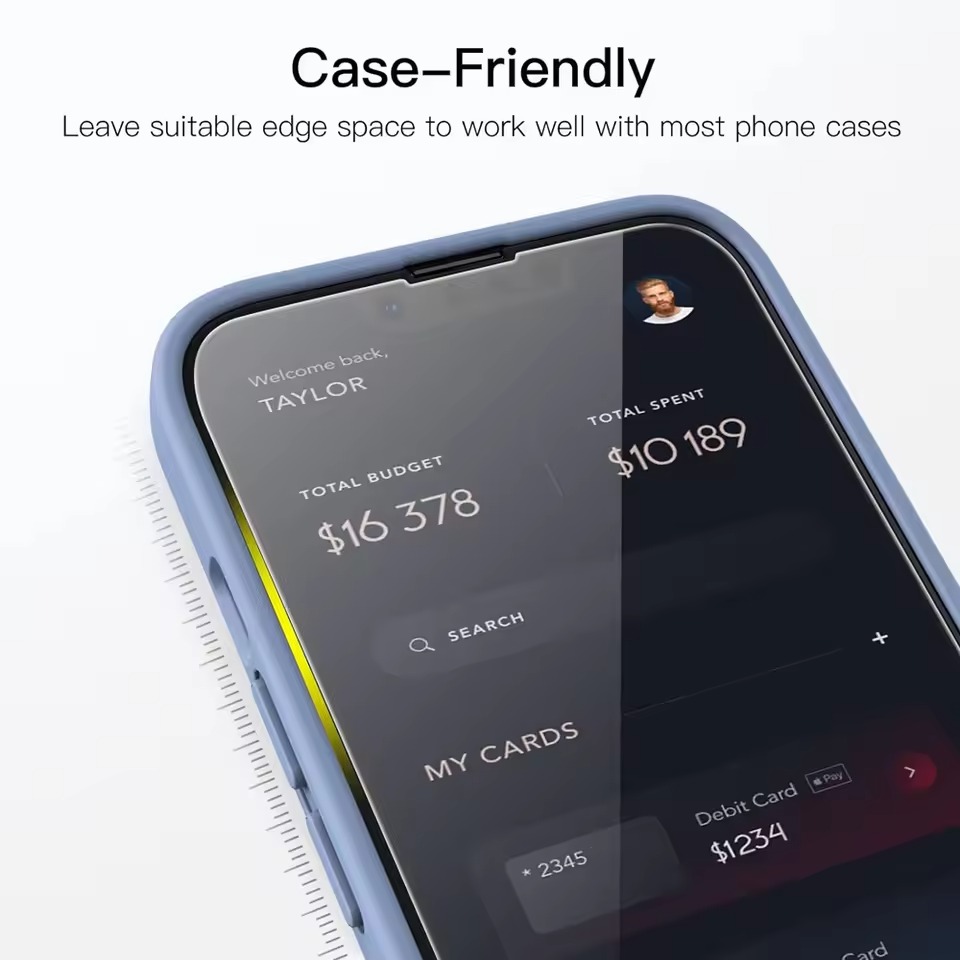
- Consider Coverage: Some protectors cover the entire front of the device while others only cover the screen area.
- Look at Features: Consider if you need additional features like privacy filters or anti-glare properties.
Properly matching the screen protector not only provides the best protection but also maintains the functionality and aesthetics of your device.
Cleaning Your Device’s Screen
To install a screen protector correctly, cleaning your device’s screen is essential. Any dust, oil, or smudges can affect the adhesive bond and visibility. Start by turning off your device and removing it from any case.
Step-by-Step Cleaning Process
- Wipe the screen with a microfiber cloth to remove dust and smudges.
- Apply a cleaning solution suitable for electronic screens. Use a spray or a dampened cloth.
- Dry the screen using a fresh microfiber cloth. Ensure it’s completely dry and clear of streaks.
- Inspect the screen for any remaining dust or smudges. You can use a dust remover or sticky tape to pick up any residues.
Types of Cleaning Solutions
- Isopropyl Alcohol: Effective for removing oils and fingerprints. Dilute it with water (50/50) for safe use.
- Distilled Water: Safe for all types of screens when used with a soft cloth.
- Screen-Specific Wipes: Pre-moistened and perfect for touchscreens. Make sure they are alcohol-free.
Properly cleaning your screen sets the stage for a flawless screen protector installation. Avoid household cleaners and tap water, as they may contain chemicals and minerals harmful to screens.
Aligning the Screen Protector
Aligning the screen protector correctly is crucial for optimal functionality and appearance. Here is a guide to help you achieve perfect alignment.
Techniques for Accurate Alignment
Follow these techniques to accurately align your screen protector:
- Use Alignment Tools: Many screen protector kits include tools specifically designed to aid in proper alignment. These can be simple frames or stickers that help position the protector.
- Guide with Camera and Speaker Cut-Outs: Align the screen protector with the camera, speaker, and home button cut-outs. This ensures that all functional components are unobstructed.
- Peel and Position Technique: Peel off the protective layer on one end, align, and gently stick down the entire protector from one end to the other. This avoids misalignment and air bubbles.
- Check Edges: Ensure that the protector is evenly aligned with all edges of the device’s screen. This prevents peeling and gaps where dust could enter.
Common Mistakes to Avoid
To ensure a smooth installation of your screen protector, avoid these common mistakes:
- Touching Adhesive: Avoid touching the sticky side of the screen protector. Oils from your fingers can reduce its effectiveness.
- Skipping Cleaning: Applying the protector without cleaning the screen results in bubbles and poor adhesion. Make sure your screen is immaculate before application.
- Rushing the Process: Take your time with the alignment. Rushing can lead to misplacement and wastage of your screen protector.
- Ignoring Air Bubbles: If you see air bubbles during the application, do not ignore them. Use a squeegee to push them out towards the nearest edge before the protector fully adheres.
Proper alignment is integral to how to install a screen protector effectively. By following these steps and avoiding common pitfalls, you’ll ensure your device’s screen is well-protected and visually appealing.
Application Process
Installing a screen protector is straightforward if you follow these guidelines step by step.
Step-by-Step Guide
- Prepare Your Tools: Gather all necessary tools including the screen protector, microfiber cloth, and squeegee.
- Clean Your Screen: Ensure your device’s screen is completely clean and dry.
- Peel the Protector: Gently peel off the protective backing from the screen protector.
- Align the Protector: Start aligning from one edge, considering camera and speaker cutouts.
- Apply the Protector: Gently place the protector on the screen. Start from one side and slowly proceed to the opposite side.
- Smooth It Out: Use the squeegee to smooth out any bubbles and to ensure good adhesion.
Removing Air Bubbles
Even with careful application, air bubbles can appear. Here’s how to remove them:
- Use a Squeegee: Gently push the bubbles towards the nearest edge of the screen protector.
- Small Bubbles: Small bubbles might disappear on their own over a few days.
- Persistent Bubbles: If bubbles persist, gently lift the nearest edge, and reapply pressure.
Ensure all bubbles are dealt with before the protector fully adheres to prevent long-term issues.
Aftercare and Maintenance
Caring for your screen protectors after installation ensures its longevity and continued protection for your device’s screen.
Daily Maintenance Tips
Keep your screen protector in top condition with these easy tips:
- Regular Cleaning: Use a soft, lint-free cloth to wipe the protector. Do this daily to prevent build-up.
- Avoid Harsh Chemicals: Clean with mild solutions, such as diluted isopropyl alcohol or just water.
- Gentle Touch: Don’t apply too much pressure when interacting with your touch screen.
- Mind Your Storage: When not in use, store your device in a safe place to minimize the risk of scratches.
These simple practices will help maintain clarity and responsiveness.
Long-Term Protector Care
For sustained performance, follow these additional care steps:
- Periodic Inspections: Check for edges lifting or scratches periodically to determine if a replacement is due.
- Quality Cleaning Tools: Always use a high-quality microfiber cloth and screen-safe cleaners.
- Immediate Response to Damage: If you notice a crack or deep scratch, replace the screen protector to ensure your device’s screen remains protected.
Implementing these maintenance and care strategies will maximize the life of your screen protector and maintain your device’s pristine condition.
Troubleshooting Common Issues
Once you have installed your screen protector, you might encounter some common issues that can detract from its appearance or effectiveness. Here are some tips on how to address these problems so that your screen protector functions optimally.
Fixing Misalignment
If your screen protector is not perfectly aligned, it can lead to issues such as impaired functionality or aesthetic imperfections. Here’s what you can do:
- Lift and Realign: Carefully lift the edge of the protector nearest the misalignment. Slowly adjust it to align properly.
- Avoid Fingerprints: While realigning, try not to touch the adhesive side.
- Work Slowly: Take your time to ensure accuracy. Rushing could make the misalignment worse.
Taking the time to correct any misalignment will ensure that your device’s screen remains fully accessible and looks its best.
Dealing with Dust and Bubbles
Dust and bubbles under the screen protectors can be frustrating. Here are steps to get rid of them:
- Remove and Clean: If dust is present, gently lift the protector. Clean the spot on both your screen and the protector.
- Squeegee Method: For bubbles, use the squeegee to push them out to the edges.
- Sticky Tape Trick: For persistent dust particles, use a piece of sticky tape to lift them off the screen.
By addressing these common issues, you can enjoy a clean and clear screen protector for better device protection and user experience.