Preparing Your Workspace
Before taking on the task of applying a screen protector to your device, it is essential to prepare your workspace. This preparation is vital to ensure a bubble-free application. Follow these steps to set up an ideal environment:
- Choose a Dust-Free Area: Select a spot far away from open windows, vents, or fans. Dust and debris are the main enemies of a bubble-free screen protector application.
- Stable Work Surface: Use a flat, stable table or desk. A shaky surface can disrupt the application process.
- Adequate Lighting: Make sure the room is well-lit. You need to see fine dust particles and align the protector accurately.
- All Necessary Tools on Hand: Gather a microfiber cloth, dust removal stickers, a squeegee, and the screen protector itself. Having everything within reach will streamline the process.
- Wash Your Hands: Clean your hands to rid them of oils and dirt that could transfer to the screen. Dry them thoroughly.
By following these simple steps, you create the best possible conditions for a successful application of your screen protector without bubbles.
Cleaning the Screen Thoroughly
Once you have prepped your workspace, the next crucial step in ensuring a bubble-free screen protector application is to clean the screen thoroughly. Here’s how to make sure your device’s screen is spotless:
- Use a High-Quality Microfiber Cloth: Begin by gently wiping the screen with a clean microfiber cloth. This will remove most of the coarse dust and fingerprints.
- Apply a Screen Cleaner: If you have a specially formulated screen cleaner, use it. Spray a small amount onto the microfiber cloth, not directly on the screen, and wipe gently.
- Inspect the Screen: After cleaning, hold the device under different light angles to check for remaining smudges or debris.
- Final Dusting: Use dust removal stickers or a fresh microfiber cloth to touch up. This final dusting ensures absolutely no particles are left before the screen protector application.
Adhering to these detailed cleaning steps provides an ideal surface for applying your screen protector, significantly reducing the chances of any bubbles forming.
Aligning the Screen Protector Precisely
Proper alignment is critical when you apply a screen protector. It makes sure your screen remains fully functional and looks clean. Below are steps to follow for precise alignment:
- Check the Orientation: Confirm which side of the screen protector should face up. Look for any cutouts or notches that match your device’s features like the camera or home button.
- Lay the Protector Down Gently: Start from one end and slowly lower it onto the screen. Pay close attention to the alignment of the cutouts and the edges of your device’s screen.
- Reposition as Needed: If you notice any misalignment, gently lift the protector. Then, realign it before it fully adheres to the screen.
- Use a Guiding Tool: Some protectors come with guiding stickers or frames to help. These tools can assist in keeping the protector straight as you apply it.
Achieving a precise alignment ensures that you won’t have to deal with pesky bubbles and it leaves your screen looking impeccable. Remember, patience is key. Take your time and follow these steps for a perfect, bubble-free application.
Using the Hinge Method for Alignment
One innovative way to apply your screen protector without bubbles is using the hinge method. This technique can simplify the alignment process and improve precision. Here’s how to do it step-by-step:
- Tape one side: Secure one side of your screen protector to the device with small pieces of transparent tape. Think of these as your ‘hinges’.
- Flip and Clean: With the ‘hinges’ in place, flip the protector up like a book cover. Now you can do a final clean of the screen without shifting the protector.
- Slowly Stick Down: Carefully flip the screen protector back over onto the screen. Start from the taped edge and slowly adhere it down to avoid bubbles.
- Smooth it Out: Use a squeegee or a credit card wrapped in a microfiber cloth to smooth out the protector. Be sure to push any tiny bubbles out to the edges.
By using the hinge method, you keep the screen protector’s position steady, reducing the risk of misalignment. Remember, patience and careful handling are your best tools for a bubble-free finish. Following these clear steps should help you achieve a flawless screen protector application.
Removing Air Bubbles Effectively
Even with perfect preparation and application, you might still find some pesky air bubbles under your screen protector. Don’t worry; with the right approach, you can get rid of them easily. Here’s what to do:
- Start from the Center: Press down in the center of the screen protectors and move outwards. This pushes air towards the edges.
- Use a Squeegee or Credit Card: Wrap a credit card in a microfiber cloth. Gently push bubbles towards the nearest edge.
- Apply Gentle Pressure: Don’t press too hard. Firm, gentle pressure is enough to move bubbles without damaging the protector or screen.
- Be Patient: Sometimes, small bubbles disappear after a few hours. Wait and see if they naturally resolve before taking further action.
- Heat Can Help: If bubbles persist, apply low heat with a hairdryer. Then, push the bubbles out while the protector is flexible.
By following these steps, you’ll tackle any bubbles and ensure your screen protector is as effective and unnoticeable as possible.
Smoothing Out the Protector
Once you have aligned the screen protectors correctly, the next step is to smooth it out. This step is crucial to reinforce the protector’s adhesion and ensure a display free of bubbles or wrinkles. Follow these simple and effective tips for smoothing out your screen protector:
- Use a Squeegee Tool: A squeegee is your best friend in this process. Gently glide it over the surface of the screen protector, from the center to the edges, to eliminate any remaining air pockets and to ensure a snug fit.
- Choose the Right Direction: Always move the squeegee from the inside out. This direction pushes air towards the edges, away from the center of the screen, preventing bubble formation.
- Wrap Your Tool: To avoid scratches, wrap the squeegee (or a credit card, if you don’t have one) in a soft microfiber cloth before use. This also helps absorb excess adhesive that might ooze out.
- Work Slowly and Deliberately: Rushing can lead to mistakes. Take your time to ensure every part of the protector is smoothly adhered to the screen without any trapped air.
- Inspect Your Work: After you’ve finished smoothing the protector, inspect the screen from various angles. Check for any remaining bubbles and ensure that every corner is secure.
These steps augment your efforts on how to put on screen protectors without bubbles and promise to give your device’s screen the flawless protection it needs. With methodical smoothing, you can enjoy a bubble-free screen that doesn’t hinder your device’s touch sensitivity or clarity.
Ensuring Longevity of the Screen Protector
To keep your screen protector lasting longer, follow these tips:
- Handle with Care: Avoid rough usage. Treat the device gently to prevent protector damage.
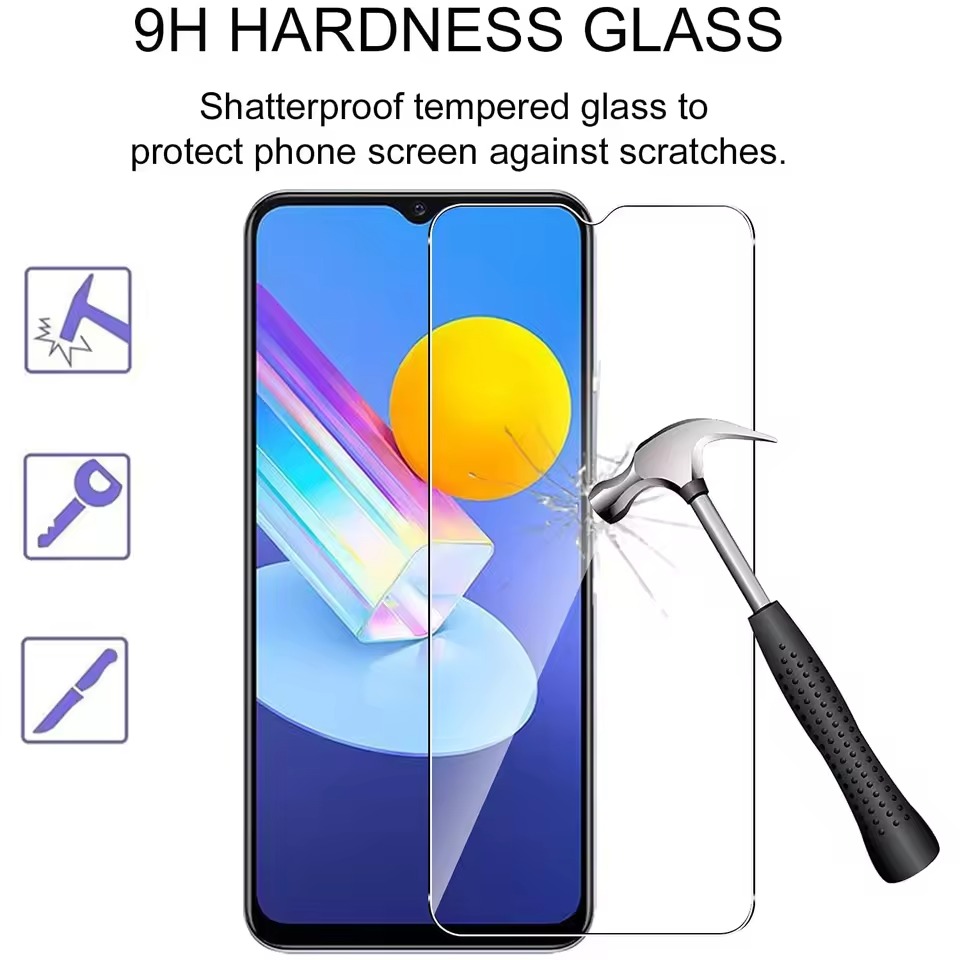
- Avoid Sharp Objects: Keep keys, coins, and other sharp objects away from your screen.
- Regular Checks: Look for any lifting edges or scratches. Replace the screen protector if necessary.
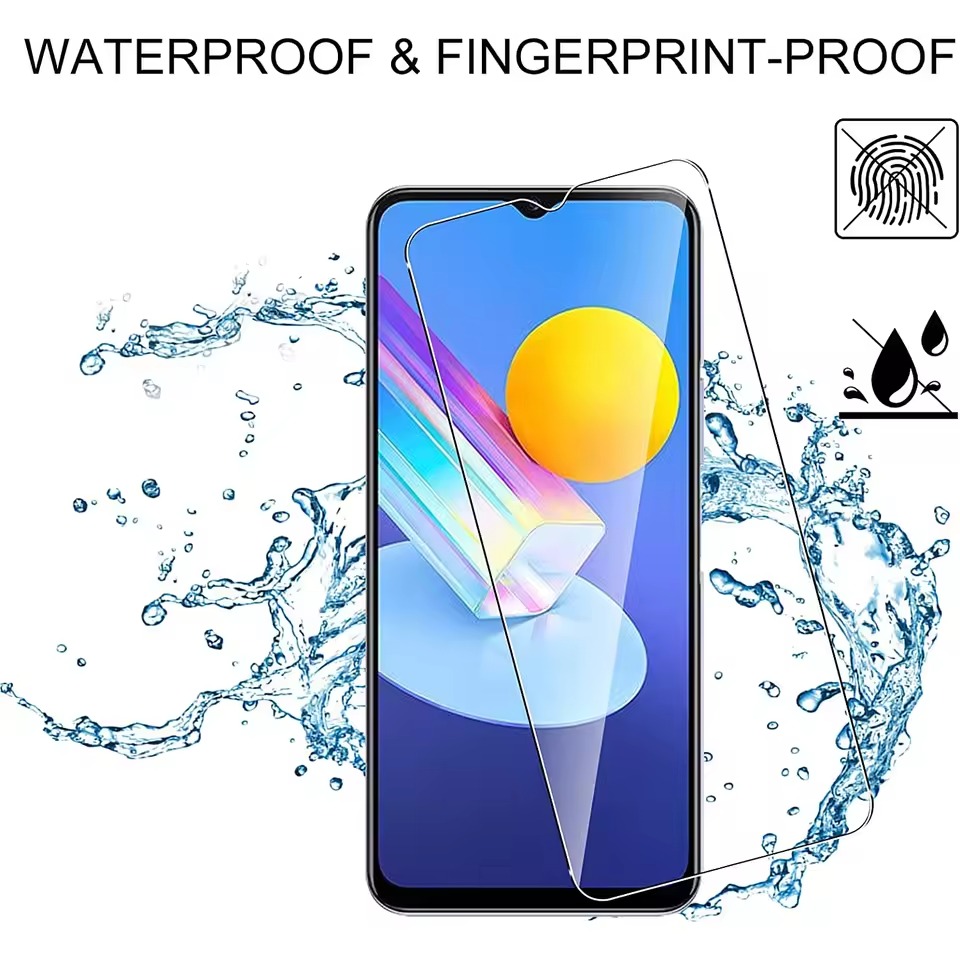
- Proper Cleaning: Clean your protector with a soft cloth regularly. Avoid harsh chemicals.
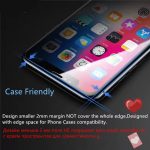
- Use a Case: A phone case can provide additional protection for the screen edges.
- Mind the Heat: High temperatures can weaken adhesive. Keep your device away from prolonged sun exposure.
- Keep Dirt Out: Dust and grime can cause the edges to lift. Wipe your screen’s edges often.
By taking these precautions, you can enhance the durability of your screen protector and maintain a clear, bubble-free display.
Troubleshooting Common Issues
Even when you know how to put on screen protector without bubbles, sometimes issues can arise. Let’s tackle some common problems:
- Screen Protector Won’t Stick: If the edges or corners refuse to adhere, ensure your screen is free of dirt and oils. Give it another thorough cleaning and try reapplying the screen protector.
- Dust Under the Protector: If you spot dust after application, gently lift the protector using a piece of adhesive tape. Then, use another piece of tape to remove the dust from underneath.
- Protector Misaligned After Application: If it’s not perfectly aligned, quickly and carefully lift the screen protectors and realign it. Act rapidly before it sets completely to avoid stretching or damaging it.
- Scratches on the Protector: While screen protectors can endure minor scratches, deep ones may require a replacement. To remove small scratches, rub a microfiber cloth gently over the affected area.
- Touch Sensitivity Issues: Some protectors can affect the touch sensitivity of the screen. If you’re experiencing this, check if your device has a setting to adjust touch sensitivity and modify accordingly.
Tackling these common problems right away will help maintain your screen protector’s effectiveness and keep your screen looking pristine.