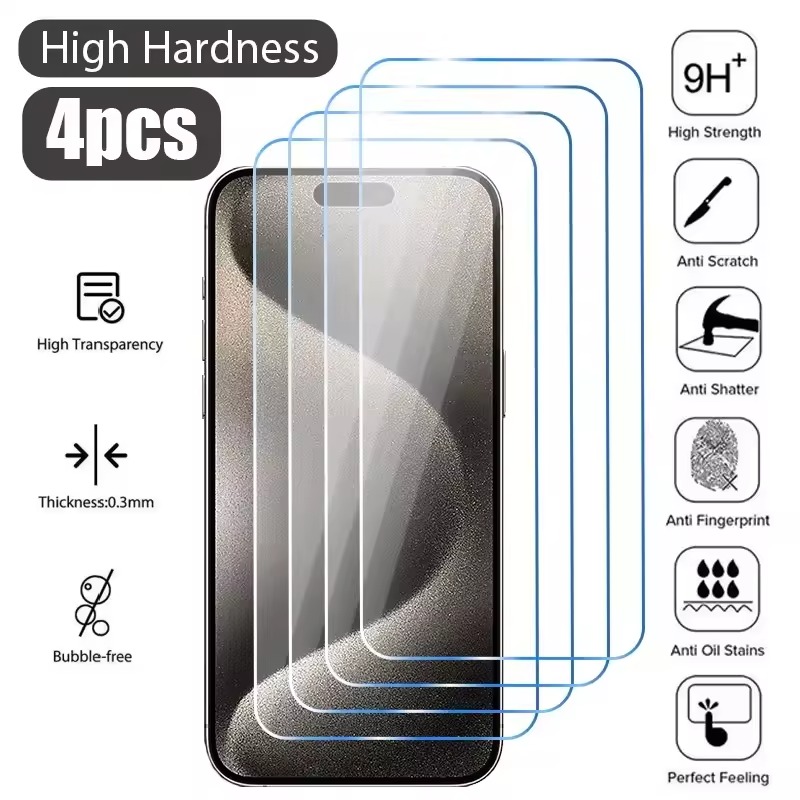
Applying a screen protector to your device is a great way to safeguard its display from scratches, cracks, and other types of damage. However, one of the most frustrating aspects of this process can be dealing with bubbles that form under the screen protector. These unsightly air pockets not only detract from the appearance of your device but can also affect the touch sensitivity and overall functionality. In this article, we will explore various methods and tips to help you eradicate bubbles from your screen protector, ensuring a smooth and flawless application.
Understanding the Causes of Bubbles
Before diving into the solutions, it’s important to understand why bubbles form in the first place. This knowledge will help you take preventive measures and address the issue more effectively.
Dust and Debris
One of the most common causes of bubbles is the presence of dust, lint, or other small particles on the screen before applying the protector. Even the tiniest speck can create an air pocket as you smooth out the screen protectors.
Improper Application
Incorrect application techniques, such as applying the protector too quickly or not aligning it properly, can also lead to the formation of bubbles. It’s crucial to follow the manufacturer’s instructions carefully to ensure a proper fit.
Environmental Factors
Temperature and humidity can also play a role in bubble formation. Applying a screen protector in a dusty or humid environment can make it more challenging to achieve a bubble-free application.
Preparation: The Key to Success
Proper preparation is the first step in ensuring a bubble-free screen protector. By taking the time to clean your device and set up a suitable environment, you can significantly reduce the likelihood of bubbles forming.
Cleaning the Screen
- Gather Supplies: You will need a microfiber cloth, a cleaning solution (preferably alcohol-based), and a dust-removal sticker or tape.
- Turn Off the Device: Ensure your device is powered off and cool to the touch.
- Wipe Down the Screen: Use the microfiber cloth to remove any visible dirt, smudges, and fingerprints. For stubborn marks, lightly dampen the cloth with the cleaning solution and wipe the screen, then dry it thoroughly.
- Remove Dust Particles: Use the dust-removal sticker or tape to pick up any remaining dust or debris. Press the sticker gently against the screen and lift it off to capture the particles.
Setting Up the Environment
- Choose a Clean, Dust-Free Area: Find a room with minimal dust and air movement. Avoid areas with fans, open windows, or other sources of air currents.
- Control Temperature and Humidity: Aim for a moderate temperature and low humidity. A room with controlled climate conditions, such as an air-conditioned space, is ideal.
- Lay Out Your Tools: Have all the necessary tools and the screen protectors within easy reach. This will help you work efficiently and minimize the risk of contamination.
Application Techniques for a Bubble-Free Screen Protector
Once your device and environment are prepared, it’s time to apply the screen protector. Follow these steps to ensure a smooth and bubble-free application.
Step 1: Align the Screen Protector
- Remove the Backing: Carefully peel off the backing from the screen protector, making sure not to touch the adhesive side.
- Align the Edges: Hold the screen protector by the edges and position it over the screen. Make sure it is aligned correctly with the corners and edges of the device.
- Use a Guide if Necessary: Some screen protectors come with a guide or frame to help with alignment. If available, use it to ensure precise placement.
Step 2: Apply the Screen Protector
- Start from One Edge: Begin by placing one edge of the screen protectors onto the screen. Slowly and steadily, lower the rest of the protector onto the screen, using a credit card or a squeegee to smooth it out as you go.
- Work from the Center Outward: Use the credit card or squeegee to push out any air bubbles, starting from the center and moving outward. This helps to evenly distribute the adhesive and prevent the formation of large bubbles.
- Apply Gentle Pressure: Apply gentle, even pressure to ensure the screen protector adheres properly. Avoid pressing too hard, as this can cause the protector to shift or misalign.
Advanced Techniques for Removing Stubborn Bubbles
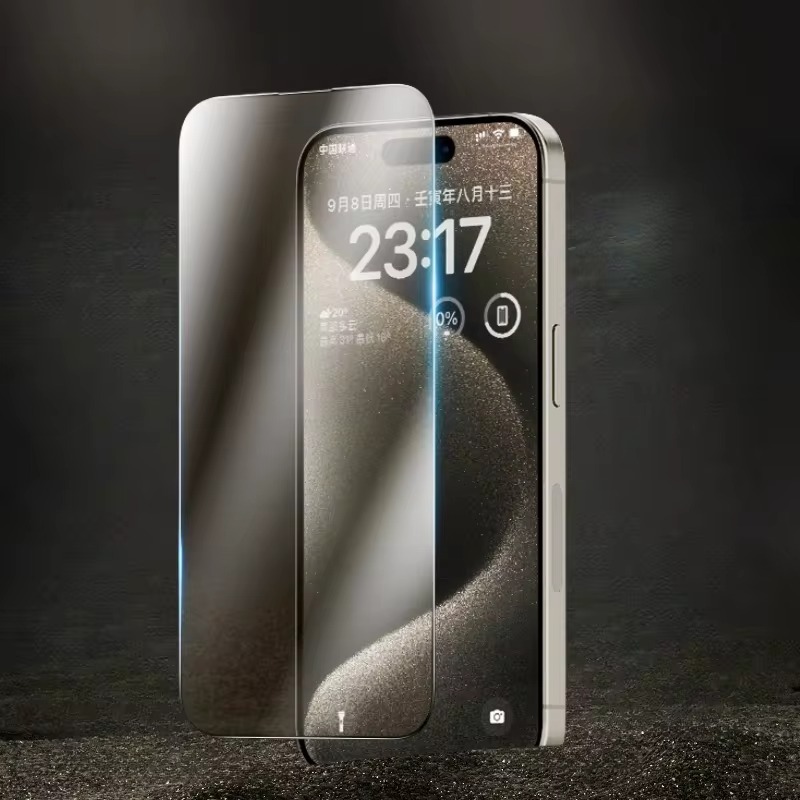
Sometimes, despite your best efforts, bubbles may still persist. In such cases, you can try these advanced techniques to remove them.
Using Heat
- Warm the Screen Protector: Use a hairdryer on a low heat setting to warm the area around the bubble. This can soften the adhesive and make it easier to manipulate.
- Apply Pressure: While the adhesive is warm, use the squeegee to push the bubble toward the edge of the screen. The heat will help the adhesive flow and fill in the gaps.
- Let it Cool: Allow the screen protectors to cool and the adhesive to set. The bubble should now be gone.
Using a Needle
- Sterilize the Needle: Use a needle that has been sterilized with alcohol. This will prevent any contaminants from being introduced.
- Puncture the Bubble: Gently puncture the bubble with the needle. Be careful not to press too hard, as you don’t want to damage the screen.
- Smooth Out the Adhesive: Use the squeegee to smooth out the area and push the air out. The adhesive should fill in the punctured spot and eliminate the bubble.
Maintenance and Long-Term Care
Once you have successfully applied your screen protector without bubbles, it’s important to maintain it to ensure it lasts as long as possible.
Regular Cleaning
- Use a Microfiber Cloth: Clean the screen regularly with a microfiber cloth to remove dust, fingerprints, and smudges. Avoid using abrasive materials or harsh chemicals, as they can damage the screen protector.
- Avoid Excessive Pressure: When cleaning, apply gentle pressure to avoid lifting the edges of the screen protector.
Inspect for Wear and Tear
- Check for Lifts and Peels: Periodically inspect the edges of the screen protector for any signs of lifting or peeling. If you notice any issues, you may need to reapply the protector.
- Replace When Necessary: Over time, the screen protector may become worn or scratched. Replace it when it no longer provides adequate protection or affects the appearance of your device.
Additional Tips
Avoid Harsh Chemicals
Avoid using harsh chemicals, such as alcohol, ammonia, or bleach, to clean your screen. These can damage the screen protector and, in some cases, the screen itself. Stick to mild, non-abrasive solutions and always test a small, inconspicuous area first.
Use a Screen Protector Case
If you frequently carry your device in a bag or pocket, consider using a case that provides additional protection for the screen. A case can help prevent accidental bumps and scratches that might otherwise damage the screen protector.
Handle with Care
Be mindful of how you handle your device. Avoid placing it face down on rough surfaces, and be careful when setting it down. Using a protective case can also help reduce the risk of drops and impacts that could damage the screen protector.
Conclusion
Eradicating bubbles from your screen protector requires careful preparation, proper application techniques, and sometimes a bit of patience. By understanding the causes of bubbles and following the steps outlined in this article, you can achieve a flawless, bubble-free screen protector. Remember to maintain your screen protector to ensure it continues to provide the best protection for your device. With a little effort, you can enjoy a clear, protected screen that looks and functions like new.
