Causes of Air Bubbles Under Screen Protectors
Understanding the reasons for air bubble formation is the first step to solving the issue. Here are the common culprits:
Improper Application
One primary cause for bubbles is the incorrect placement of the screen protector. If not aligned properly, air gets trapped, leading to bubbles.
Dust and Debris
Even tiny dust particles on the screen can prevent the protector from sealing properly. This results in air pockets forming underneath.
Finger Oil
The natural oils on our fingertips can interfere with the adhesive. This makes the protector less likely to stick smoothly.
Pressure and Impact
Over time, heavy pressure or drops can cause the screen protector to shift. This may form bubbles that grow if not addressed.
Preparatory Steps for Bubble-Free Screen Protector Application
Preparing your screen and environment before applying the screen protector can significantly reduce the likelihood of air bubbles. Here are the critical steps to ensure a clean application:
Clean the Screen Thoroughly
Remove all traces of dust, dirt, and fingerprints from your device’s screen. Use a microfiber cloth and an alcohol wipe for a streak-free clean.
Wash Your Hands
Wash your hands to eliminate oils and residue. This helps in handling the screen protector without leaving fingerprints.
Dust-Free Environment
Apply your screen protector in a dust-free area to avoid particles getting underneath. A bathroom after a hot shower can serve as a good spot.
Align Carefully
Take the time to align the screen protector correctly before attaching it. Misalignment often leads to air bubbles.
Avoid Touching Adhesive
Handle the screen protector by the edges to keep the adhesive side free from oils and dirt. Touching the sticky side can create areas where bubbles form.
Following these preparatory steps will help you put on your screen protector without air bubbles. This is a fundamental part of the methodology for achieving a smooth, clear screen. Remember, a little patience can save you from the frustration of dealing with pesky bubbles later on.
Methodology for Removing Air Bubbles
Having gone through the initial preventative measures for bubble-free screen protector application, let’s delve into the methodology for removing any bubbles that have sneakily made their way underneath your screen protector.
Aligning and Applying the Screen Protector
Start by peeling off the protective layer of the screen protector. Align it carefully with the device’s screen, ensuring corners and camera holes match perfectly. Slowly place the screen protector down from one end to another. Use a microfiber cloth to smooth it out as you go to prevent air from getting trapped.
Using a Plastic Card to Push Out Bubbles
If bubbles appear, don’t worry. Grab a plastic card, such as a credit card. Wrap it with a microfiber cloth to avoid scratches. Gently push bubbles from the center to the edges, consistently pushing in the same direction. Work slowly and patiently to move all air outward and flatten your screen protector completely.
The Heat Application Technique
When bubbles are stubborn, use gentle heat. Turn on a hair dryer to a low heat setting. Sweep it across the screen protector without staying in one spot too long. This softens the adhesive. Then, press down on the bubble gently with your cloth-wrapped card to push the air out. Let the screen protector cool and check for any remaining bubbles.
Remember, it’s essential to address air bubbles promptly to maintain the efficacy of your screen protector in shielding your device from damage.
When to Consider Reapplying the Screen Protector
Sometimes, air bubbles persist despite your best efforts to remove them. In such cases, reapplying the screen protector may be necessary. Here are some signs it’s time for a reapplication:
Persistent Bubbles
If you simply cannot push a bubble or bubbles out towards the edge, reapplication may be needed.
Misalignment
A touch of misalignment during the first application could mean you’ll need to reapply to get it perfect.
Dust Particles
If dust has gotten under the screen protector and causes widespread bubbling, a new application is in order.
Damaged Protector
During the bubble-removal process, the screen protector might get damaged. If this happens, it’s best to apply a new one.
Aged Adhesive
Over time, the adhesive can degrade, leading to a loss of adhesion. This can result in bubble formation that reapplication can fix.
When reapplying, be sure to clean the screen thoroughly again, align the protector with utmost precision, and apply it in a controlled environment to prevent dust from getting trapped again. By recognizing when it’s time to reapply the screen protector, you can ensure ongoing protection for your device’s screen.
Tips for Preventing Air Bubbles Formation
Preventing air bubbles in your screen protector begins before application. Follow these tips to ensure a smooth, bubble-free experience:
Work in a Clean Environment
Choose a dust-free area, like a bathroom after a hot shower, to reduce dust particles. Wash your hands to keep oils away.
Prepare the Screen
Use a microfiber cloth and alcohol wipe for a clean screen. Make sure no dust or fingerprints remain.
Align the Protector Carefully
Place the screen protector slowly, aligning it with the phone’s screen. Use guides if available.
Apply Steady Pressure
Smooth out the screen protector with a straight edge, like a credit card, as you apply it. Push out potential bubbles as you go.
Avoid Reapplication
Reapplying increases bubble risks. Get it right the first time to avoid this. If needed, lift and reposition carefully.
Store Protectors Properly
Keep spare screen protectors in a flat, clean place. This maintains their quality for future use.
By following these steps, you can prevent most air bubbles from forming under your screen protector. No single method is foolproof, but taking these precautions can greatly reduce the likelihood of bubbles appearing.
Choosing the Right Screen Protector for a Bubble-Free Experience
To enjoy a bubble-free screen protector, choosing the right type is crucial. Here’s what to keep in mind:
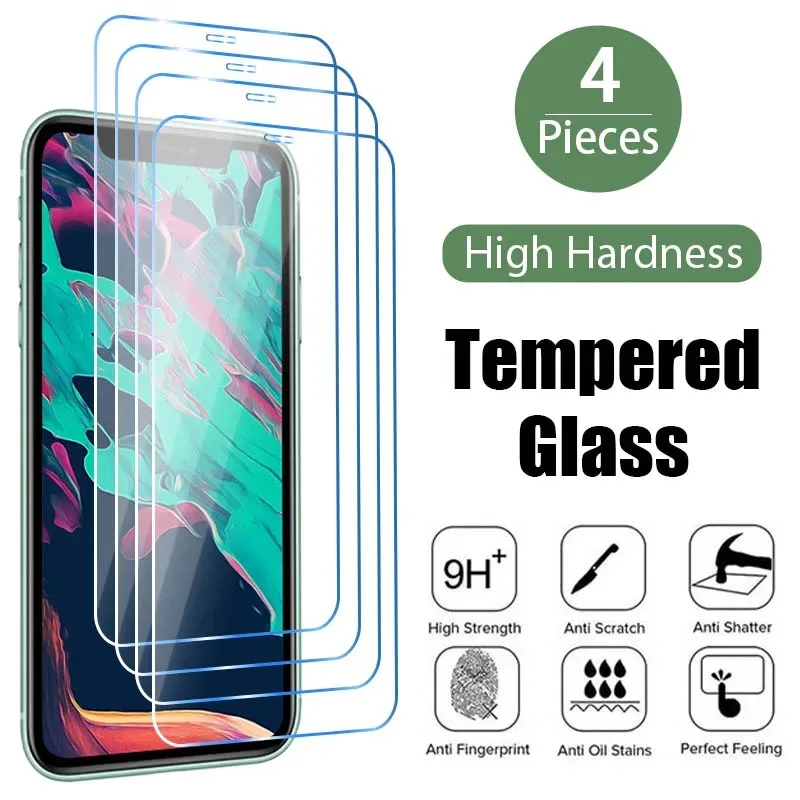
- Quality Material: Opt for a protector made from high-grade materials. Tempered glass ones are typically sturdy and less prone to bubble issues.
- Adhesive Quality: A good adhesive means less likelihood of air bubble formation. Check for screen protectors with advanced adhesive technologies that allow for a smoother application.
- Correct Size: Ensure the protector fits your device exactly. Even a slight misfit can lead to air getting trapped and forming bubbles.
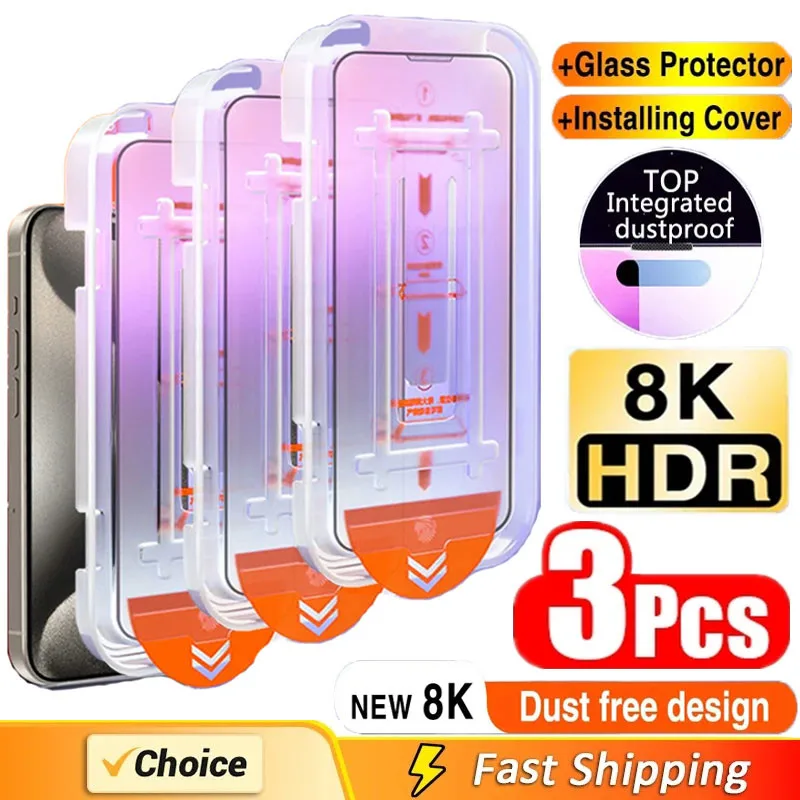
- Installation Tools: Some protectors come with helpful tools like guide stickers, dust absorbers, and smoothing cards which can assist in a bubble-free application.
- Brand Reputation: Consider purchasing from reputable brands that specialize in screen protection. They generally provide clearer instructions and better quality products, translating to fewer bubbles during application.
- User Reviews: Look at what others say about their experiences. If many users report bubble problems, you might want to choose a different brand or product.
Remember, a bubble-free experience starts with your choice of screen protector. Investing in quality and taking the time to read the instructions carefully can make all the difference. Don’t rush the process, and you’ll be rewarded with a clear, protected screen without the nuisance of air bubbles.
Conclusion: Ensuring Optimal Screen Protection and Clarity
Wrapping up, the key to maintaining a clear screen is simple. Proper application, paired with patience and precision, can prevent air bubbles under screen protectors. Always start with a clean and dust-free surface. Use the right tools to apply steady pressure during installation. When bubbles do emerge, gentle techniques like a plastic card can effectively smooth them out. For stubborn cases, applying heat carefully may do the trick. In events where bubbles persist, a reapplication might be in order. Ensure pristine conditions and careful handling to avoid repeated issues.
Remember, the right choice of screen protector can make a world of difference. Seek out high-quality materials and reliable adhesives. Fit and finish matter, so choose a protector that matches your device’s dimensions perfectly. Don’t forget that good brands provide handy installation tools and clear instructions.
Follow these steps, and enjoy a bubble-free screen, knowing your device is well-protected. Keep your screen clean, clear, and secure with proper application and smart maintenance practices. Always aim for perfection to ensure your screen protector fulfills its purpose without detracting from your device’s look or functionality.
