Introduction to Screen Protector Application
Applying a screen protector can be tricky. Many users struggle with alignment and air bubbles. But with a correct approach, the process becomes easy. Let’s dive into the key steps to apply a screen protector smoothly and effectively. This guide will show you how to put on screen protector without frustration. Whether you use film or tempered glass, the principles remain the same.
Gathering Essential Tools and Materials
Before you start the screen protector application process, it’s essential to have the right tools on hand. The following materials will help ensure a clean and precise installation:
- Microfiber Cloth: Use this soft, lint-free cloth to clean your device’s screen without scratching it.
- Dust Removal Stickers or Tape: These are crucial for picking up any dust particles that might have settled on the screen after cleaning.
- Squeegee or Card: A plastic squeegee or a stiff card can help smooth out bubbles during application.
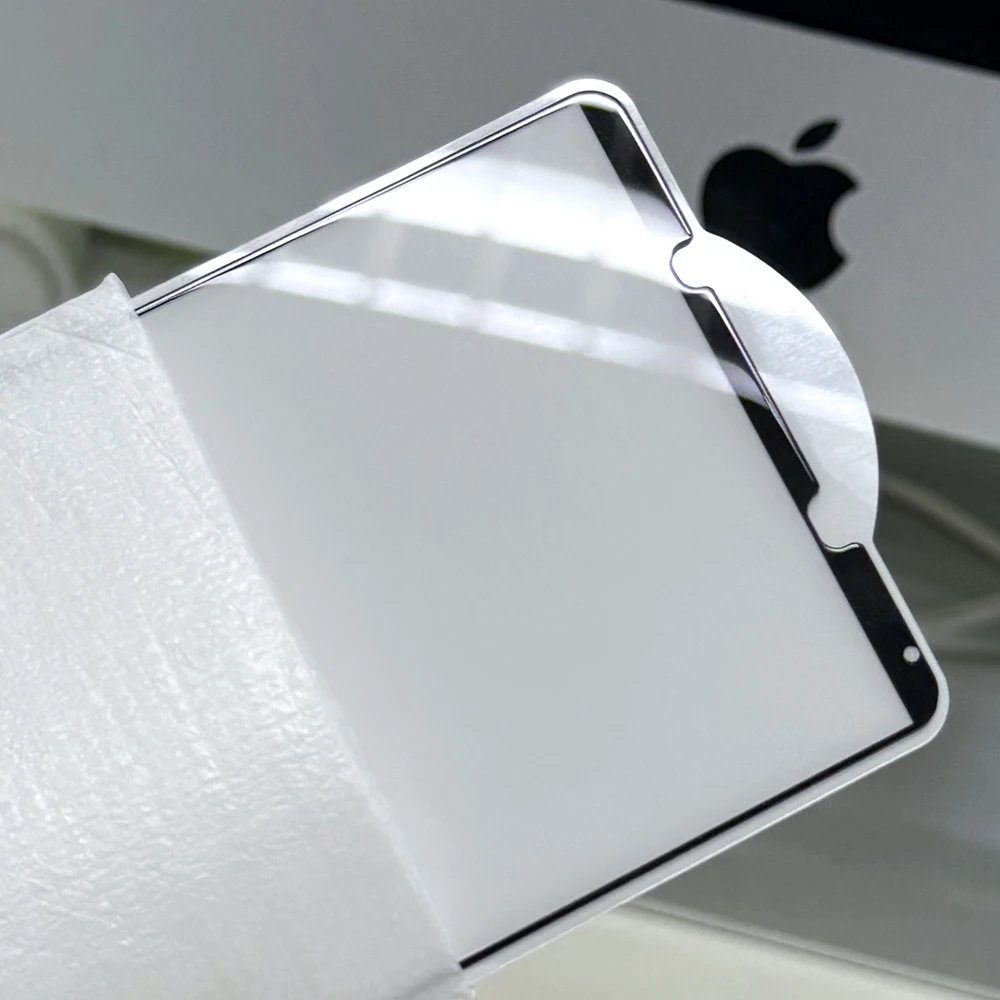
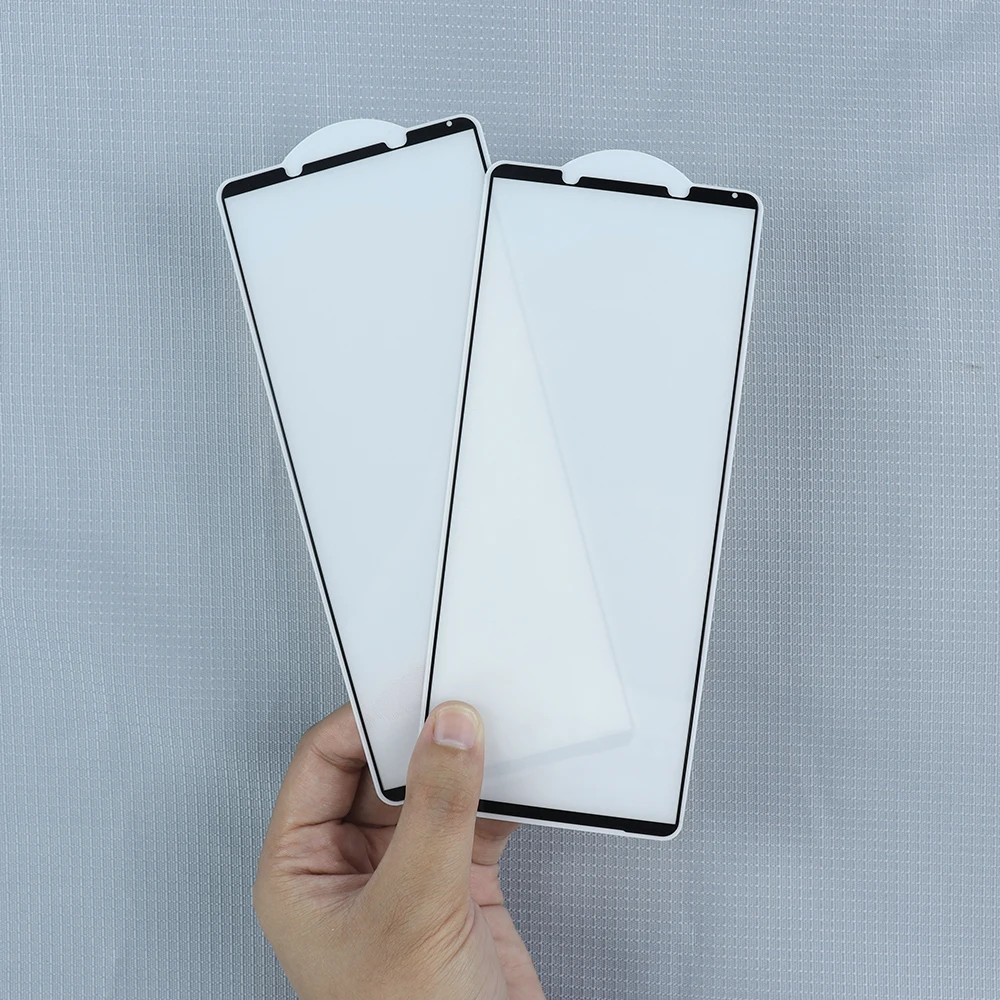
- Screen Protector: Of course, you’ll need the screen protector itself, whether it’s tempered glass or a film variant.
It’s advisable to have all these tools prepared and laid out within reach before beginning. This will streamline the process and help you avoid smudging the screen or losing alignment while searching for materials. Having the right tools is the first step in learning how to put on a screen protector the right way.
Preparing Your Workspace and Device
Before applying a screen protector, set up a clean and controlled environment. Choose an indoor space away from fans, as airflow can carry dust. Find a flat, clean surface like a table or desk for the application process.
Turn off your device before starting. This will help you see dust and fingerprints more clearly on the dark screen. Gently remove the device from any case it may be in.
Use a microfiber cloth to clean the screen’s surface. This type of cloth is safe for screens and won’t leave fibers behind. For stubborn smudges, breathe on the screen and wipe it with the microfiber cloth. Avoid using paper towels or tissue, which can leave residue.
Once you’ve wiped off big smudges and fingerprints, focus on the finer dust particles. If your screen protector kit includes dust removal stickers or tape, use them now. Gently press the sticky side onto the screen and lift. The tape will pick up and remove any remaining dust or lint without leaving a residue.
By preparing your workspace and device in this manner, you’re setting yourself up for a successful screen protector application. With the screen and surroundings clean, proceed to the next step confidently.
Aligning the Screen Protector Correctly
Aligning your screen protector with precision is critical for a flawless fit. Here’s how to ensure correct alignment:
- Turn off your device: This makes the screen’s edges and cutouts more visible.
- Inspect the protector: Identify the adhesive side and note any cutouts that must align with your device’s features.
- Proper positioning: Carefully place the protector above the screen to align it. Align the cutouts first, then the edges.
- Adjust before setting: Before attaching, double-check alignment. Make slight adjustments if needed.
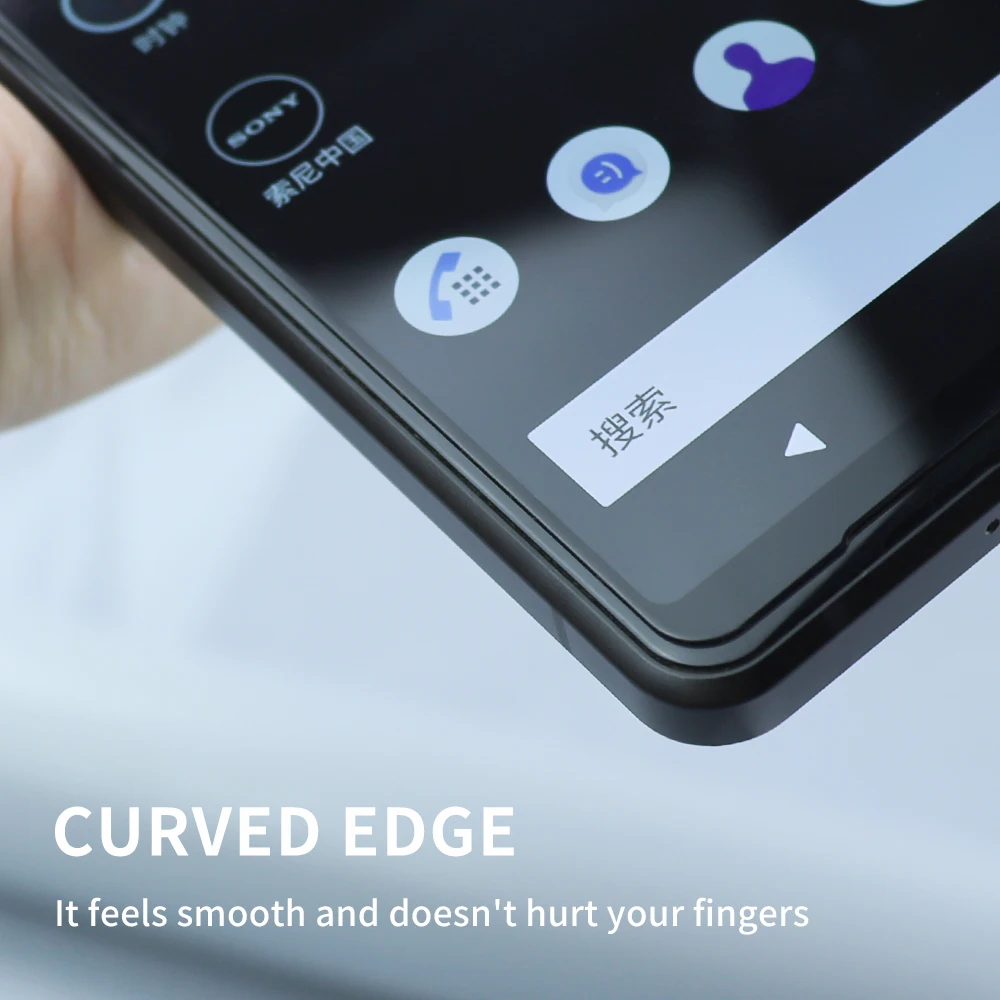
By attentively aligning the screen protector, you can avoid misalignment issues that lead to bubbles or edge peeling. Remember to handle the protector by its edges to prevent fingerprints on the adhesive side. Take your time; patience is key to getting it right.
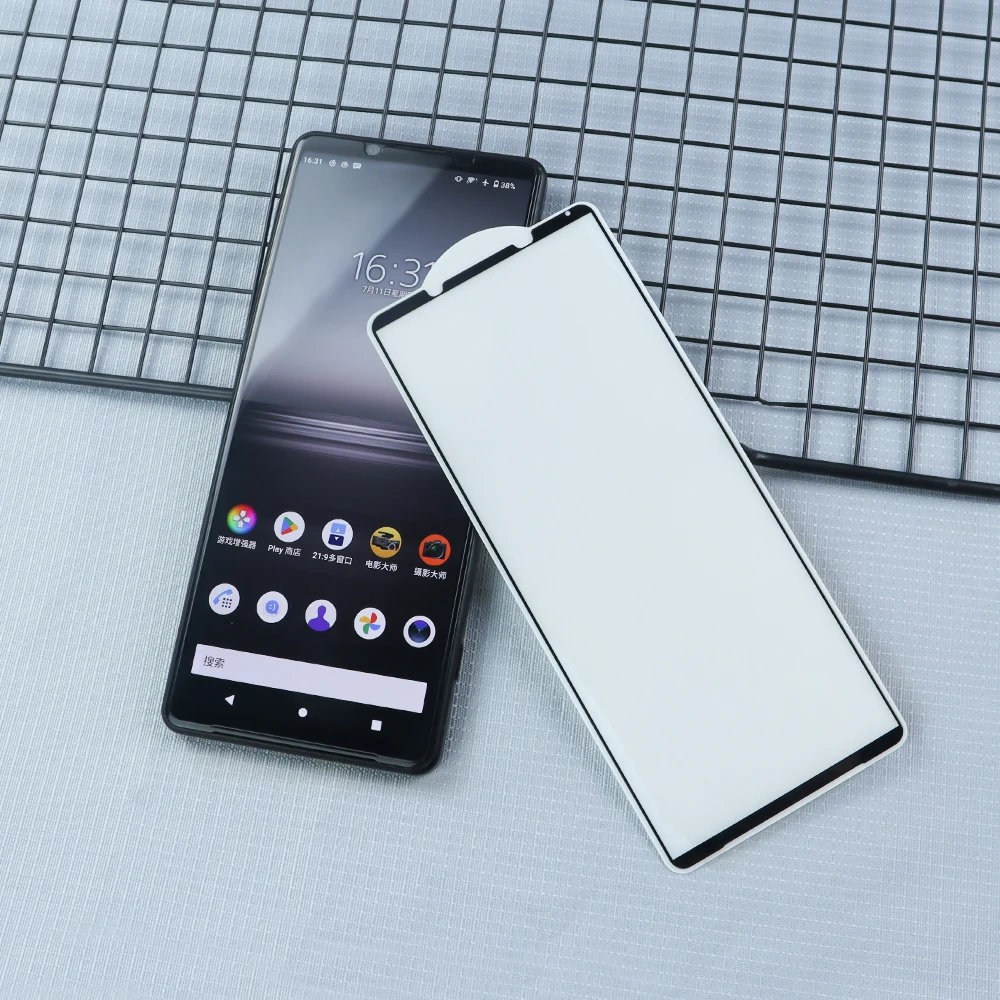
Removing Backing and Applying Screen Protector
Now that your screen is impeccably clean and the protector is correctly aligned, it’s time for the critical step. Here’s how to put on the screen protector:
- Peel the backing: Start by carefully peeling off the protective backing that covers the adhesive side of the screen protector. Do this gently to avoid bending or creating fingerprints.
- Position and attach: Hold the screen protector on the sides and position it over the device. Starting from one end, slowly lay it down on the screen. Ensure it stays aligned as you attach it.
- Press down gently: Once the screen protector is in place, press down gently at the center. This helps the adhesive to make contact with the screen and begin sticking.
- Apply pressure outward: Move your fingers or the edge of a card outward from the center. This helps to push out any air and fully adhere the protector to the screen.
By following these simple steps, you’ll have a smooth, well-applied screen protector. Take your time to ensure a bubble-free fit. If you find any misalignments, gently lift the nearest edge and reapply.
Smoothing Out Bubbles for a Perfect Fit
Once you apply the screen protector, bubbles may appear. Smooth them out for a perfect fit. Use a squeegee or card, and follow these steps:
- Start from the center: Gently press the center of the screen protector to secure its position.
- Push outward: Using a card or squeegee, push bubbles towards the edges. Move carefully and consistently.
- Apply firm pressure: Some bubbles need more force. Don’t hesitate to apply pressure. The screen is protected.
Bubbles under the screen protector are usually due to trapped dust or air. Since you’ve already cleaned the screen thoroughly, these should only be air bubbles, which are easier to remove. If you encounter stubborn bubbles:
- Lift and reapply: Gently peel back the protector near the bubble. Then, press down firmly as you lay it back.
- Work slowly: Take your time to press out bubbles, moving from one end to another.
- Check angles: Look at the screen from different angles to spot any missed bubbles.
Follow these steps, and you will have a perfectly smooth screen protector installation. Remember, patience is key. If you rush, you risk trapping bubbles or dust, which can be frustrating to fix.
Final Adjustments and Cleaning
After smoothing out bubbles, make a few final touches. These ensure your screen protector’s perfect fit. Check your device from various angles. This helps spot any remaining bubbles or slight misalignments. If you see any issues, gently peel the protector from a corner. Then, reapply pressure to fix the spot. Be delicate to avoid fingerprints or dust.
Once you’re happy with the fit, give your screen one last clean. Use your microfiber cloth to softly wipe away any marks. This polishing touch adds clarity and makes your screen shine. Remember, a clean screen maintains your device’s high-quality display.
Lastly, review the edges of the screen protector. Secure all sides firmly. Ensure no corners are lifting. If they are, apply gentle pressure to adhere them properly. A well-secured protector means no peeling and better durability.
In sum, make sure your protector lies flat, is well attached, and free of debris. Then, enjoy your neat, protected screen with peace of mind.
Tips for Maintaining Your Screen Protector
Once you’ve successfully applied your screen protector, maintaining it is vital. Proper care ensures longevity and continued protection for your device’s screen. Here are some maintenance tips:
- Regular Cleaning: Dust and smudges can accumulate on your screen protector. Use a soft microfiber cloth to gently wipe the surface. Avoid harsh chemicals that might damage the protector.
- Touch Up Edges: Sometimes edges can lift slightly. If this happens, clean the exposed area and reapply gentle pressure to re-secure the protector.
- Avoid Sharp Objects: Though screen protectors add a layer of protection, sharp objects can still cause scratches or punctures. Keep your device away from keys, coins, and other potential hazards.
- Replace When Needed: If your screen protector cracks or peels significantly, it’s time for a replacement. Don’t wait, as a damaged protector won’t be as effective.
- Smooth Surface Contact: When placing your device down, ensure it’s on a smooth surface. Rough textures can scratch or damage the protector.
By following these simple maintenance steps, you can extend the life of your screen protector and keep your device’s screen in pristine condition.