Introduction to Screen Protector Types
Your phone deserves the best protection. Understanding different screen protector types is key.
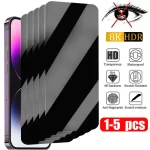
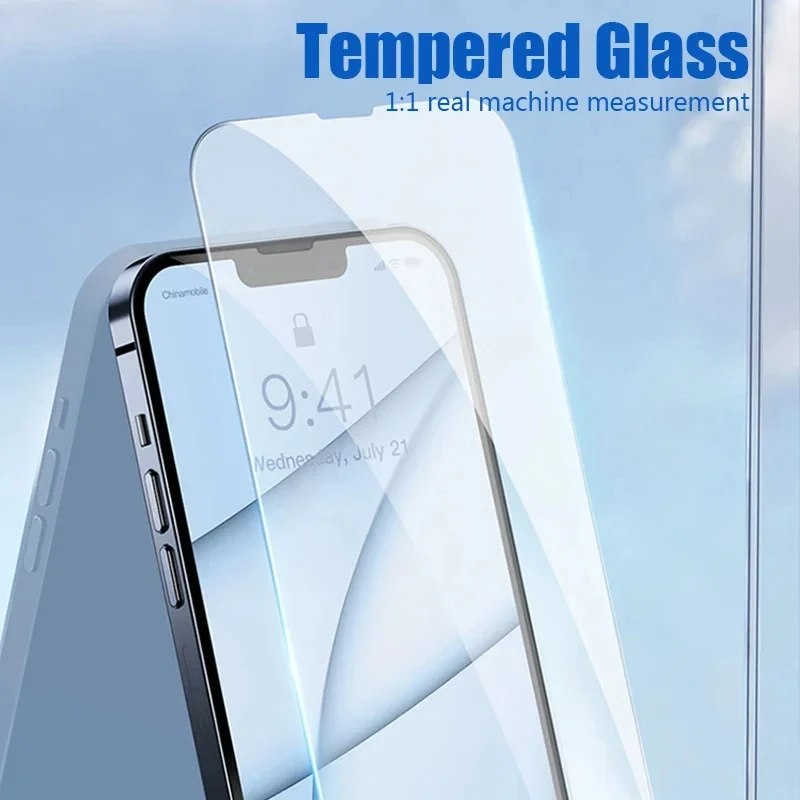
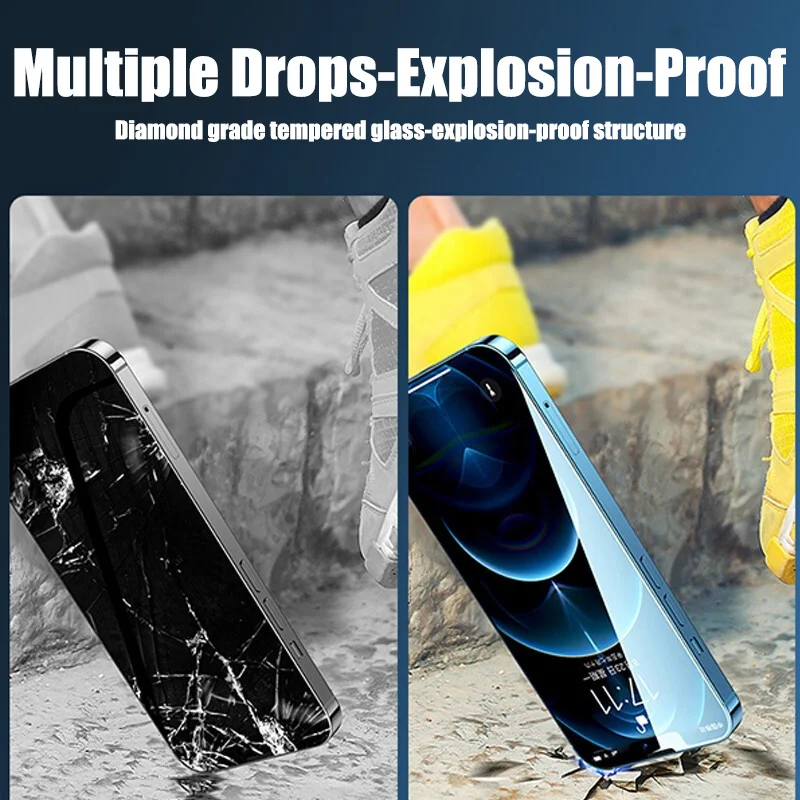
Plastic and Tempered Glass Protectors
Plastic protectors are common and affordable. Tempered glass offers better protection but is pricier.
Liquid Screen Protectors
Liquid protectors bond with the screen for a durable shield. No peel-and-stick hassle.
Preparing to Remove Your Screen Protector
Proper preparation ensures a smooth and safe removal of your screen protector.
Tools You May Need
Before you start, gather a few simple tools:
- A toothpick or plastic card can help lift the protector’s edge.
- To heat the adhesive slightly, a hair dryer set to low heat may be useful.
- A microfiber cloth and alcohol wipe will clean your screen post-removal.
Initial Steps and Precautions
Take these precautions to protect your phone:
- Turn off your phone to avoid accidental inputs.
- Clean your hands to prevent extra smudges or dirt.
- Work on a flat, stable surface to avoid dropping your phone.
Remember, rushing may cause damage to your phone or screen protector. Take your time.
Step-by-Step Removal Process for Glass and Plastic Protectors
To safely remove your screen protector, follow this simple guide. Make sure to go slow and steady.
Lifting the Protector’s Edge
Start by turning off your phone. This prevents unwanted interactions. Pick a corner of the screen protector. Gently push a toothpick or plastic card underneath. Lift it up carefully to create a gap.
Working the Edges Loosely
Use the gap to slide the card around the protector’s edge. Keep movements gentle and avoid forcing it. This reduces risk of screen damage. If the protector doesn’t budge, use a hair dryer. A quick blast of low heat can help loosen the adhesive. Remember, do not use high heat.
Removing the Protector Completely
Once the edges are free, slowly peel the protector away. Start from one corner and move diagonally. If it cracks or breaks, be extra cautious to avoid sharp pieces. Move the card under the protector as you lift. The goal is to keep the protector in one piece if possible.
After removal, your phone is ready for cleaning. Soon, it will be set for a new protector. Remember, taking time now prevents phone damage later.
Cleaning Your Phone After Removal
After taking your screen protector off, it’s time to clean your phone. This step is crucial for applying a new protector smoothly.
Dealing with Adhesive Residue
Sometimes, sticky residue is left behind. Here’s how to clean it:
- Turn your phone off to prevent any damage.
- Use a microfiber cloth slightly dampened with isopropyl alcohol.
- Gently wipe the screen to dissolve the sticky spots.
- Do not soak the cloth; a little moisture goes a long way.
- Dry the screen with a fresh, dry microfiber cloth.
- Check for any remaining sticky areas and repeat if needed.
Remember, be gentle to avoid damaging the screen.
Ensuring a Clean Screen for New Protector Application
Before you apply a new screen protector, ensure a spotless screen:
- Once adhesive is cleaned, take another microfiber cloth.
- Use a screen-safe cleaner or distilled water to dampen the cloth.
- Wipe the entire screen in circular motions.
- Focus on any smudges or fingerprints.
- Finish by drying the screen completely.
A clean, dry screen is ready for a new protector. Keep dust and dirt away until you start the application. This will prevent trapped debris under the new protector.
Disposal and Recycling Considerations
Proper disposal of old screen protectors preserves the environment.
Proper Disposal of Old Screen Protectors
Once removed, don’t just throw screen protectors in the trash. Check for local electronics recycling programs. They might accept these materials.
Recycling Options for Plastic and Glass Protectors
Recycling options may vary by location. Research local facilities that handle your type of protector. Plastic protectors often go to general recycling centers. Glass ones may need a specialized facility. Always clean off any adhesive before recycling.
Upgrading to a Liquid Screen Protector
After successfully removing an old screen protector, consider upgrading. A liquid screen protector is a modern alternative you might like.
Benefits of Liquid Protectors
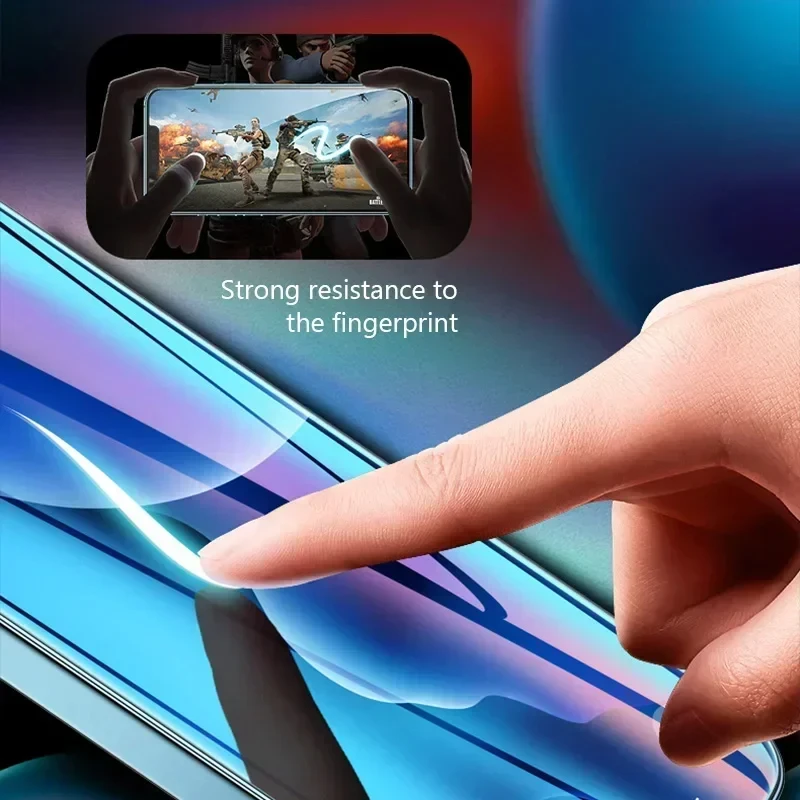
Liquid protectors are the new guard in phone protection. They bond deeply with the glass, offering a long-lasting barrier. You won’t deal with annoying air bubbles common with traditional protectors. Plus, they’re virtually invisible and don’t affect touchscreen sensitivity. They also save time, as they are easier to apply without alignment issues. And for the environmentally conscious, they reduce plastic waste.
Application Process for Liquid Protectors
Applying a liquid screen protector is straightforward. Start with a clean, dry screen. Then, apply the liquid as instructed on the product’s package. Use a clean cloth to spread the liquid evenly across the screen. Let it dry as per the time mentioned – often only a few minutes. No need for squeegees or worrying about dust particles. The application is quick and mess-free, with the protector seamlessly integrating with your phone’s screen.
Troubleshooting Common Removal Issues
Sometimes removing a screen protector doesn’t go as planned. Let’s handle the common issues.
Dealing with Air Bubbles
Air bubbles can be frustrating. Here’s how to fix them:
- Use a card to push bubbles to the edge.
- If bubbles persist, lift the corner nearest the bubble.
- Reapply the protector slowly, smoothing it down.
- Avoid dust, which can cause more bubbles.
Handling Cracked or Damaged Protectors
Cracked protectors need careful handling. Follow these steps:
- Tape over cracks to keep glass together.
- Gently lift the edge with a card or toothpick.
- Keep your fingers safe from sharp edges.
- Slowly peel the protector away from the screen.
- Dispose of the damaged protector safely.
Patience is crucial during removal. Rushing may cause more harm to your phone.
Managing Residue Left Behind
Sometimes, screen protectors can leave behind sticky residue when removed. Here’s how to clean it up:
- Use a Microfiber Cloth: Gently wipe the screen with a dry microfiber cloth to see if any residue comes off.
- Isopropyl Alcohol: If residue remains, lightly dampen a cloth with isopropyl alcohol (around 70% concentration) and gently rub the affected areas. Avoid saturating the screen.
- Screen Cleaner: Alternatively, you can use an appropriate screen cleaner designed for electronic devices. Apply a small amount to a cloth, not directly on the screen.
- Avoid Abrasives: Never use paper towels or rough fabrics, as they can scratch the screen.
Handling Scratched Screens During Removal
If your phone’s screen is scratched, be extra careful when removing the protector. Follow these guidelines:
- Assess the Screen: Before removing the protector, inspect the screen for deep scratches that might catch on the protector.
- Gently Lift the Edge: Use a card or your fingernail to carefully lift the edge without applying pressure directly to the screen.
- Peel Slowly: Remove at a 45-degree angle to prevent pulling up on the screen, which could exacerbate scratches.
- Consider Professional Help: If you’re uncomfortable with removing it yourself due to extensive scratches, it might be worth consulting a professional.
Reapplying a New Screen Protector
Once the old protector is off, you may want to apply a new one. Here’s how to ensure a clean installation:
- Clean the Screen: Use a microfiber cloth and an appropriate cleaner to remove any fingerprints, dust, or residue.
- Work in a Dust-Free Environment: Ideally, apply the protector in a space with minimal dust. Close windows, and avoid windy areas.
- Align Carefully: Position the new protector over the screen, ensuring it aligns properly with the edges and camera openings.
- Press Down: Start in the center and press outwards to eliminate any air bubbles as you apply the protector.
- Final Check: Inspect the protector for bubbles or misalignment and adjust as needed.