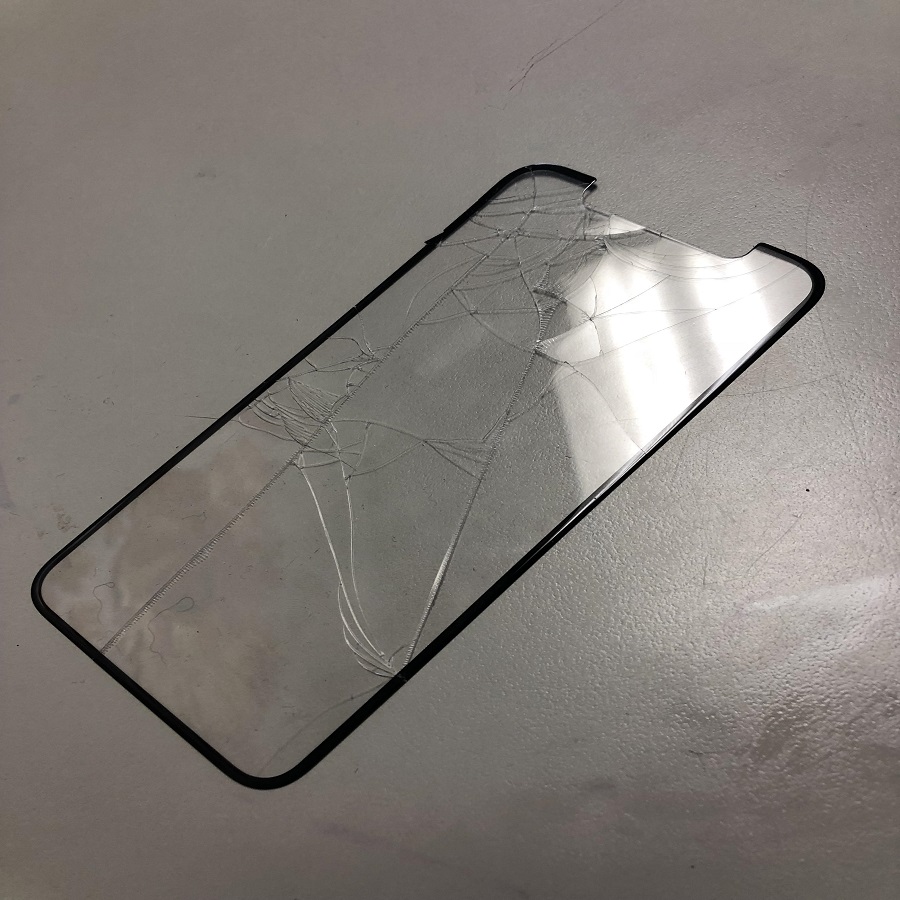
Removing a cracked screen protector is an important task that can help maintain the integrity of your device’s screen. In this guide, we will walk you through the process step by step, ensuring you do it safely and effectively. Whether you are dealing with a tempered glass protector or a plastic one, the techniques shared here will help you minimize the risk of damaging your device while ensuring a clean removal.
Understanding the Importance of a Screen Protector
Why Use a Screen Protector?
Screen protectors are essential for safeguarding your device against scratches, cracks, and other forms of damage. They serve as a first line of defense against everyday wear and tear. A good screen protector not only keeps your screen looking pristine but also extends the overall lifespan of your device.
Signs You Need to Replace Your Screen Protector
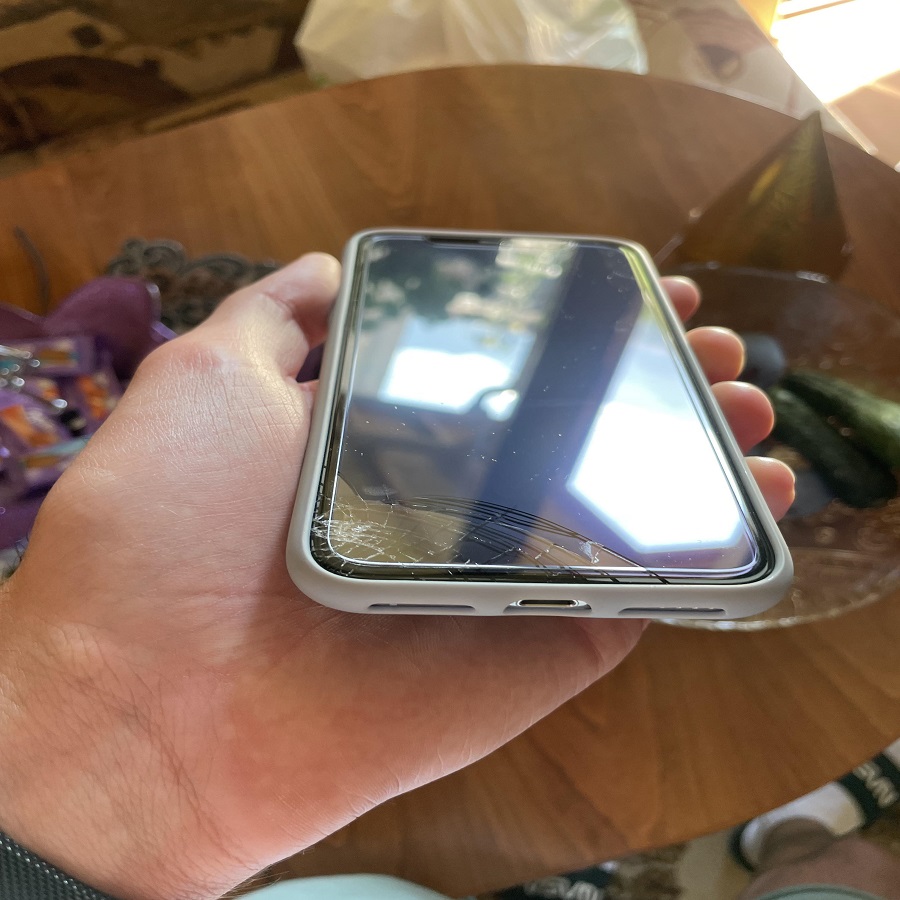
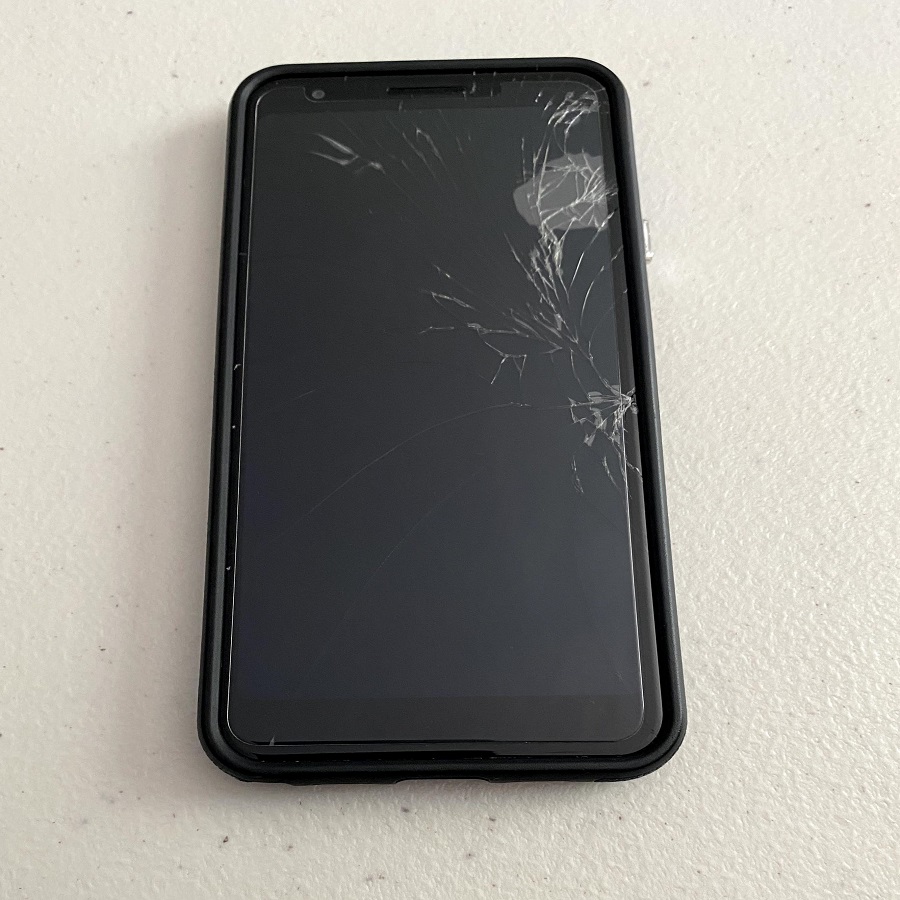
Over time, even the best screen protectors can show signs of wear. If you notice cracks, chips, or significant scratches, it’s time to consider replacing it. A damaged protector can actually hinder touch sensitivity and may not provide adequate protection, making it crucial to remove it promptly.
Preparing for the Removal Process
Gathering the Right Tools
Before you begin the removal process, it’s important to gather the necessary tools. You’ll typically need a plastic card (like a credit card), some adhesive remover or rubbing alcohol, and a microfiber cloth. Having these items on hand will make the process smoother and more efficient.
Finding a Suitable Workspace
Choose a clean, dust-free environment for the removal process. A well-lit area will help you see the details better and avoid any additional scratches on your device. Ensure your device is turned off to prevent any accidental touches that could lead to unwanted actions during the removal.
Step-by-Step Removal Process
Step 1: Assess the Damage
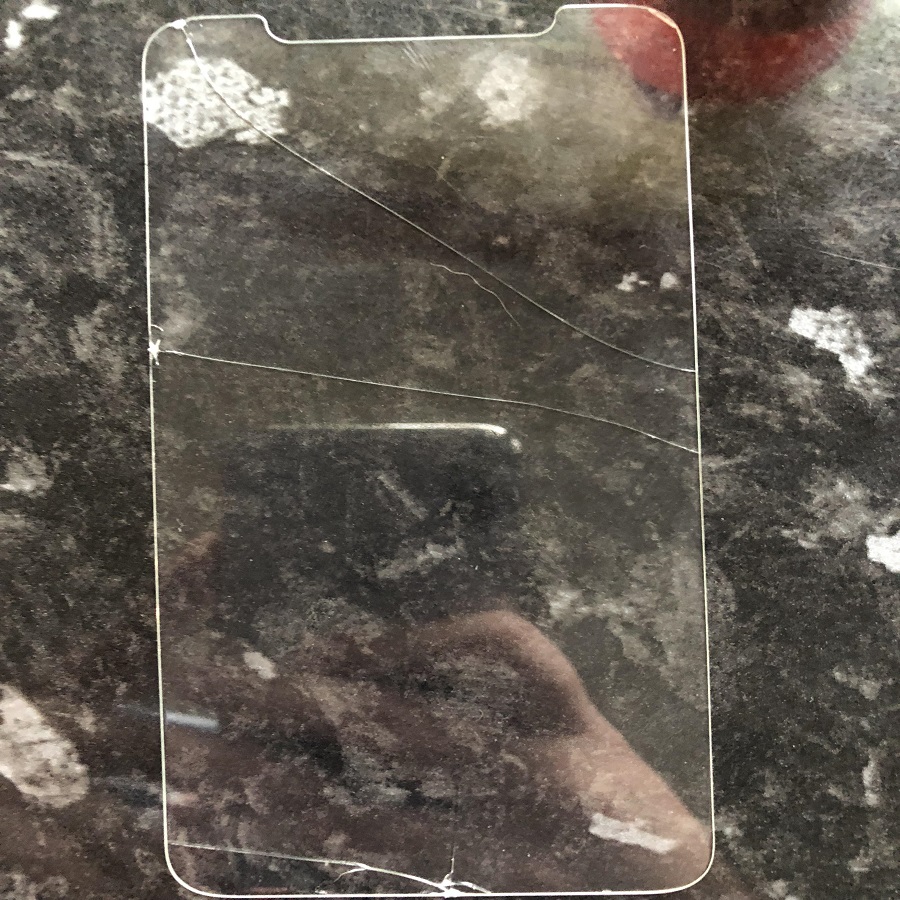
Before diving into the removal, take a moment to assess the extent of the cracks on your screen protector. This will help you understand how carefully you need to proceed. If the cracks are extensive, be cautious as shards might come loose during the removal process.
Step 2: Lifting the Edge of the Protector
Start by gently lifting one corner of the screen protector using your fingernail or a plastic card. If the edge is firmly stuck, applying a bit of heat with a hairdryer on a low setting can soften the adhesive, making it easier to lift. Be careful not to overheat the screen itself.
Step 3: Slowly Peeling Off the Protector
Once you’ve lifted a corner, slowly peel the protector away from the screen at a low angle. Pulling too fast can cause pieces to break off and potentially stick to the screen. Maintain a steady, gentle pull to ensure a smooth removal.
Step 4: Removing Adhesive Residue
After the protector is off, you may find some adhesive residue left on the screen. To clean this, apply a small amount of adhesive remover or rubbing alcohol to a microfiber cloth and gently wipe the affected areas. Avoid using abrasive materials as they can scratch the screen.
Dealing with a Broken Glass Protector
Handling Sharp Edges
If your cracked screen protector has sharp edges, it’s essential to handle it with care. Use gloves to protect your fingers from cuts while you remove the broken pieces. If the glass is significantly shattered, consider using a thicker cloth to cover the sharp edges as you work.
Cleaning Up Broken Pieces
Once the protector is removed, carefully gather any broken pieces to prevent injury or damage to your device. Use a vacuum or a lint roller to pick up smaller shards that may have fallen onto your workspace. Dispose of these pieces responsibly to avoid accidental injury later.
Replacing Your Screen Protector
Choosing the Right Screen Protector
After successfully removing the cracked protector, you’ll need to select a replacement. Consider factors such as material (tempered glass vs. plastic), thickness, and features like anti-glare or privacy protection. Research reviews and choose one that fits your needs.
Applying the New Screen Protector
When applying the new screen protector, ensure your hands are clean to avoid dust or fingerprints. Align the protector carefully with your device’s edges, then gently press down from the center outwards to eliminate air bubbles. A smooth application will ensure optimal protection.
Maintenance Tips for Your Screen Protector
Regular Cleaning and Care
To prolong the life of your new screen protector, make it a habit to clean it regularly with a microfiber cloth. Avoid using harsh chemicals that can damage the protector. Instead, a mixture of water and mild soap can be effective for cleaning without causing harm.
Knowing When to Replace Again
Keep an eye on your new protector for signs of wear. If you start to see scratches, cracks, or any signs of peeling, it may be time for another replacement. Regular checks will help you maintain the best protection for your device.
Common Mistakes to Avoid
Rushing the Process
One of the biggest mistakes people make when removing a cracked screen protector is rushing through the process. Taking your time is crucial, as being hasty can lead to accidental scratches on your device’s screen or breaking the protector into more pieces. Patience is key to ensuring a smooth removal.
Neglecting to Power Off the Device
Another common oversight is forgetting to turn off the device before starting the removal. Keeping the device powered on can lead to accidental touches or commands while you’re working, potentially causing damage to the software or settings. Always remember to power down your device for a safer removal experience.
Using Incorrect Tools
Using sharp objects, like knives or metal scrapers, to remove a screen protector can severely damage your device. Stick to safer tools, such as plastic cards or your fingernails, to lift the edges of the protector. Proper tools can make a significant difference in how smoothly the removal process goes.
Maintaining Your Device’s Screen
Regular Inspections
Once you have replaced your screen protector, it’s wise to conduct regular inspections of both the protector and the device’s screen. Look for any signs of wear, bubbling, or damage. Early detection allows you to address issues before they escalate, ensuring ongoing protection.
Avoiding High Temperatures
Exposing your device to extreme heat can damage both the screen and the screen protector. Avoid leaving your device in hot environments, such as a car on a sunny day, as this can weaken adhesives and lead to peeling or bubbling. Keeping your device in a controlled environment will help maintain the integrity of both the screen and the protector.
Upgrading Your Protection
Exploring Advanced Options
When it comes time to replace your screen protector, consider exploring advanced options. Some newer protectors offer features like anti-blue light filters, antimicrobial coatings, or enhanced shatter resistance. Research these options to find one that best fits your lifestyle and usage habits.
Considering Professional Installation
If you’re unsure about applying a new screen protector yourself, consider professional installation services. Many phone repair shops offer this service, ensuring a bubble-free application. While this may be an additional cost, it can save you time and the frustration of a DIY application.
Conclusion: Protecting Your Device
Removing a cracked screen protector and replacing it with a new one is an essential part of device maintenance. By following the steps outlined in this guide, you can ensure that the process is safe and effective. Remember, a well-maintained screen protector is key to protecting your device from potential damage, so make it a priority to check and replace as needed.
With the right tools and techniques, you can confidently manage the removal and replacement of your screen protector, keeping your device looking great and functioning well for years to come.
