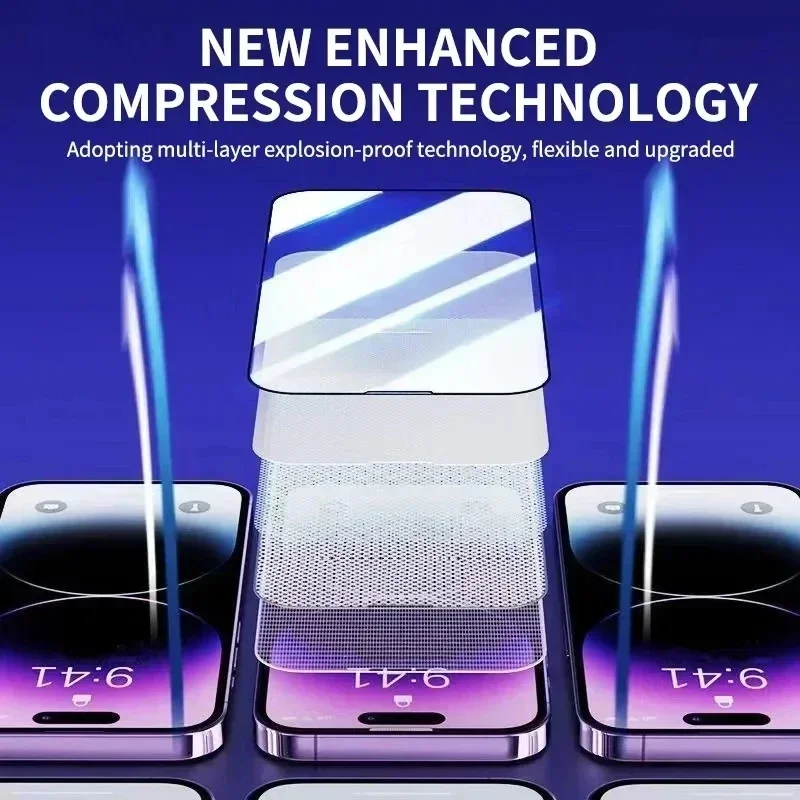
Introduction to Screen Protector Bubbles
Screen protector bubbles are a common issue that many of us face. They can be both unsightly and problematic, diminishing the look and effectiveness of our device’s screen. Bubbles under the screen protector may seem minor, but they can impact the touch sensitivity and overall screen clarity. Understanding why these air pockets form is an important first step in resolving the issue. It’s not just about the visual annoyance; preventing and addressing bubbles ensures that our devices stay protected. Knowing how to get air bubbles out of screen protectors can save time and maintain the device’s integrity. Let’s explore the phenomenon of screen protector bubbles and learn the best methods to keep our screens looking crystal clear. In the following sections, we will dive into the causes of air bubble formation, prevention tactics, and bubble-removal techniques.
Causes of Air Bubble Formation
Air bubbles form for several reasons when applying a screen protector. Most often, bubbles are due to tiny spaces or gaps in the adhesive layer that sticks the screen protector onto your device. Here are the common causes of air bubble formation:
- Dust and Debris: Even the smallest dust particles can create air pockets. Always clean your screen before application.
- Oily Residues: Fingerprints and oils interfere with the adhesion, causing bubbles. Clean your hands and screen before starting.
- Misaligned Application: If the protector isn’t aligned perfectly, repositioning it introduces air pockets. Apply with care to avoid this.
- Pressure Changes: After installation, drops or heavy pressure on the display can dislodge the protector, trapping air. Handle your device gently.
Understand these reasons to prevent air bubbles. Prevention is easier than removal, so taking care during the initial application of the screen protector is crucial. Whether you’re tackling a pesky single bubble or a cluster of air pockets, pinpointing the cause will guide you in both removing existing bubbles and avoiding new ones. In our next sections, we will address pre-installation steps to prevent bubbles and how to manage them if they occur after installation.
Pre-Installation Steps to Prevent Bubbles
Preventing bubbles in your screen protector begins before you even apply it. Here are essential steps to ensure a smooth, bubble-free installation:
- Choose a Clean Environment: Always apply your screen protector in a dust-free area. This reduces the risk of dust and debris getting trapped under the protector.
- Clean Your Device Thoroughly: Use an alcohol pad or a microfiber cloth to clean your device’s screen. Make sure it’s free from dust, dirt, and oily fingerprints.
- Wash Your Hands: Before handling the screen protector, wash your hands with soap to remove any oils and residues.
- Align Properly Before Application: Take your time to align the screen protector with the device’s screen edges and camera. Misalignment often leads to bubbles.
Following these steps can greatly reduce the chances of bubble formation under your screen protector. Each step ensures that the surface is optimal for a smooth and firm application. Remember, a clean and well-prepared surface is key to preventing air bubbles.
Techniques to Remove Bubbles After Installation
Even with careful application, bubbles may still appear under your screen protector after installation. Here are several techniques to remove these pesky air pockets effectively:
1. Use a Plastic Card
Employ a plastic card, such as a credit card, to gently push the bubbles towards the edge of the screen. Ensure the card is clean and be careful to push in a uniform direction to avoid tearing or shifting the screen protector.
2. Apply Gentle Heat
For stubborn bubbles, applying low heat can help. Use a hairdryer on a low heat setting and gently warm the affected area. Then use the plastic card to push the bubbles out. This method can make the adhesive more pliable, thereby easing out bubbles.
3. Lift and Reapply
If a bubble is near the edge, you can carefully lift the protector edge using a thin piece of plastic. Lift just enough to reach the bubble, then smooth it out and reapply the protector. Make sure your hands are clean to avoid additional smudges or oils.
4. Prevent New Bubbles
After removing bubbles, ensure no new ones form. Keep the device in a safe place where it won’t be subjected to pressure or drops. Regularly check and smooth out any new minor bubbles that might appear, using your plastic card.
Remember, patience and precision are key in removing bubbles from under a screen protector. By using these techniques, you can maintain a clear, bubble-free screen.
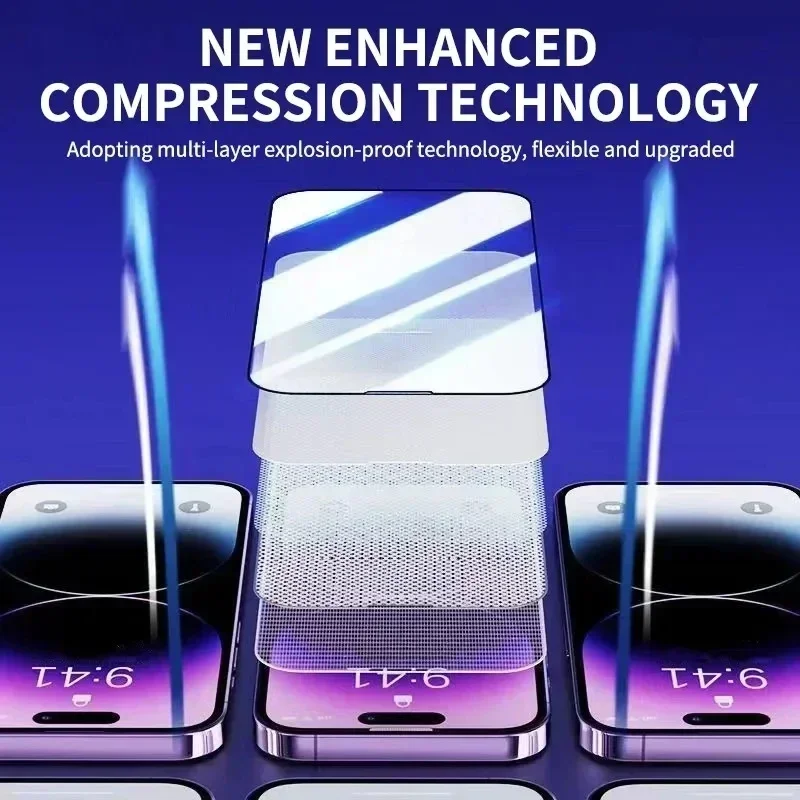
When to Consider Screen Protector Replacement
There comes a time when removing bubbles from your screen protector is no longer enough. If repeated efforts to banish bubbles fail, it might be time to consider a replacement. Here are signs that you need a new screen protector:
- Persistent Bubbles: Bubbles that won’t go away after you’ve tried all removal techniques can indicate a deeper issue.
- Damaged Edges: If the protector’s edges are peeling or lifting, it’s likely to let in more dust, leading to more bubbles and reduced protection.
- Scratches or Cracks: Visible damage compromises the protector’s structural integrity and can’t be repaired.
- Adhesive Failure: Over time, the adhesive can deteriorate, losing its ability to stick to your screen properly.
When these issues occur, continuing to use the damaged screen protector can risk your device’s screen experiencing harm. A fresh screen protector not only keeps your screen looking pristine but also ensures maximum protection from scratches, cracks, and other potential damages. Remember, a screen protector is an investment in your device’s longevity. Be proactive in replacing it when necessary to maintain your device in top condition.
Choosing the Right Replacement Screen Protector
When it’s time for a new screen protector, picking the right one is key. Here’s how:
1. Material Quality
Choose protectors made from high-quality materials like tempered glass. They offer better resistance to scratches and impacts.
2. Proper Fit
Ensure the protector fits your device’s screen exactly. A perfect fit prevents bubbles and protects fully.
3. Adhesive Strength
Select a screen protector with a reliable adhesive. It should stick without leaving residue or creating bubbles.
4. High Clarity
Your protector must be crystal clear. It shouldn’t dull the display or distort colors.
5. Sensitivity
Make sure it allows for touch sensitivity. Your device should respond quickly and accurately with the protector on.
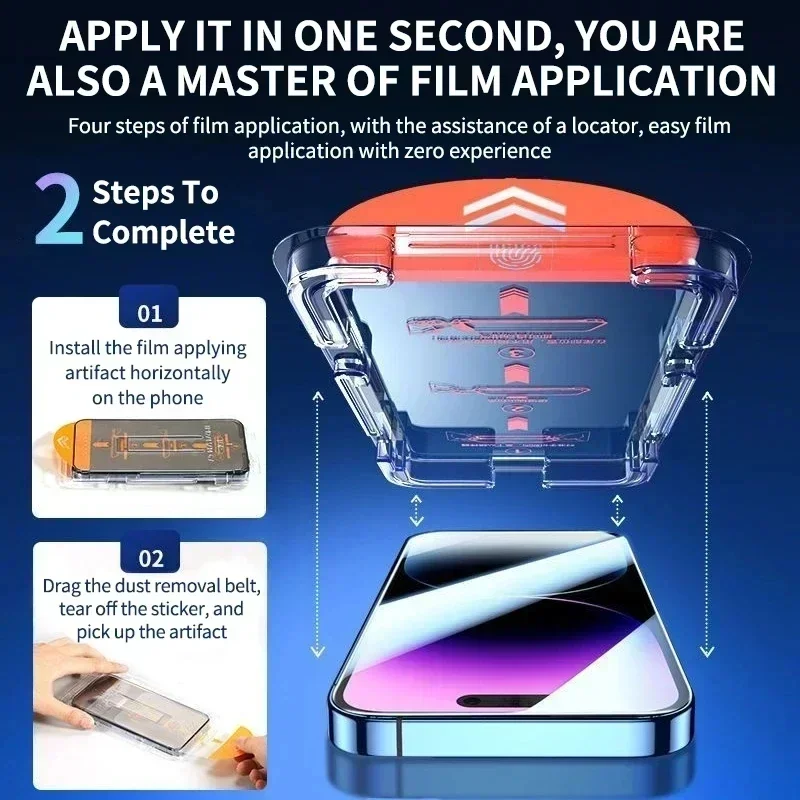
6. Ease of Application
Look for protectors that come with guides or tools. These help with alignment and a smooth, bubble-free application.
Remember, a top-notch screen protector maintains the screen’s look and feel while protecting it.
Troubleshooting Persistent Bubble Issues
Even after careful application and employing various techniques to remove bubbles, you might still encounter persistent bubble issues under your screen protector. Here are some troubleshooting tips to help address these stubborn problems.
Assess the Underlying Cause
Re-examine the screen and protector to identify any lingering dust or imperfections. These can contribute to persistent bubbles. Ensure the screen is impeccably clean before attempting further fixes.
Increase Pressure Gradually
Sometimes, increasing the pressure gradually while pushing out bubbles can be effective. Use a clean plastic card to apply steady, controlled pressure. This might help flatten out stubborn air pockets.
Re-evaluate Installation Technique
If bubbles keep reappearing, consider your application technique. It might be beneficial to remove the screen protector completely, clean the surface again, and reapply it with utmost precision.
Check for Screen Damages
Inspect your device’s screen for any scratches or dents. These damages can prevent the screen protector from adhering smoothly, trapping air bubbles.
Persistent bubbles can be frustrating, but with the right approach, you can usually find a solution. If all else fails, it may be time to replace the screen protector entirely, ensuring that your device remains protected without compromising visibility or functionality.
Conclusion: Maintaining a Bubble-Free Screen
To keep a bubble-free screen, follow key steps and use the right tools. Start by picking a screen protector made of quality material like tempered glass for better scratch and impact resistance. Ensure the screen protectores fits your device well to avoid bubble formation from poor alignment.
Using a good adhesive is crucial. It should be strong enough to hold the protector firm but not leave residue that could trap air bubbles. Also, ensure the protector allows for touch sensitivity, so device response is not hindered.
When applying, do so with care. Clean your hands and device, remove dust, align properly, and apply in a dust-free environment. If bubbles appear, gently use a plastic card to push them out.
If persistent bubbles trouble you, reassess the underlying causes. Check for dirt or screen damage and reapply with more precision. If the problem remains, it might be time to get a new screen protectores. Replace when necessary to protect your device and keep the screen in excellent condition.
Remember, a well-applied screen protector maintains your screen’s look and performance. By taking these proactive steps, you’ll keep your device looking sharp and well-protected for a long time.
