The Common Causes of Protector Bubbles
Understanding why bubbles appear under screen protectors is the first step toward preventing and fixing them.
How Improper Installation Leads to Bubbles
Improper installation is a prime suspect in bubble formation. Misalignment or unclean application can trap air, creating bubbles.
- Make sure the screen protector aligns with the device screen.
- Apply the protector gently to avoid trapping air.
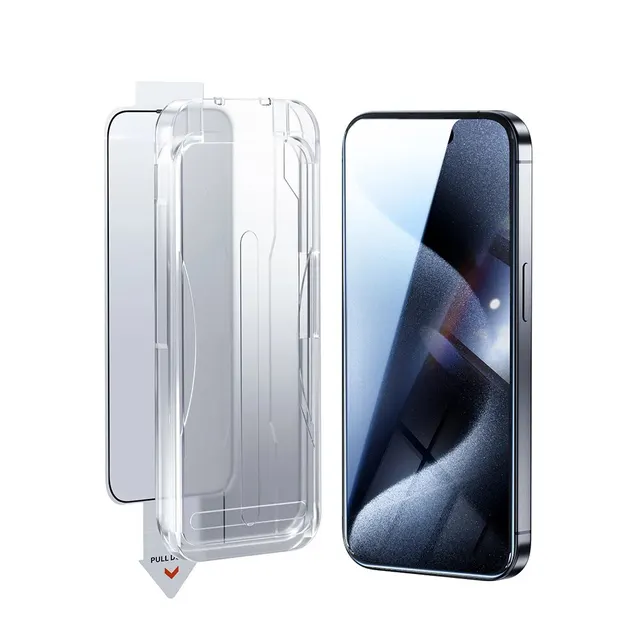
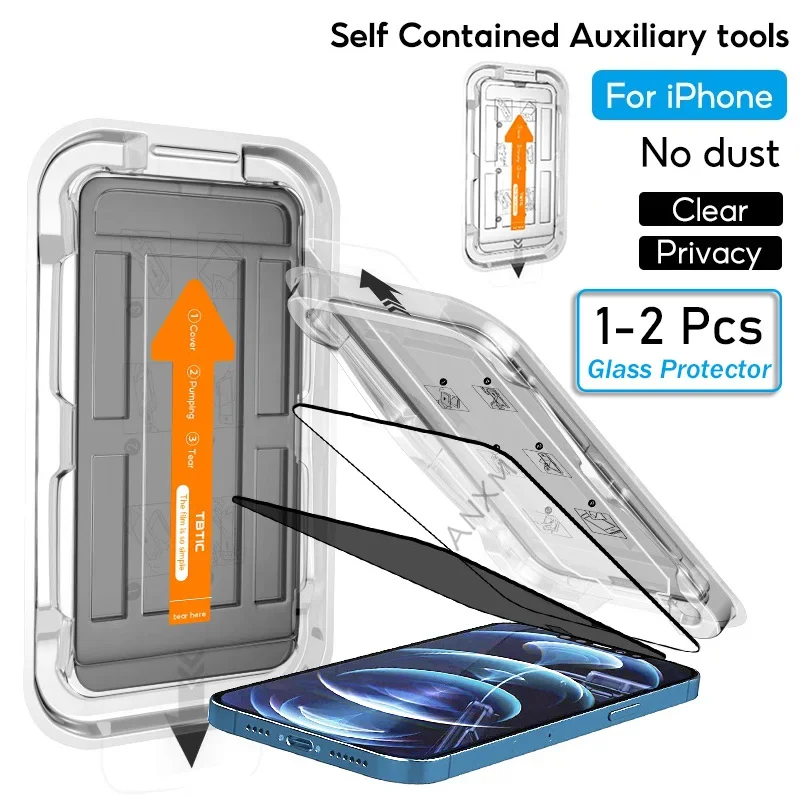
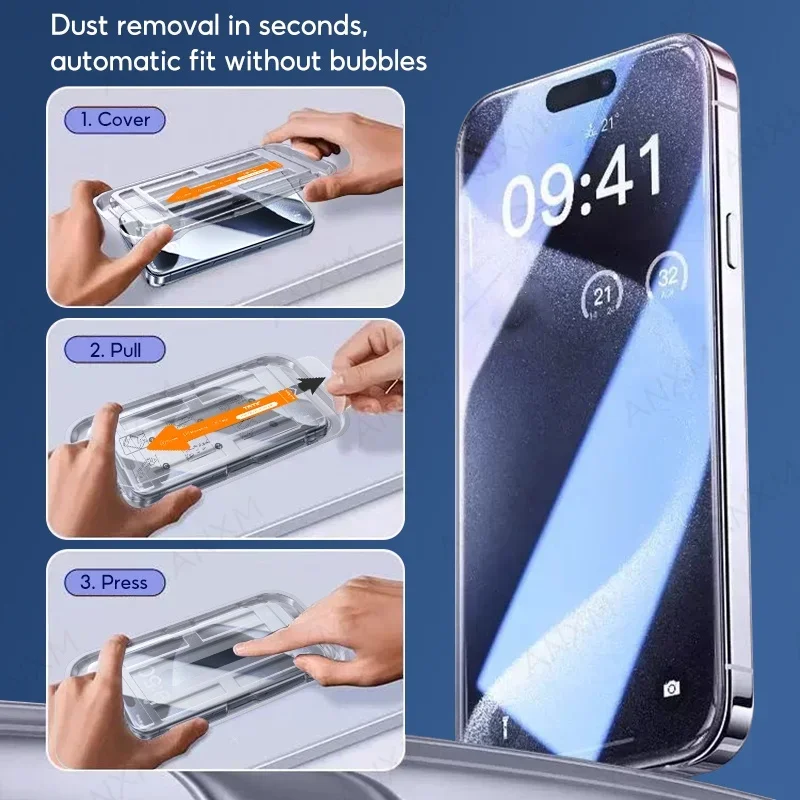
- Use installation tools provided for precise application.
The Role of Dust and Debris in Bubble Formation
Tiny dust particles are often invisible to the naked eye. Yet, they can be the main cause of screen protector bubbles.
- Clean the screen thoroughly with an alcohol wipe before application.
- Use a dust-free cloth to remove residual debris.
- Apply the screen protector in a low-dust environment.
Impact and Pressure: Long-term Contributors to Screen Bubbles
Bubbles may form over time due to external pressure. Sources of pressure can include drops or impacts.
- Avoid placing heavy objects on your device.
- Handle your device with care to prevent pressure-induced bubbles.
- Inspect and smooth out any emerging bubbles promptly to stop them from getting bigger.
Pre-Installation Tips to Prevent Bubbles
Proper preparation before installing a screen protector can prevent the formation of annoying bubbles.
Importance of a Clean, Dust-Free Environment for Application
A clean, dust-free space is key to a perfect screen protector application. Here’s how to create one:
- Choose a low-dust area like a bathroom after a shower. The steam settles dust particles.
- Turn off fans and air conditioners to stop dust from moving around.
- Use bright lighting to spot and remove dust more easily.
- Clean the device screen with an alcohol pad, and then use a microfiber cloth.
The Alignment of Screen Protector to Avoid Future Bubbles
Getting the alignment right stops future screen protector bubbles. Follow these simple steps:
- Before removing the backing, position the screen protector over the device to plan your approach.
- Use guide stickers or tabs if available to hold the protector in place as you apply it.
- Start from one end and slowly adhere the protector, paying close attention to the alignment.
- Avoid rushing the process. Take your time to get it right and minimize potential issues.
Effective Methods to Remove Bubbles
Removing screen protector bubbles effectively can enhance your device’s functionality and appearance. Here are some proven techniques for achieving a bubble-free screen protector.
The Pressing Technique: Step by Step
Start by pressing gently on the bubble’s center. Gradually push the bubble towards the screen’s edge. Apply steady pressure. This method moves the trapped air out, flattening the bubble effectively.
Using a Plastic Card for Bubble Removal
If pressing doesn’t work, use a plastic card. Place the card at one end of the bubble. Gently push the card towards the edge of the screen protector. This method helps in pushing the bubble completely off the screen.
The Heat Method: Softening Adhesive for Smoothness
Apply mild heat with a hairdryer set on low. Aim at the bubbled area from a safe distance. Heat softens the adhesive underneath. Once soft, gently smooth out the bubble with a cloth. Be cautious not to overheat to avoid damaging the screen protector.
When to Reapply Your Screen Protector
Sometimes, despite all efforts, bubbles persist, and it may be time to reapply your screen protector.
Signs That Indicate the Need for Reapplication
There are a few clear signs that suggest it’s time for a new screen protector:
- Consistent bubble presence that doesn’t go away with attempted removal techniques.
- Scratched or cracked screen protector that can’t provide effective protection.
- Edges of the protector start lifting, failing to adhere to the device screen.
- Visible dirt or dust trapped under the screen protector that causes distortion.
Recognizing these signs early can help maintain your device’s integrity and functionality.
Step-by-Step Guide for Screen Protector Reapplication
If you’ve observed any of the above signs, follow this guide to reapply your screen protector:
- Gently peel off the current protector from one corner to the opposite edge.
- Clean your device screen with an alcohol pad to remove old adhesive and debris.
- Make sure your hands and the environment are clean to prevent new dust from settling.
- Carefully align the new screen protector with the device screen before removal of the backing.
- Slowly adhere the protector, using a plastic card to smooth out potential bubbles as you go.
- Finally, review the application for any missed bubbles or misalignments, adjusting as needed.
Reapplication can restore the screen to its optimal condition, allowing for clear viewing and protection. Stick to the outlined screen protector bubbles keyword density to ensure the best possible reading experience.
Advances in Protector Technology: PenMat 2 Introduction
In the quest for bubble-free screen protection, the PenMat 2 emerges as a game changer. Its design targets common issues like screen protector bubbles. It employs innovative methods to ensure a flawless application, every time.
The Benefits of PenMat 2’s Riptide Technology
PenMat 2’s Riptide Technology brings many perks. It promises a bubble-free installation, a frustration many face with traditional protectors. The tech allows for easy application with no air pockets. This means a smooth, clear screen with no distortion from bubbles.
- Bubble-free application ensures a pristine display.
- Enhanced stability and precision perfect for artists and digital creators.
- Slight texture mimics the feel of real paper under your stylus.
Installation and Maintenance of PenMat 2 Screen Protector
Installing and maintaining PenMat 2 is straightforward. The screen protector’s design is intuitive, making it user-friendly for all.
- Clean your device screen with the included wipe.
- Align the PenMat 2 with your device edges.
- Press firmly and watch as it adheres without air pockets.
- To maintain, simply wipe with a microfiber cloth as needed.
For artists and tech users alike, the PenMat 2 could be the solution to ensure crystal-clear displays and a smooth drawing experience, free from the distraction of screen protector bubbles.
Choosing A New Screen Protector
When selecting a new screen protector, several factors influence your decision.
Criteria for Selecting the Right Screen Protector
Choosing the right screen protector requires consideration of material, compatibility, and additional features. Look for protectors made from durable materials like tempered glass, which offers superior protection against scratches and bumps. Ensure the screen protector fits your device model perfectly to avoid issues like misalignment or inadequate coverage. Some protectors come with extra features like anti-glare coatings or privacy filters, which might be beneficial depending on your needs.
A Look into Case-Mate and Sahara Case Protectors
Case-Mate and Sahara Case offer high-quality screen protectors with unique features. Case-Mate protectors are known for their shatter-resistant glass and sleek fit. They design protectors tailored to specific devices, ensuring a perfect fit and optimal protection. Sahara Case screen protectors, on the other hand, highlight their cost-effectiveness while maintaining quality similar to premium brands. They come with clear instructions, making them easy to apply without bubbles.
Both brands offer products providing protection and enhancing your device’s usability without compromising on clarity or touch sensitivity.
Final Tips for a Perfect Protector Application
Achieving a perfect protector application often requires attention to detail and patience. Here’s how you can ensure a bubble-free and protective screen protector installation.
Troubleshooting Persistent Air Bubbles
Sometimes, despite your best efforts, stubborn air bubbles remain under the screen protector. If you encounter this issue:
- Check the screen and protector for dirt or dust.
- Press down gently on the bubble, pushing it towards the edge.
- Use a plastic card to guide air bubbles to the screen’s perimeter.
- Apply slight heat to the area and then smooth it out carefully.
These steps will help you address any persistent screen protector bubbles, ensuring a clear and smooth screen surface.
Ensuring Long-term Screen Protection with the Right Practices
For long-term protection, consider the following tips:
- Regularly inspect the protector for damage or lifting edges.
- Keep your device in a case to minimize direct impacts.
- Replace the screen protector if you notice significant wear or damage.
Following these practices prolongs your device’s screen life and keeps it looking new.
