Applying a screen protector can often be a daunting task, especially when you aim for a flawless, bubble-free finish. Understanding the process is key. This comprehensive guide takes you through every step with expert tips and techniques that will ensure your screen protector adheres perfectly to your device, maintaining both visibility and touch sensitivity.
Understanding Screen Protectors
Types of Screen Protectors
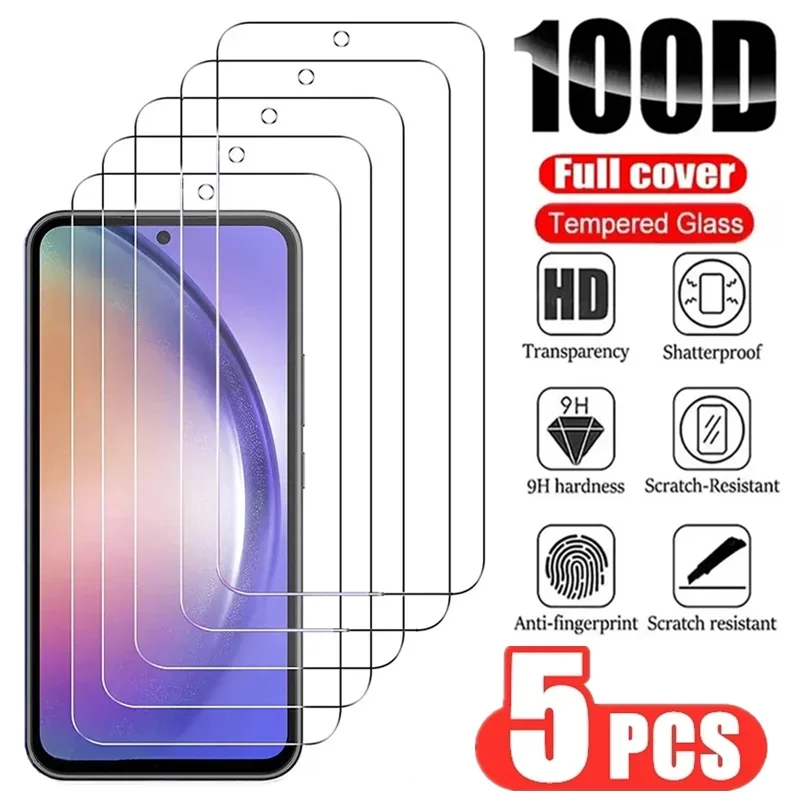
Before diving into the application process, it’s essential to understand the different types of screen protectors available on the market. Screen protectors generally fall into three categories: plastic (PET), tempered glass, and liquid film protectors. Each type has its own advantages, and understanding them will help you choose the right one for your device.
Plastic screen protectors are usually thinner and less expensive, but they also offer less protection against impact and scratching compared to tempered glass. Tempered glass protectors are made from thin layers of glass that provide excellent durability and a smooth surface. They usually come with a higher price tag but are favored for their superior protection. Liquid film protectors are a more recent addition to the market. They are applied as a liquid and then dry to form a protective layer, offering a unique option that doesn’t add bulk to the device.
Importance of a Bubble-Free Application
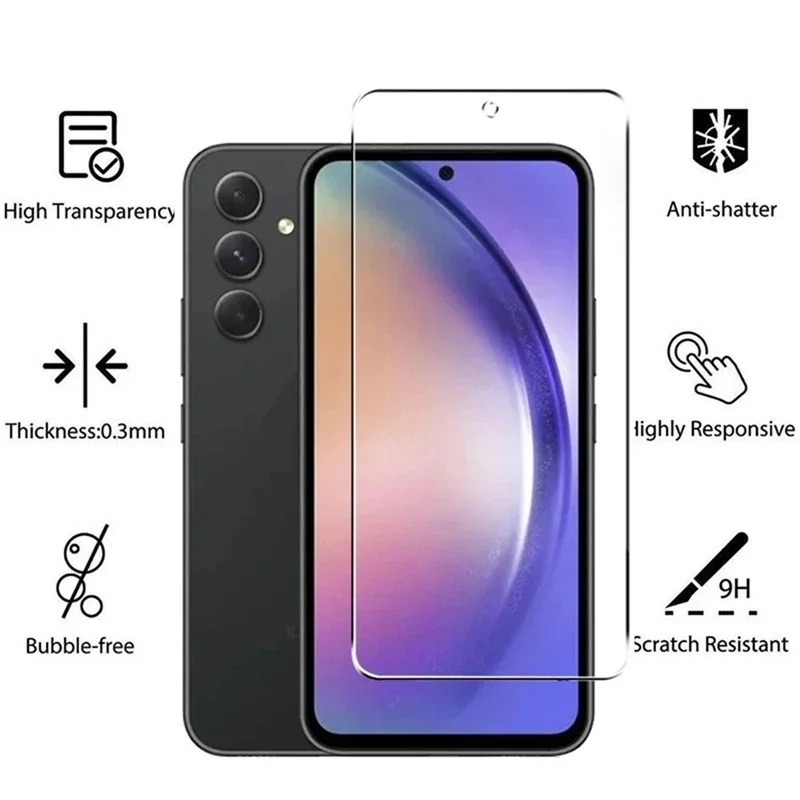
The importance of applying a screen protector without bubbles cannot be overstated. A bubble-free application not only enhances the aesthetic appeal of your device but also ensures the functionality of the screen. Bubbles can interfere with touch sensitivity, distort the visuals, and even lift the protector off the surface over time. Therefore, taking the time to master the application process ensures that your screen remains clear, intuitive, and enjoyable to use.
Preparing for Application
Clean Your Device Thoroughly
The first step to a bubble-free application is preparing your device. Cleaning the surface thoroughly is crucial. Use a microfiber cloth to wipe the screen gently, removing any fingerprints, dust, and oils. This step is often overlooked, but it is possibly the most important. Any residue left on the screen will create an uneven surface for the screen protector, leading to potential bubbles.
Consider using a screen cleaning solution or compressed air to ensure the removal of all dirt and debris. A little bit of patience in this step can save you a lot of frustration during the installation process. After cleaning, use a dry microfiber cloth to buff the screen and ensure it’s completely free of moisture before proceeding.
Gather Necessary Tools
Having the right tools on hand can significantly ease the installation process. In addition to your screen protector, gather a few essential items: an alcohol wipe (if available), a dust removal sticker, a squeegee or plastic card, and, if possible, a lint-free cloth. These tools allow you to clean and install the screen protector effectively without leaving any lint or bubbles behind.
Be sure that your workspace is well-lit and free of any strong drafts. Drafts can introduce dust particles into your installation area, which can end up underneath the screen protector. It’s best to choose a quiet room with minimal disturbances to ensure a smooth application.
Application Techniques
The Ideal Environment for Installation
Before applying your screen protector, it’s essential to choose the right environment. Avoid applying the protector in a dusty room or an area with strong airflow, like near open windows or air vents. As previously mentioned, dust particles can find their way under the protector, causing bubbles and imperfections.
Pick a room with soft lighting and minimal distractions. Some experts even suggest applying the protector in the bathroom after taking a hot shower; the steam can help settle dust particles in the air. This might sound unusual, but the added moisture can help create an environment conducive to a bubble-free installation.
Aligning the Screen Protector
When you’re ready to start, carefully peel back the protective layer from your screen protector. The key is to avoid touching the adhesive side as much as possible, as this can introduce oils and dirt that can lead to bubbles. Start from one edge of the device, and carefully align the screen protector with the edges and cutouts of your screen.
Aligning is critical; take your time to ensure everything is straight. If possible, hold the protector above the screen without letting it touch for a moment to gauge its perfect position. If you find that it’s slightly off, don’t hesitate to lift it gently and reposition as necessary—this is an advantage when using glass protectors since they are often more forgiving than plastic ones.
The Squeegee Technique
Using the Squeegee
Once the screen protector is aligned and ready for application, it’s time to secure it down with a squeegee or plastic card. Begin at the center of the screen and work your way out towards the edges. This technique helps push any air bubbles towards the edges instead of trapping them underneath the protector.
Apply gentle pressure while moving the squeegee in a smooth, horizontal motion. It’s essential to be patient and not rush this step as haste can cause bubbles to form. If you encounter a stubborn bubble, you can often push it towards the nearest edge with the squeegee. If a bubble remains, gently lift the corner of the protector closest to it and repeat the squeegee motion.
Dealing with Stubborn Bubbles
Sometimes, despite your best efforts, you may find yourself with a stubborn bubble that will not subside. In this case, you can use a pin to puncture the bubble and then use the squeegee to push the air out. This technique requires a steady hand, so be cautious. It’s crucial to avoid applying too much pressure, as this can damage the protector and the device itself.
If the bubble is large and doesn’t want to budge, don’t hesitate to remove the screen protector entirely. Clean the screen once more, repeat the installation process, and be extra vigilant about getting dust off the screen during your first steps.
Post-Installation Care
Allowing Adhesive to Set
After you’ve successfully adhered the screen protector and eliminated bubbles, it’s important to allow the adhesive to set. Generally, keep the device flat and undisturbed for a few hours to ensure that the adhesive bonds properly. Avoid pressing too hard on the screen, and give the protector the time it needs to conform to any slight irregularities of your device’s screen.
Many manufacturers suggest waiting at least 24 hours before exposing the device to excessive moisture or cleaning. This ensures that the adhesive has fully cured and that the chances of lifting or bubbling remain minimal.
Whispering Maintenance Tips
To keep your screen protector in top condition, consider some maintenance tips. Regularly clean the screen using a microfiber cloth to prevent buildup of oils and fingerprints. Avoid using harsh cleaning solutions that might degrade the screen protector over time. Instead, a solution specially designed for screens or just water should suffice.
If you notice any corners starting to lift over time, you may reapply some light pressure with your fingers or a squeegee. This practice can help reinforce the adhesive and prolong the life of your screen protector.
Conclusion
Recap of Key Steps
In summary, mastering the art of applying a screen protector without bubbles is a process that involves careful preparation, proper technique, and some patience. Start by cleaning your device thoroughly and preparing your workspace. Choose the right environment for application and take your time aligning and applying the protector. Use a squeegee or plastic card to remove air bubbles and give the adhesive the time it needs to fully set.
Final Thoughts
Following these detailed steps ensures that you enjoy a bubble-free experience when it comes to protecting your device. A well-applied screen protector can significantly enhance both the appearance and functionality of your smartphone or tablet—keeping it looking pristine while guarding against daily wear and tear. With practice, the technique becomes second nature, enabling you to confidently tackle this task for all your devices.
