When it comes to the upkeep of your mobile device, one of the essential accessories you might invest in is a glass screen protector. While these protectors are great at keeping your screen scratch-free, there may come a time when you need to remove or replace them. Whether it’s because of damage, bubbles, or simply upgrading to a newer model, understanding how to safely remove your glass screen protector is essential to prevent any damage to your device. In this article, we will provide a comprehensive guide on the proper techniques and tips for removing these protectors without causing harm.
Understanding Your Glass Screen Protector
What is a Glass Screen Protector?
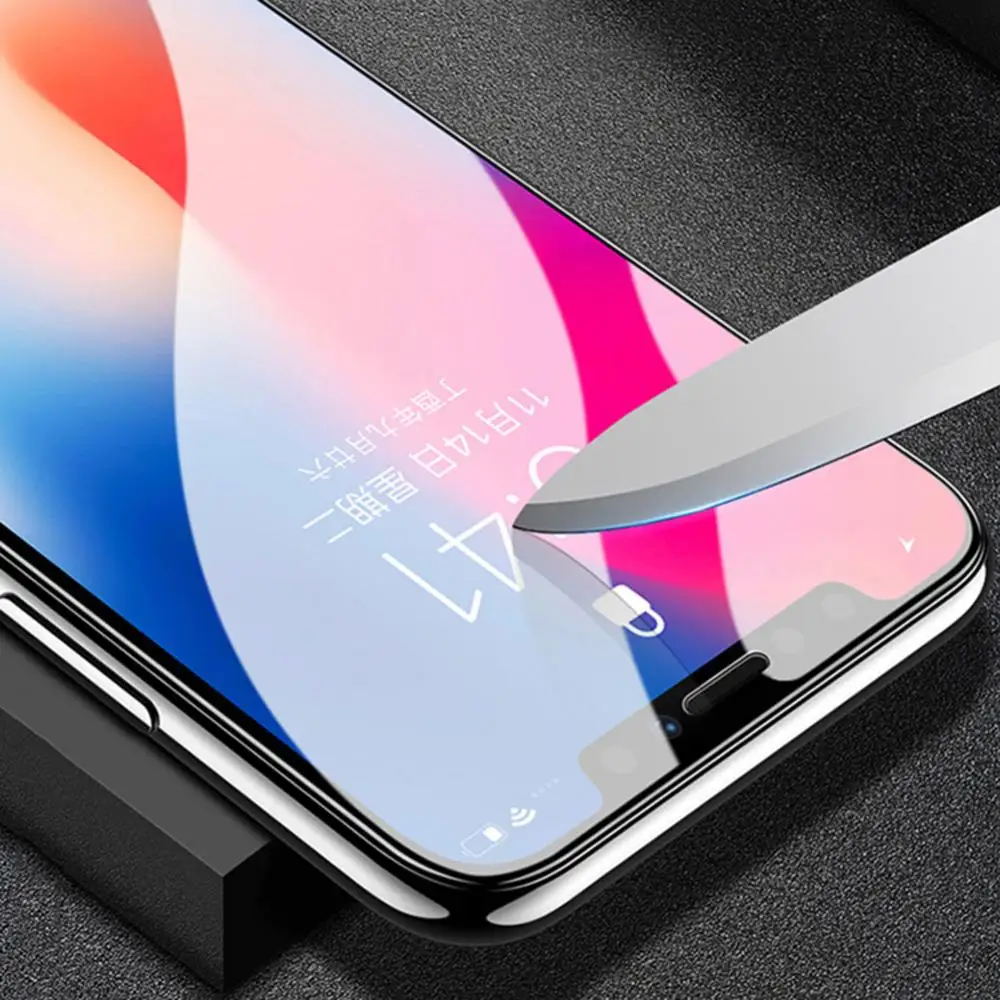
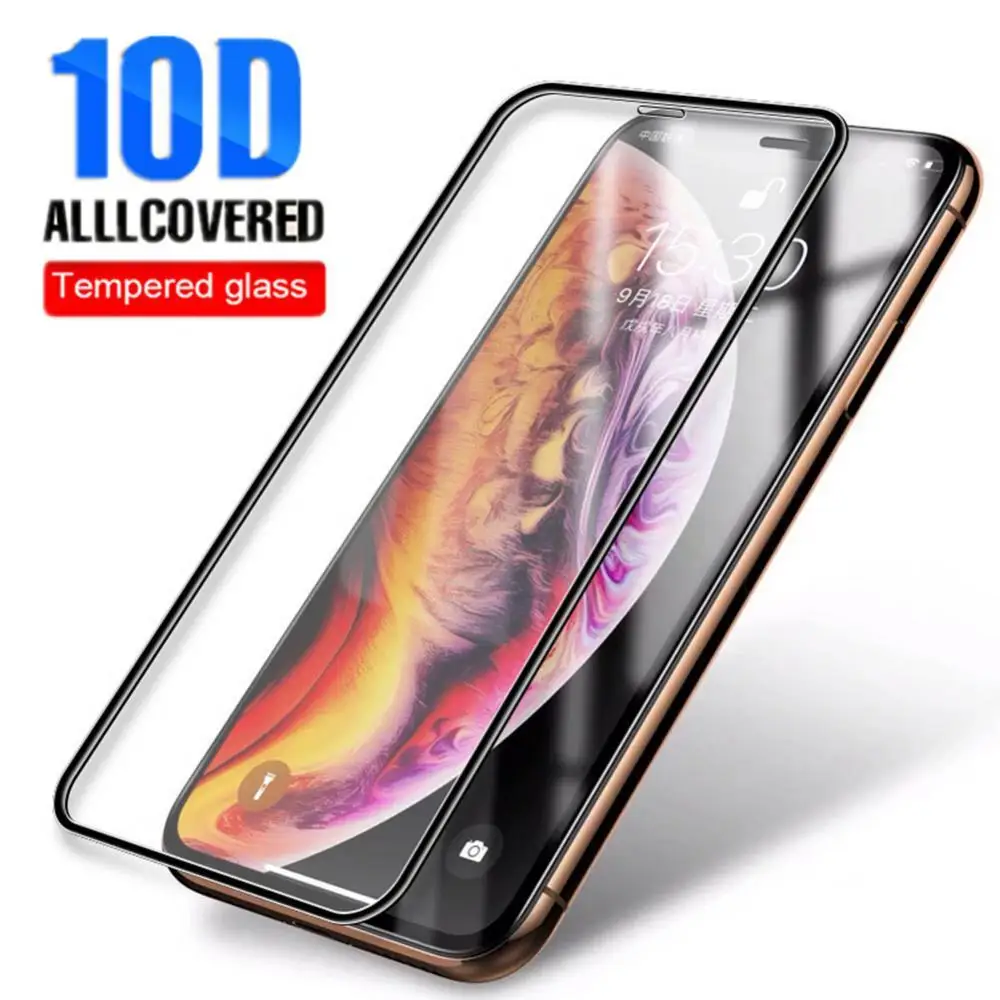
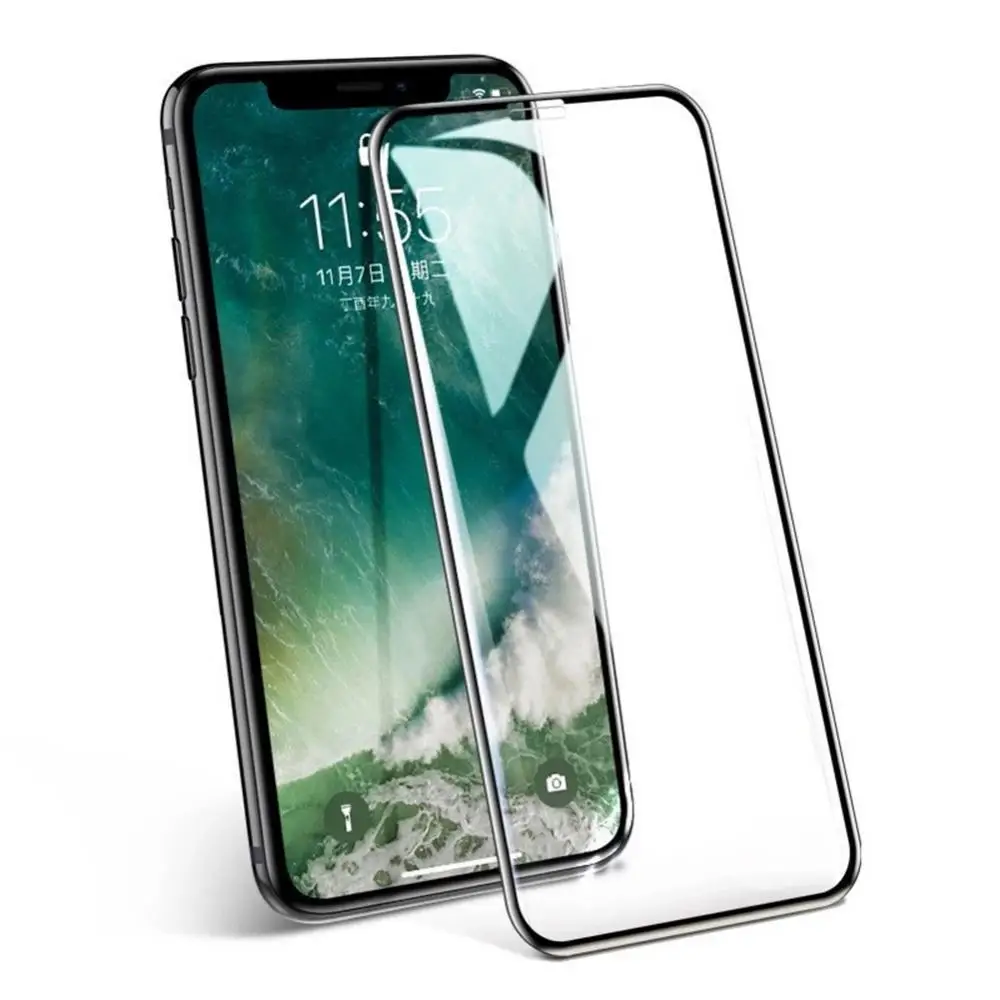
Before diving into the removal process, it’s crucial to understand what a glass screen protector is and its purpose. These protectors are typically made from tempered glass, designed to absorb shocks and prevent scratches, when applied to a phone or tablet screen. This added layer of protection helps ensure that your device’s original screen remains intact, which ultimately increases its resale value. Glass screen protectors can come in various thicknesses and qualities, meaning that the removal process may vary slightly based on the specific type you’re dealing with.
Why You Might Need to Remove It
Every device owner faces the inevitable need to replace their screen protector at some point. Common issues include cracking or chipping of the glass due to impacts, the accumulation of dust and fingerprints, bubbles created by poor installation, or simply switching to a different style or brand. Regardless of the reason, knowing how to safely remove your glass screen protector is paramount. Doing this incorrectly might result in unsightly adhesive residues, or worse, damage to the device’s screen itself, leading to costly repairs. This guide will provide you with techniques that ensure a clean removal.
Preparation for Removal
Gather Your Tools
Before initiating the removal process, gathering the appropriate tools and materials is essential. You will typically need a soft microfiber cloth, a plastic card (such as a credit card or an ID card), and some adhesive remover or isopropyl alcohol (which can help with stubborn residues). Also, ensure you are positioned in a well-lit area with minimal dust to reduce the risk of contamination while exposing your screen.
Create a Safe Environment
After selecting your tools, create a safe environment for removal. Avoid cluttered spaces and ensure that you have ample room to work without distractions. If possible, perform the task on a clean, soft surface like a table or desk to reduce the risk of dropping your device. To prevent any internal damage from static electricity, it may also be wise to ensure you are grounded, perhaps by touching a metal object. A calm and organized setting minimizes the risks associated with the removal process.
The Removal Process
Step 1: Assess the Adhesive Edges
Begin by examining the edges of your screen protector to gauge how well it is adhered to your device. Sometimes, the edges might lift up slightly, making it easier for you to pry it off. If your screen protector is intact and bonded well, proceed with caution. Attempting to remove it beginning from the edge will generally minimize stress across the glass and reduce the risk of breakage during the removal process.
Step 2: Pry Off the Screen Protector
Utilize a plastic card to gently lift an edge of the screen protector. Start at one of the corners or the side of the protector, as this is often the easiest place to start. Insert the card into the gap and carefully slide it along the edge. Apply minimal pressure, as you want to avoid damaging the device’s display. Gradually work your way around the protector, lifting it further as you go. It is crucial to take your time during this step, as rushing can lead to sudden snaps or breaks.
Continuing the Removal
Step 3: Keep the Pressure Even
While prying, it’s essential to maintain even, gentle pressure. Uneven force can cause cracks in the glass, either on the screen protector or the device’s screen itself. Make small movements and be patient; if you feel resistance, stop and reassess. Sometimes, the adhesive can be stubborn, especially for those protectors that use stronger adhesives designed for longevity. If resistance is felt, consider applying a bit of heat from a hairdryer set on low to slightly warm the adhesive, which may help in loosening its grip.
Step 4: Slowly Lift the Protector Away
As you see the protector coming loose, continue to lift it gently. The goal is to remove the glass screen protector as a whole piece rather than in fragments. If you notice it is sticking significantly, return with the plastic card to encourage it from beneath. Once it is completely detached, dispose of the screen protector properly. Avoid forcing any sections to detach as this may lead to breakage.
Post-Removal Clean-Up
Step 5: Clean the Screen Thoroughly
After successfully removing the screen protector, a vital step is cleaning your device’s display. This can often involve residue left behind by the adhesive. Start by using the microfiber cloth to remove any dust and fingerprints. If you find sticky residues, apply a small amount of isopropyl alcohol to the cloth and gently rub the area until it is clean. Be sure not to apply the alcohol directly onto the screen as it may seep into the device. Continue until the screen is free from all grime and residue, leaving a clear and shiny surface.
Step 6: Check for Scratches or Damage
Once your screen is clean, take the opportunity to inspect it for any scratches or other types of damage. A glass screen protector should keep the surface largely unscathed, but unexpected impacts can occur. Check the corners, sides, and center area as these are often prone to damage. You may want to evaluate whether it’s necessary to install a new screen protector immediately or if your device can be used without one temporarily.
Applying a New Screen Protector
Choosing a New Protector
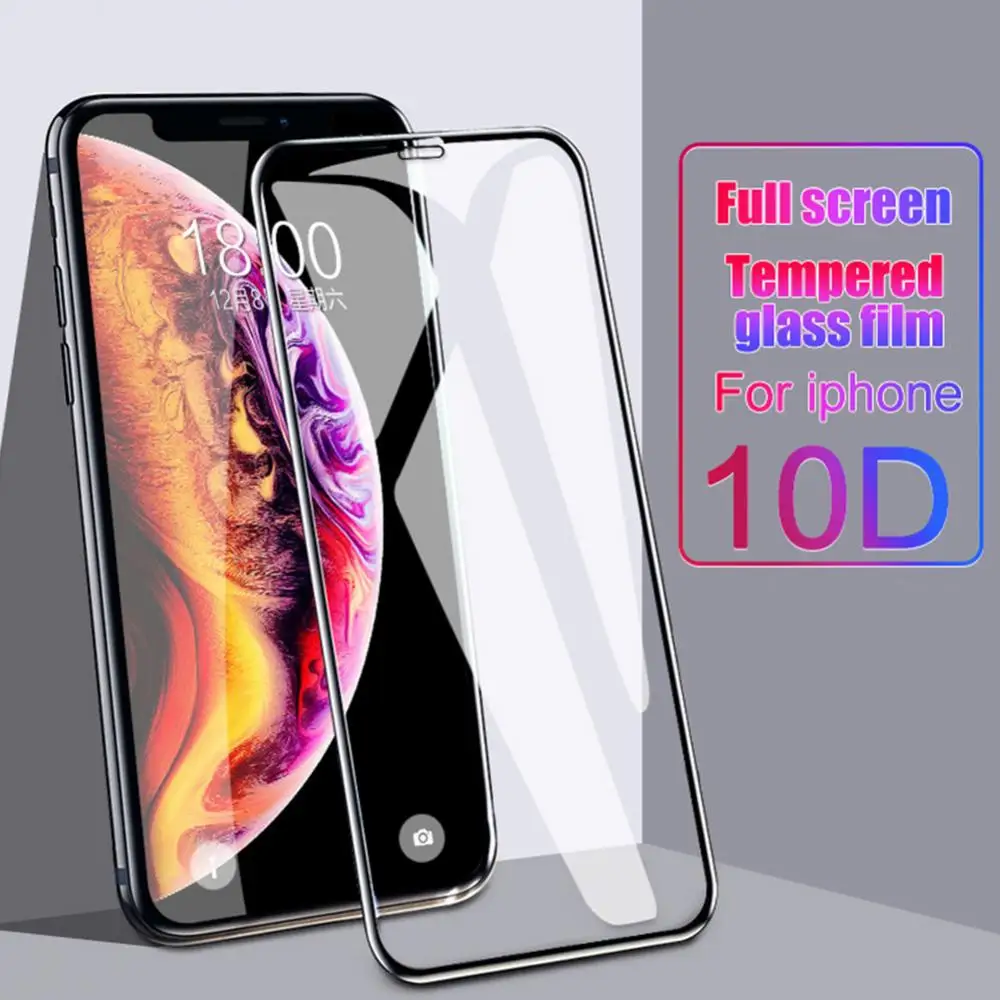
If your intention is to replace the glass screen protector with a new one, the next step is to choose a suitable product. With the variety of screen protectors in the market today, it’s essential to select one that fits your model perfectly while providing the desired level of protection. Research online reviews and specifications to find a reputable product. Consider factors such as thickness, clarity, and ease of installation to choose a protector that meets your needs.
Installation Tips
When it’s time to install your new glass screen protector, be sure to follow the manufacturer’s instructions closely. Generally, this process will also require a clean, dust-free environment to ensure a perfect application. Clean your screen thoroughly before applying the new protector. Carefully align the protector with your device screen, using the included guide, if available, and press down gently to eliminate bubbles, starting from the center outwards. Take your time to ensure a proper fit, as this significantly contributes to the protector’s efficiency.
Final Thoughts
Regular Maintenance
After installing a new glass screen protector, regular maintenance can prolong its lifespan. Wipe your screen with a microfiber cloth periodically to prevent the buildup of dirt and oils. Additionally, check for any signs of wear and tear occasionally—if you notice any issues, consider removing and replacing the screen protector again to keep your device in optimal condition.
The Importance of Safe Removal Practices
In conclusion, knowing how to safely remove your glass screen protector is essential for any mobile device owner. By taking the right precautions, using the appropriate tools, and following the steps outlined above, you can avoid damaging your device. A careful removal process not only ensures that your phone remains in good working condition but also prepares you for re-applying a new protector if desired. By investing a little time and effort into this process, you extend the lifetime and performance of your device, all while keeping it looking brand new.
