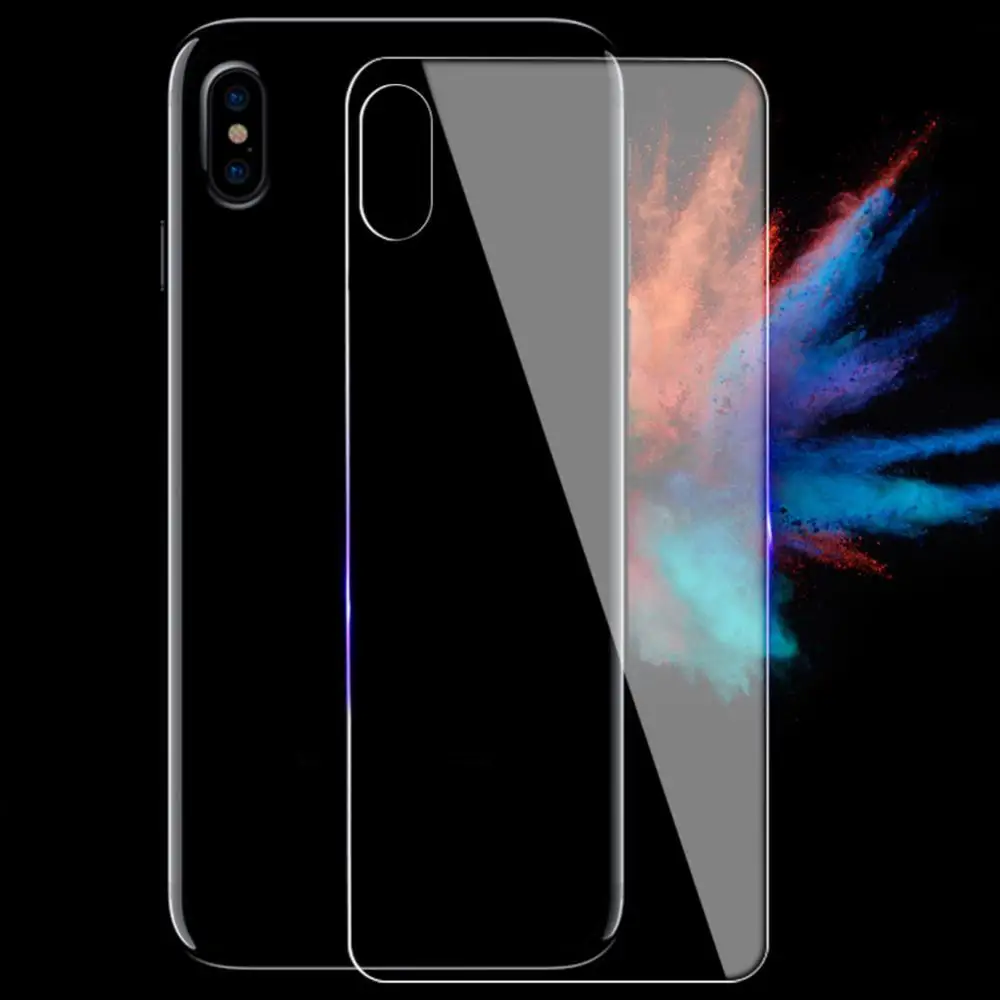
Installing a screen protector on your device can be a rewarding experience, offering an extra layer of defense against scratches and impacts. However, the process can sometimes lead to unwanted air bubbles trapped underneath the protector, leaving your device looking less than pristine. Fortunately, there are several effective techniques to remove air bubbles from your screen protector. This article will outline these methods in detail, ensuring that you can enjoy a flawless, bubble-free screen.
Understanding Air Bubbles in Screen Protectors
Why Do Air Bubbles Form?
Air bubbles can occur during the installation of screen protectors for a variety of reasons. One of the primary culprits is improper application techniques. If the protector is not aligned correctly or if dust particles are present on the screen or on the adhesive side of the protector, air can become trapped when the protector is pressed down. Additionally, environmental factors like temperature and humidity can influence the application process, making it more difficult to avoid bubbles. Bubbles can range in size from tiny specks to larger, more noticeable areas that obscure your view of the screen, ultimately detracting from your user experience.
Understanding why air bubbles form is crucial for preventing them in the first place. Ensuring that your hands and the installation surface are clean and free from debris will help you apply the screen protector more effectively. Moreover, having a lint-free cloth handy can enable you to remove any dust particles before installation. By taking these preventative measures, you can minimize the chances of encountering air bubbles and make the application process smoother.
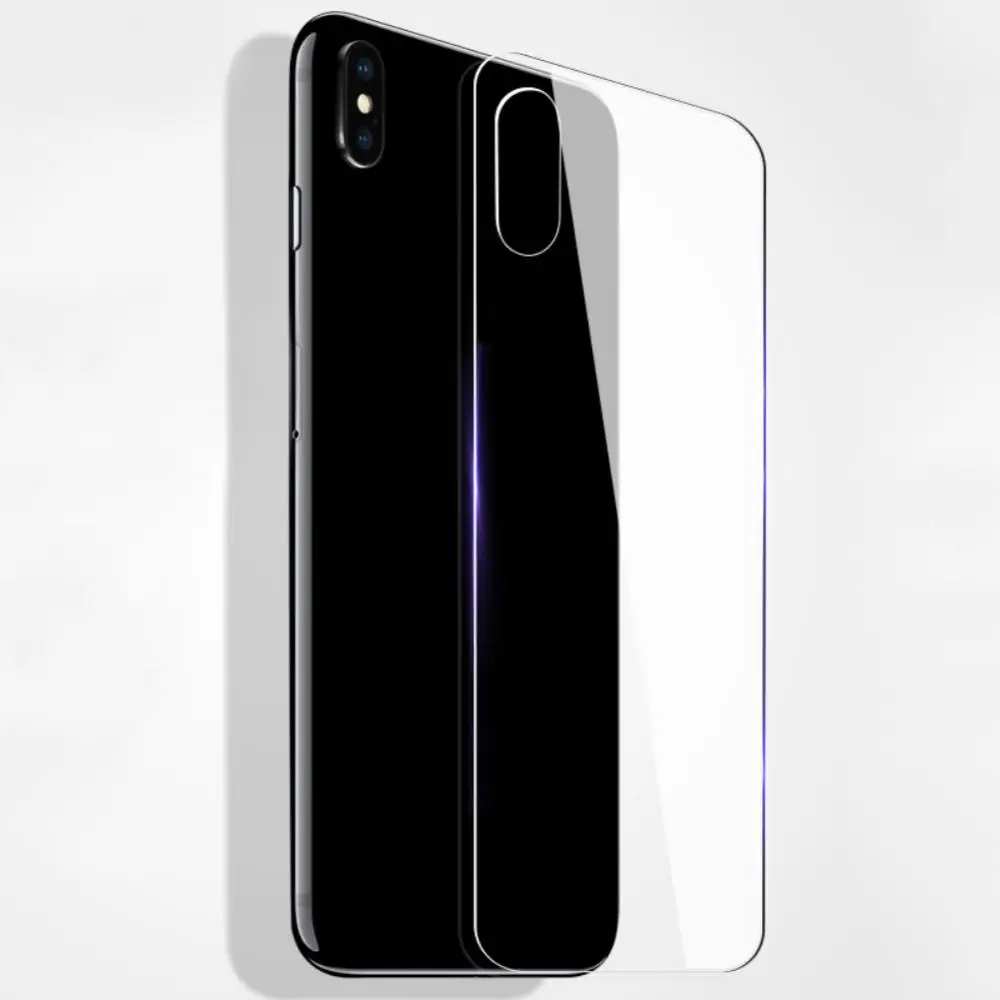
Preparing for Application
Gathering Necessary Tools
Before you attempt to remove air bubbles from your screen protector, it’s essential to prepare properly. This preparation involves gathering the right tools and materials. To begin with, you will need a lint-free cloth. This will allow you to clean both your device’s screen and the adhesive side of the screen protector without leaving any unwanted debris. Additionally, a credit card or a similar flat object can help smooth out bubbles. Some people opt for a special bubble removal tool, which is designed specifically for this purpose and comes with an ergonomic design that makes it easy to maneuver.
You may also consider having a pair of clean hands at the ready. Wash your hands thoroughly to eliminate any potential grime or oil from affecting the screen protector or causing unwanted marks. Some people find that using alcohol wipes to clean the screen additionally helps in achieving a better result. Finally, having a dust sticker or tape can be beneficial for picking up any stray dust particles that may settle on the screen during the application process.
The Correct Installation Process
Step-by-Step Guide to Proper Application
A crucial part of preventing air bubbles is ensuring that the screen protector is applied correctly. Start by preparing your work area. Clean your workspace and lay the device on a soft surface to avoid scratches. The first step in the actual application process is to clean your screen thoroughly using the lint-free cloth. For added effectiveness, spray a small amount of screen-safe cleaner onto the cloth—never directly onto the screen—before wiping the entire surface.
Once the screen is clean, the next step is aligning the screen protector. Many screen protectors come with alignment tools to help you place the protector in the ideal position before application. Hold the screen protector by its edges to avoid touching the adhesive side. Once you’re satisfied with the alignment, gently lower the protector onto the screen, starting from one edge and working your way across. This method reduces the chances of trapping air. If you do encounter bubbles at this stage, don’t panic; there are simple techniques for dealing with them.
Eliminating Air Bubbles Using the Card Method
Step-by-Step Bubble Removal with a Credit Card
One of the most effective techniques for removing air bubbles from your screen protector is the card method. Once the protector is applied, if you notice bubbles, take your credit card or a similar flat edge and gently start to push the bubbles towards the nearest edge of the screen. Begin at the center of the bubble and apply even pressure as you move the card outward. Make sure not to apply too much force, as this could damage the screen or the protector itself.
Work methodically, pushing each bubble towards the edge until all bubbles have been removed. In some cases, you may find that the bubbles become larger but can then be pushed out. If a stubborn bubble remains after several attempts with the card, consider lifting the corner of the screen protector gently with the card, and press it down again. This can help release air trapped underneath.
Using Heat to Aid Removal
The Temperature-Based Bubble Release Technique
If physical methods like the card technique do not yield satisfactory results, using heat can effectively eliminate residual air bubbles. Heat helps soften the adhesive glue of the screen protector, allowing the trapped air to escape easily. To use this technique, ensure that you have a hair dryer or a heat gun set on the lowest setting available.
Begin by holding the dryer a few inches away from the screen protector and start applying heat over the areas with bubbles. Move the heat source in circular motions to distribute the warmth evenly. Be cautious not to overheat the protector or your device, as extreme temperatures can cause damage. Once you have thoroughly warmed the area, go back with your card to gently push the air bubbles towards the edges. This method is effective and can yield great results, especially for larger bubbles.
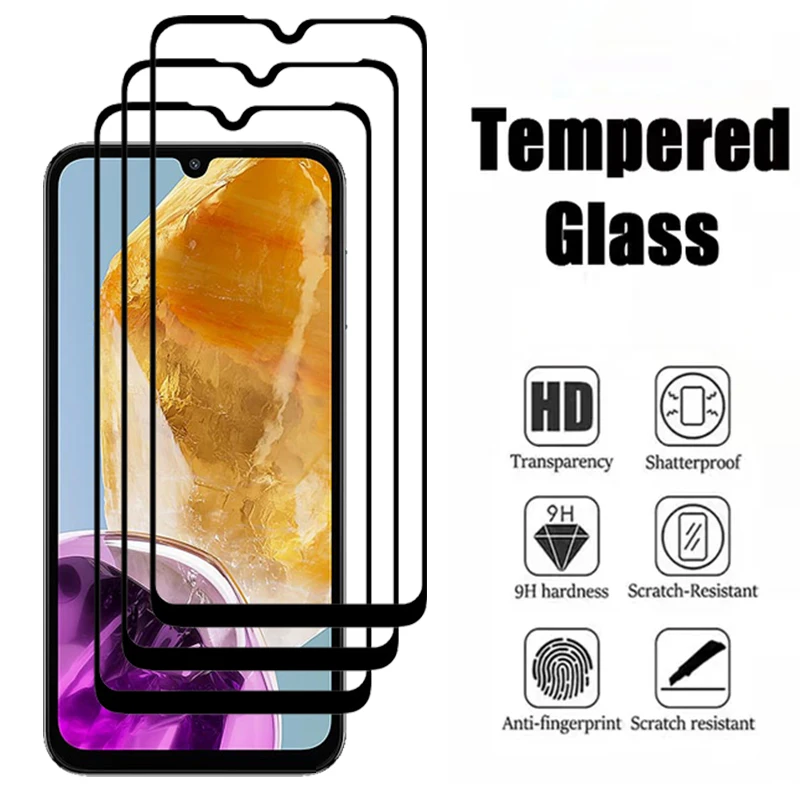
The Use of Tape for Stubborn Bubbles
Leveraging Adhesive Properties for Removal
For particularly stubborn bubbles that refuse to budge even after attempting the card and heat methods, you might consider using tape. This technique involves using a piece of clear tape or painter’s tape to lift the bubble from the screen. Carefully peel back a corner of the screen protector to expose the air bubble. Once exposed, take the tape and lightly touch it to the middle of the bubble. The adhesive properties of the tape will grab onto the setup of the bubble and help in lifting it out.
Once the bubble has been lifted, you can usually press the screen protector back down, smoothing it out with your fingers or a card. This method effectively allows you to remove air bubbles that otherwise seemed impossible to deal with. Be cautious, however, because lifting the protector too much can lead to dust accumulation or discomforting creases.
Preventive Measures for Future Installations
Tips for Avoiding Air Bubbles
While knowing how to remove air bubbles is incredibly useful, prevention is always better than cure. To avoid dealing with bubbles in the first place, focus on a few critical considerations during installation. First, ensure that you install your screen protector in a dust-free environment. It is best to avoid windy areas or spaces where dust could easily settle onto your screen or the adhesive side of the protector.
Second, take your time during the installation process. Rushing can often lead to mistakes, so be sure to slowly and carefully align the screen protector before any contact is made. Finally, studying the application instructions specific to your screen protector can yield insights into potential preventive steps that are tailored to that product.
Final Thoughts on Air Bubble Removal
Enjoying a Flawless Screen Experience
The process of installing a screen protector can be fraught with challenges like unsightly air bubbles, but the importance of protecting your device cannot be overstated. With a variety of techniques at your disposal, including the card method, heat application, and tape leverage, you can successfully eliminate any bubbles you encounter.
Ultimately, the goal is to enjoy a perfect, bubble-free screen that facilitates a smooth user experience. By taking the time to prepare, applying your screen protector carefully, and implementing these effective bubble removal methods, you can enhance not just the aesthetic of your device, but also its longevity. Adopting preventive measures for future installations will ensure that air bubbles become a thing of the past, allowing you to focus on the joy of using your device instead.
