Importance of a Properly Applied Screen Protector
A screen protector is your smartphone’s first line of defense. It protects from scratches, cracks, and smudges. A well-applied protector maintains your screen’s clarity and responsiveness. But if it’s not sticking, it can’t do its job.
Common Issues with Screen Protector Adhesion
Problems with screen protectors adhesion often stem from a few issues:
- Dirt and Oils: Grease from your fingers or dirt from your environment can prevent sticking.
- Air Bubbles: These can form if the protector doesn’t lay flat or is poorly applied.
- Misalignment: If the protector is not aligned well, edges can lift off the screen.
- Inadequate Cleaning: Skipping thorough pre-cleaning can lead to adhesion failure.
- Wrong Screen Protector Type: Not all protectors work well with every phone model.
- Humidity and Temperature: Excessive moisture or cold can affect how the adhesive works.
By knowing these common issues, you can take measures to avoid them. Ensure you clean the screen well, align the protector properly, and smooth it down to fix anything that comes up. Keep these tips in mind for a screen protector that sticks well and lasts long.
Preparing the Screen Surface
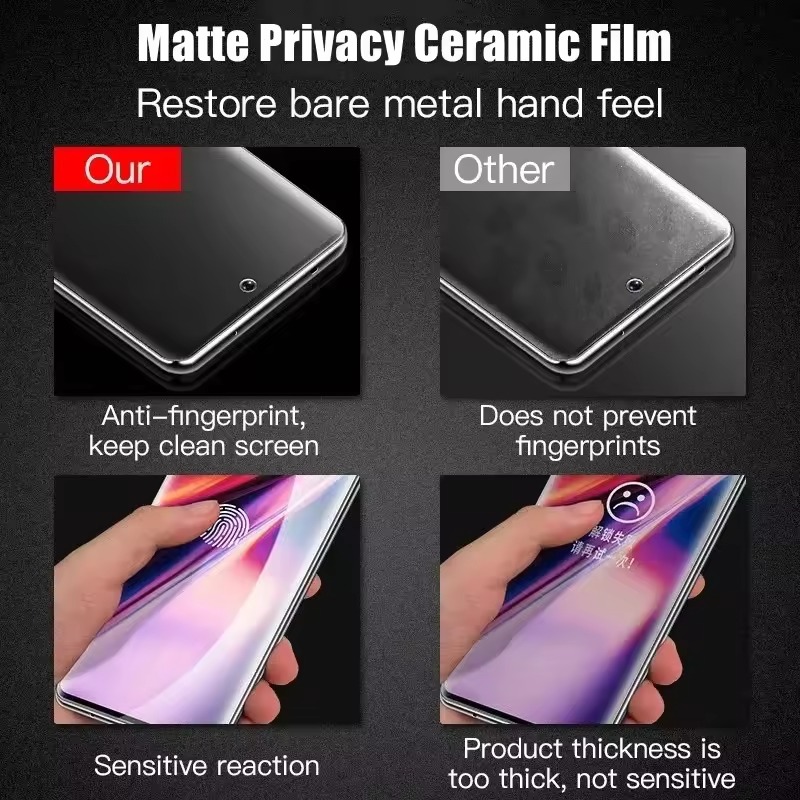
Preparing the screen surface effectively is crucial for a screen protector to stick properly. Any residue, dust, or oils on the device’s screen can prevent the screen protector from adhering correctly, leading to issues such as air bubbles and peeling edges. Here are detailed steps to ensure your screen is ready for the protector.
Cleaning Techniques for Optimal Stickiness
To achieve optimal stickiness of your screen protector, thorough cleaning of the screen is imperative:
- Use a Microfiber Cloth: Start by wiping the screen with a clean microfiber cloth. This removes fingerprints and smudges without scratching the screen.
- Apply a Screen Cleaner: Use a dedicated screen cleaner spray. Spray a small amount onto the cloth, not directly on the screen, and gently wipe.
- Remove Stubborn Residue: For stubborn residues, use a small amount of isopropyl alcohol on a cotton swab. Gently dab and wipe the area.
- Dry the Screen: Ensure no moisture remains by using the dry side of the microfiber cloth to thoroughly dry the screen.
By following these steps, you create a clean and receptive surface that enhances the adhesive quality of the screen protector.
Tips for a Dust-Free Application Environment
To ensure a dust-free environment during the application of the screen protectors, consider these tips:
- Choose a Suitable Environment: Apply the screen protector in a calm and closed environment. Avoid open areas where dust is prevalent.
- Use a Steamy Room: A trick to reduce dust is to hang in a bathroom with hot water running for a few minutes. The steam pulls dust down.
- Keep Tools Clean: Ensure that all application tools, like the squeegee or alignment frame, are clean and dust-free.
- Check for Dust Right Before Application: Right before placing the screen protector, give one last wipe with a dust-free cloth or use a sticky dust remover from the screen protectors kit.
Adhering to these tips significantly reduces the possibility of dust interfering with the adhesion of the screen protector, leading to a smoother and clearer installation.
Effective Removal of Dust and Air Bubbles
Ensuring a dust and air bubble-free installation is key to getting your screen protector to stick correctly. Here’s what you can do:
Techniques to Ensure a Clean and Clear Installation
- Dust Removal Stickers: Use the stickers provided in the screen protectors kit to lift away any dust particles on the screen.
- Transparent Tape Method: If stickers aren’t available, gently press and lift transparent tape on the affected areas to capture dust.
- Guide Out Air Bubbles: If you see air bubbles after application, gently push them towards the edges of the screen using a flat tool like a credit card.
- Final Inspection: Before considering the job done, inspect the screen in good lighting to ensure no dust or bubbles remain.
By following these techniques, you can achieve a screen protector application that is clean, clear, and free of any imperfections that could compromise the adhesive bond.
Ensuring Accurate Alignment
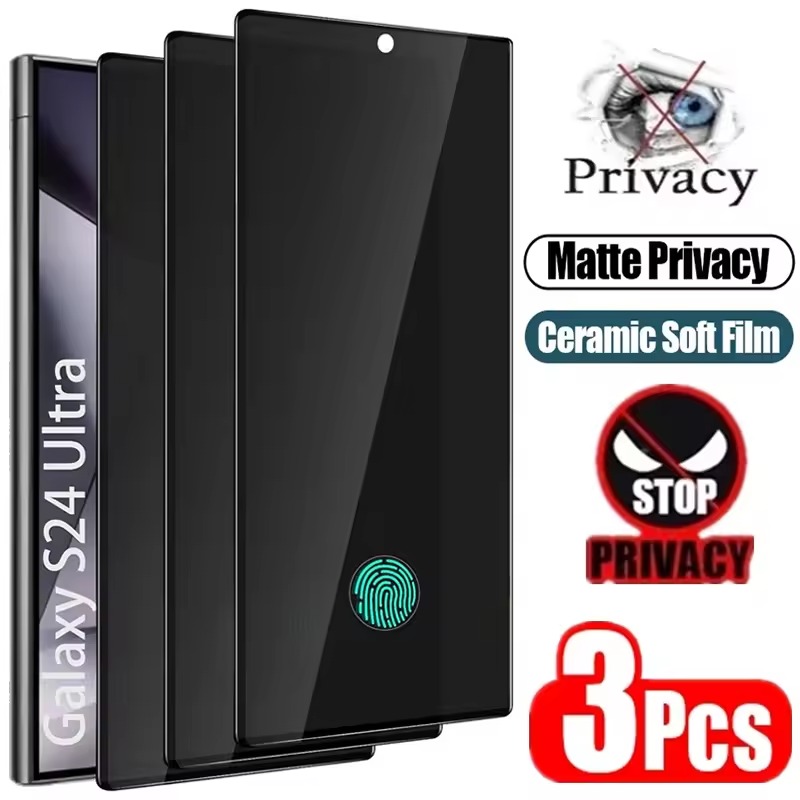
Proper alignment is vital for a screen protector’s sticking success. Misaligned protectors can cause edges to lift and reduce overall protection. Make sure it matches precisely with your device’s screen for a flawless application.
Steps to Align Screen Protectors Correctly
Follow these simple steps to align your screen protector:
- Alignment Guide Use: Most kits include an alignment tool. Use it to match the protector with your screen accurately.
- Camera and Sensor Spaces: Pay heed to the cutouts. Make sure they align with the camera and sensors.
- Button Alignment: Align the protector with side buttons. They indicate if the protector is straight.
- Starting Point: Begin applying from one end, slowly progressing to the other to avoid misalignment.
- Rechecking: Before pressing down, recheck the alignment. Make adjustments as needed to avoid errors.
By implementing these steps, you will ensure that the screen protectors is aligned perfectly, resulting in a better adhesive bond and longer-lasting protection.
Application Tips for Enhanced Adhesion
Even if you have cleaned and aligned the screen protector correctly, the application process is vital for ensuring it sticks properly. Here are some tips to enhance the adhesion of your screen protectors:
- Patience is Key: Take your time during application to avoid rushing and making mistakes.
- Gentle Pressure: Use the pad of your finger to smooth out the protector, starting from the center.
- Progressive Motion: Move in a gradual motion outward to the edges to eliminate any air pockets.
- Use Tools Wisely: If provided, use the squeegee tool gently to press the protector onto the screen.
How to Apply Gentle and Even Pressure
Applying gentle and even pressure is crucial when adhering your screen protector to avoid damage and ensure it sticks:
- Start from the Center: Press down in the center of the screen, then work your way out.
- Use a Microfiber Cloth: It helps distribute the pressure evenly without scratching the protector.
- Circular Motions: Move from the center in circular motions to the edges to spread the adhesive.
- Avoid Over Pressing: Excessive force can crack the protector or cause it to shift.
Remember, the method you use to apply pressure can make a huge difference in the longevity and effectiveness of your screen protector. By carefully following these steps, you can achieve that flawless, bubble-free application that keeps your screen safe and your visibility clear.
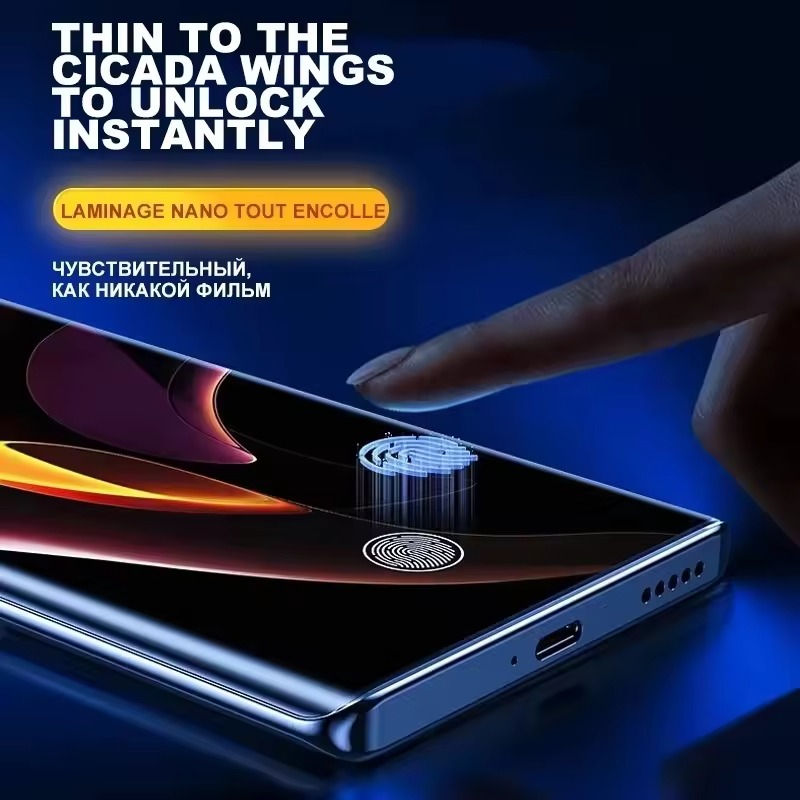
Allow Adequate Time for the Protector to Settle
After you apply the screen protector, it needs time to bond with the screen. This bonding period, or ‘settling time’, is crucial for the adhesive to work. Without it, the screen protectors might not stick well, leaving it prone to peeling off.
Understanding the Importance of Settling Time
Settling time is when the adhesive cures and the protector forms a strong grip. Here are points on why it’s important:
- Adhesive Curing: This time allows the adhesive to fully activate and stick.
- Prevents Peeling: It reduces the chance of edges lifting or bubbling up later.
- Ensures Longevity: A well-settled protector will last longer and protect better.
So, let the protector sit undisturbed after application. Check the manufacturer’s recommendations for the exact time. Usually, it’s a few hours. Avoid using your device during this period. It seems hard, but it will ensure your screen protector stays in place for a long time.
What to Do If the Screen Protector Doesn’t Stick
Sometimes, even after meticulous application, a screen protector may not stick. There’s no need to panic; there are proven solutions you can try.
Troubleshooting Adhesion Issues
When faced with a screen protector that won’t adhere, these steps could help resolve the problem:
- Re-Clean the Screen: Give your screen another thorough cleaning, it might have collected new dust or oils.
- Reapply the Protector: Carefully lift the screen protector and reapply it, ensuring to eliminate any air bubbles or dust.
- Apply Extra Pressure: Focus on the edges and corners by applying additional gentle pressure.
- Increase Settling Time: Allow the screen protector a longer period to set than initially given; sometimes it needs just a bit more time.
- Heat Application: Gently applying low heat, such as from a hairdryer, can sometimes enhance the adhesive properties.
Remember, be gentle and patient while troubleshooting. Rushing the process might worsen the issue.
Considering Different Screen Protector Brands
If the current screen protectors still refuses to stick, it might be time to consider other options:
- Research Brands: Look up reviews to find brands known for superior sticking properties.
- Match Protector to Phone Model: Ensure the new screen protector is designed for your specific phone model.
- Quality Materials: Choose protectors made from high-quality materials for better adhesion.
- Adhesive Strength: Some protectors come with stronger adhesive; check product descriptions.
Sometimes, switching to a different brand can make all the difference in getting screen protectors to adhere properly and protect your phone screen effectively.
