Causes of Air Bubbles Under Screen Protectors
Discovering air bubbles under screen protectors can be a common yet annoying issue. Since the last thing anyone wants is a bumpy screen surface, understanding the causes of these bubbles is crucial. So let’s delve into why these pesky bubbles appear and how you can prevent them from ruining your screen protector’s effectiveness and aesthetic appeal.
Types of Screen Protectors and Associated Bubble Risks
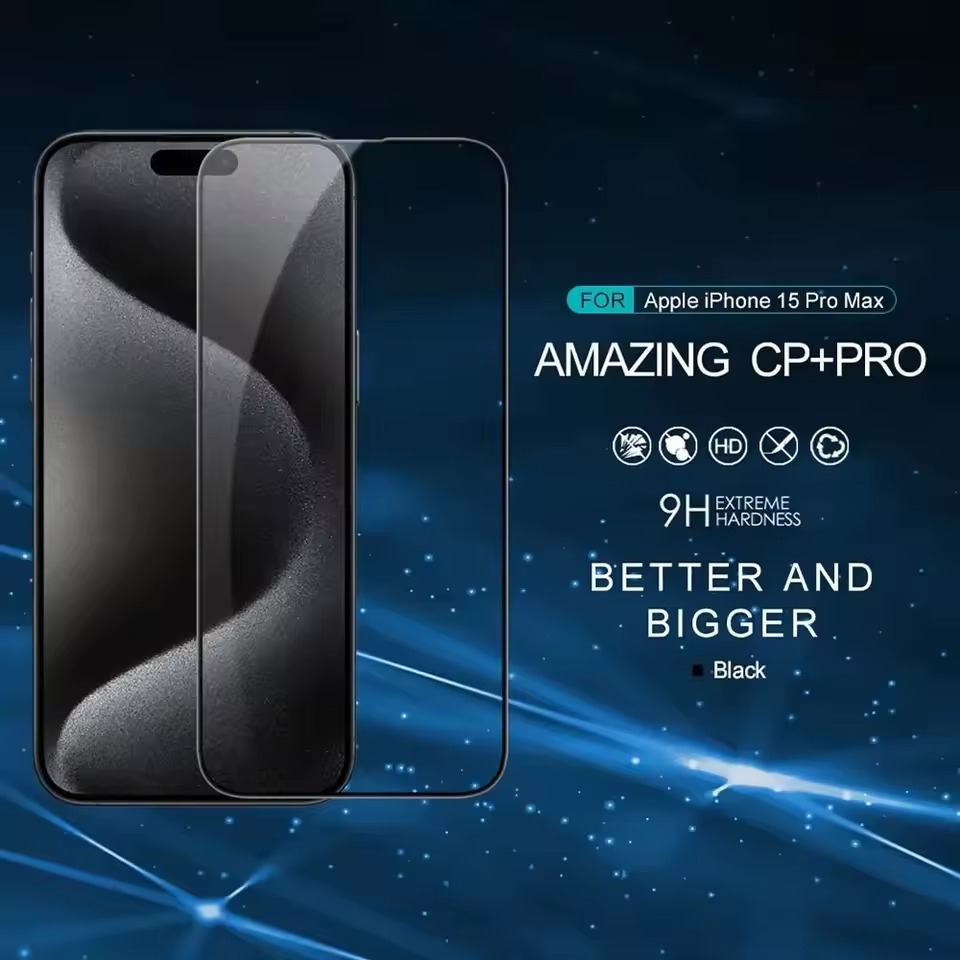
Different screen protectors come with varied risks of air bubble formation. Glass screen protectors, for instance, provide excellent scratch resistance. However, they can also trap air if not applied carefully. On the other hand, plastic screen protectors may be more forgiving during application but can develop bubbles over time due to material flexing. Identifying your screen protector type can help you understand and mitigate the bubble risk associated with it.
Common Installation Errors Leading to Bubbles
Bubbles often result from small mistakes made during the installation process. A piece of dust or an unnoticed fingerprint under the protector can prevent it from adhering smoothly. Rushing the application or failing to align the protector precisely can also introduce air gaps. Moreover, failing to remove existing debris and oils from your device’s screen is a surefire way to welcome air bubbles beneath your screen protector. Take your time and follow the correct steps closely to minimize the odds of bubble formation.
Preparation Steps Before Installation
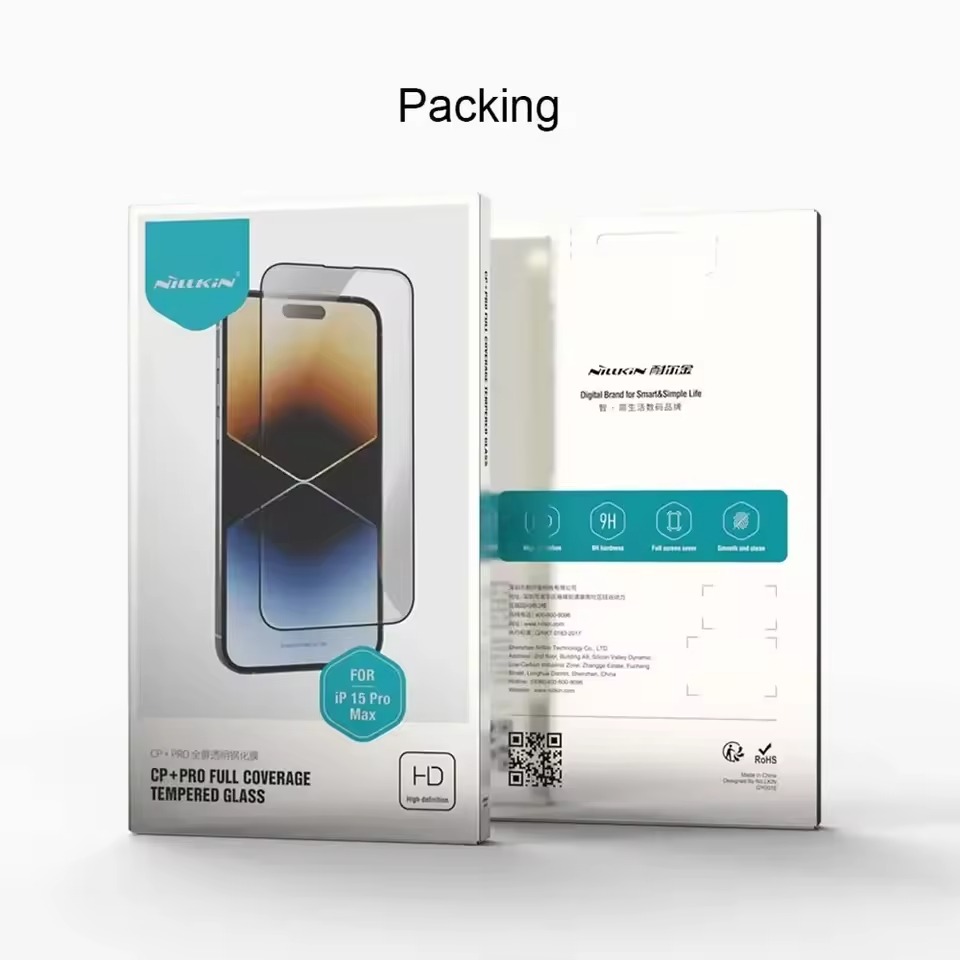
Proper preparation is key to preventing air bubbles under your screen protector. Start by setting up a workstation in a clean, dust-free environment. This reduces the chance of dust particles interfering with the application process.
Ensuring a Clean and Dust-Free Environment
Select a space free from air currents and dust. Often, a bathroom post-shower is ideal due to the settled dust. Turn off fans and close windows to avoid air movement that could carry dust onto your device’s screen. Moreover, installation should ideally be done in a well-lit area to spot and remove any particles or fibers.
Proper Cleaning Techniques for Your Device’s Screen
Before applying any screen protectors, your device’s screen needs thorough cleaning. Use the following steps:
- Turn off your device and remove any case or old screen protector.
- Wash your hands to remove oils and dirt. Dry them completely.
- Wipe your screen with a microfiber cloth to remove fingerprints and dust.
- Use an alcohol wipe, if provided, for deep cleaning and a streak-free finish. Wait for the screen to dry.
- Inspect the screen from different angles to ensure no lint or dust remains.
- Peel the screen protector’s backing off carefully, and do not touch the adhesive side.
By following these preparation steps diligently, the risk of screen protector air bubbles can be greatly minimized. The next steps will guide you through the proper installation techniques to maintain a smooth, bubble-free surface.
Techniques to Remove Air Bubbles
Removing air bubbles from your screen protector involves a few practical techniques.
Using a Plastic Card to Push Out Bubbles
Placing the plastic card at one end, gently push the bubble towards the other end. Ensure the card edge is not sharp to prevent scratches. Press firmly, but with care, to avoid damage. If bubbles persist close to the edges, you may need a subsequent method.
The Heat Method: Softening the Adhesive
Applying gentle heat can help remove stubborn bubbles. Use a hairdryer on a low setting and lightly hover it over the affected area. Keep the device moving to avoid overheating. After heating, use your plastic card again to smooth out the bubbles.
Reapplication: A Last Resort Method
If previous attempts fail, consider reapplying the screen protector. Start by carefully lifting the protector from one corner. Clean the screen thoroughly to remove any dust or debris. Realign carefully and apply, smoothing out any air as you go. This should be the last option due to potential complications like dirt getting trapped under the screen protector again.
Prevention Tips for Air Bubbles
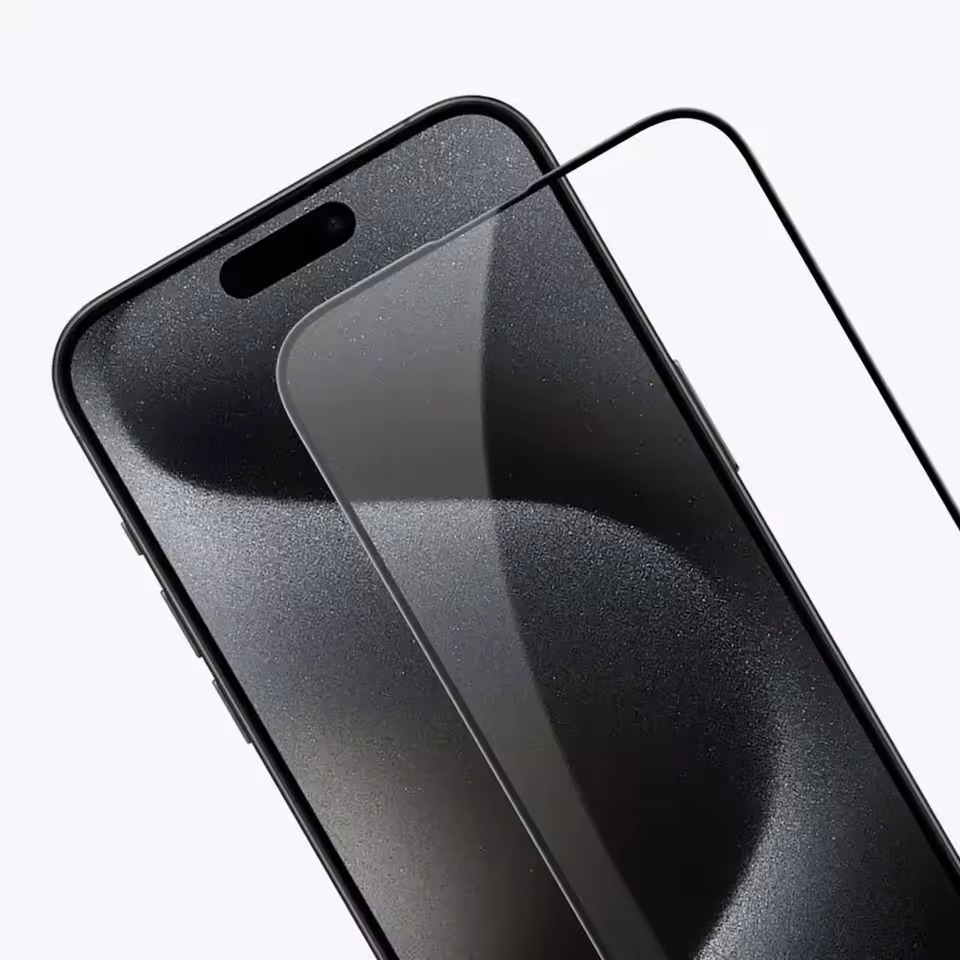
Applying a screen protector requires precision to avoid air bubbles. As an SEO expert and professional blogger, let’s explore effective prevention methods that ensure a smooth installation experience.
Importance of Correct Alignment During Installation
Correct alignment is crucial when fitting a screen protectors. Begin by aligning the protector with one edge of the device. Slowly lay it down while ensuring no air gets trapped underneath. This step demands focus and patience. Hasty or misaligned application often leads to bubble formation. Therefore, taking the time to align accurately is a must.
Keeping the Device and Hands Oil-Free
Oils from your hands can interfere with the screen protector’s adhesive. Make it a habit to wash your hands with soap and dry them before handling the screen protector. Likewise, clean your device’s screen with an alcohol pad to remove any oils. This way, you create a clean surface for the screen protector to adhere to without any gaps for air to enter. Remember, a spotless and oil-free environment is the key to a bubble-free installation.
Signs That You Need a New Screen Protector
When you’ve tapped, pushed, and heated with no results, it may be time to face reality. Sometimes, a screen protector just can’t bounce back from bubble blight. Let’s explore how to tell when you need a fresh start.
Ineffective Bubble Removal
If you’ve tried every trick in the book – the plastic card, the heat method, even reapplication – and those bubbles stick around, it’s a sign. When air bubbles persist despite your best efforts, consider it a clear signal to get a new screen protectors.
With stubborn bubbles, your device’s touch sensitivity might suffer, and who wants that? It’s a frustrating barrier between you and a smooth user experience. Plus, ignored bubbles can mean less protection for your screen.
Damage or Aging of the Screen Protectors
Screen protectors aren’t immune to the ravages of time. Like milk past its prime, they don’t last forever. If you spot cracks, scratches, or the edges start to peel off, it’s upgrade time.
Adhesive loses its grip as it gets older. If your screen protectors seems to be lifting without reason, it has likely lost its stick. And, if you see dirt trapped under the screen that won’t come out, that’s another red flag.
In short, when you notice ongoing air bubbles, damage, or signs of aging, shopping for a new screen protector should be next on your agenda. Screen protector air bubbles might be a minor inconvenience, but continued issues can lead to bigger headaches down the line.
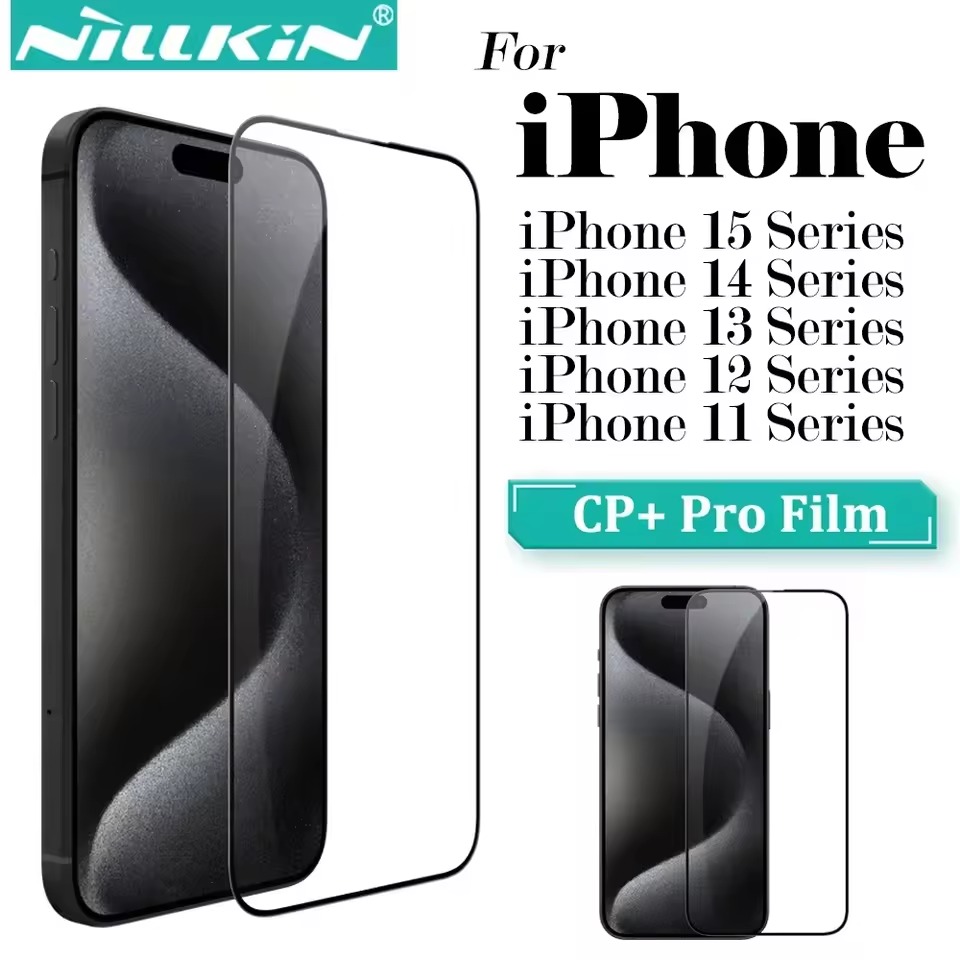
Alternative Solutions: Bubble-Free Screen Protectors
Despite your best efforts, sometimes air bubbles cannot be eliminated. Instead of repeated tries, consider a new kind of screen protector. Bubble-free varieties have entered the market, solving the bubble problem from the start.
Introduction to PenMat 2 for a Seamless Experience
Introducing PenMat 2, the innovative solution designed for a perfect, bubble-free screen. Its advanced technology ensures easy application and a smooth touch experience. With PenMat 2, say goodbye to the frustration of screen protector air bubbles. Enjoy a clear, protected screen with no fuss.
