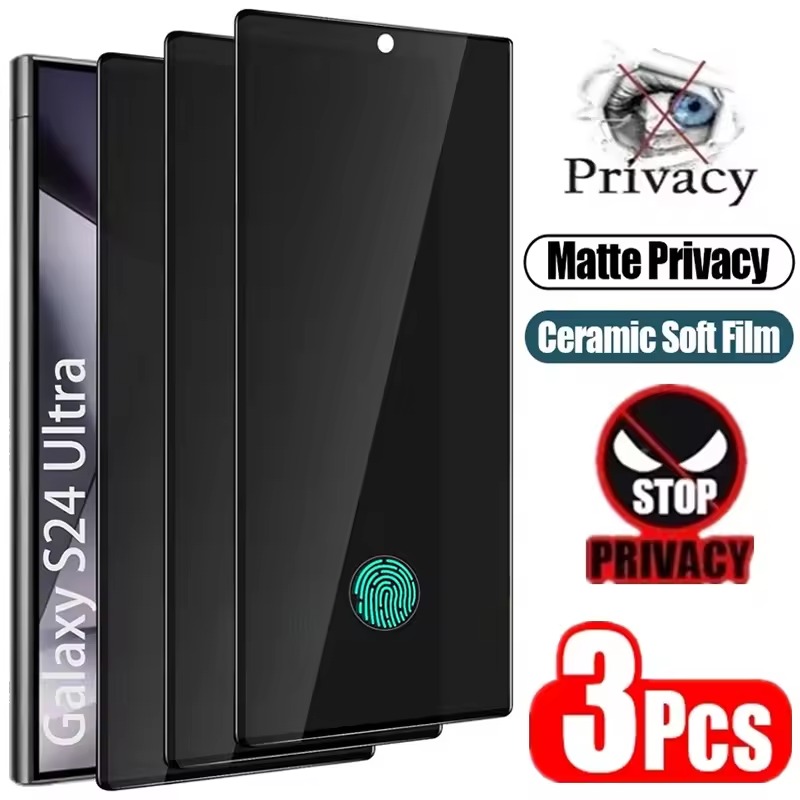
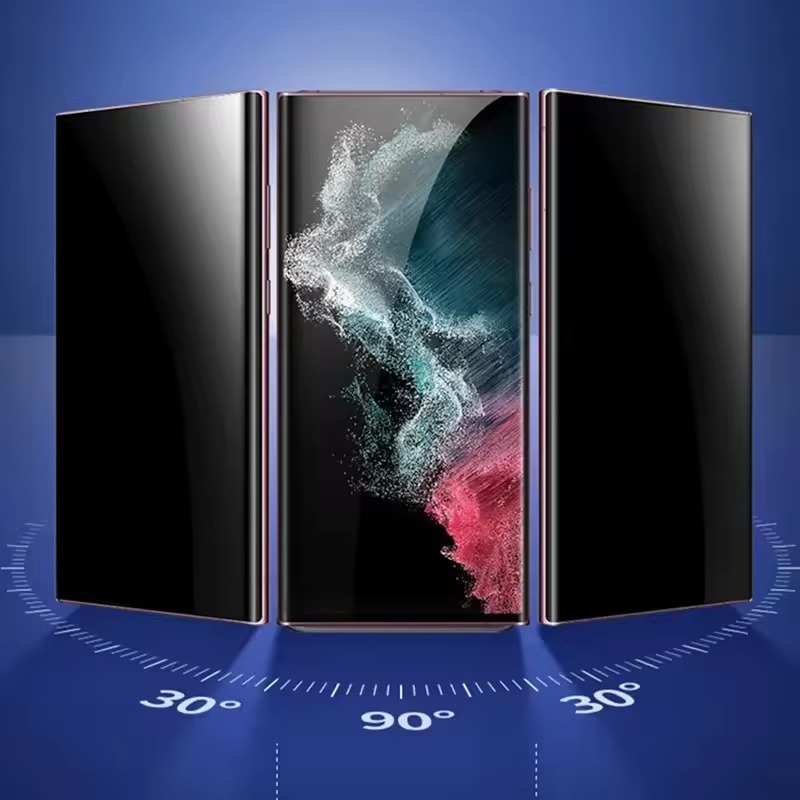
Introduction to Screen Protectors
Protecting your device’s screen is crucial for maintaining its functionality and appearance. A screen protector offers a simple yet effective solution. This thin, transparent layer can shield your screen from scratches, cracks, and other damage. Depending on your preference and device type, you can choose from various screen protector materials.
Types of Screen Protectors
There are primarily two types of screen protectors available: tempered glass and plastic film. Tempered glass protectors are popular for their durability and high resistance to impact. They are thicker and can absorb shock, minimizing damage to the actual screen of your device. On the other hand, plastic film protectors are thinner and more flexible. While they provide less impact protection, they are adept at preventing scratches and are generally less expensive.
Importance of Bubble-Free Installation
Applying a screen protector without bubbles is vital for clear visibility and touch sensitivity. Bubbles can distort the screen’s view and make touch interactions less responsive. Achieving a bubble-free installation not only enhances the aesthetic appeal but also ensures optimal screen functionality. Follow this guide to learn how to apply a screen protector without trapping air bubbles or dust, which can interfere with screen clarity and responsiveness.

Preparing for Installation
Before diving into the installation, it’s essential to prep the screen and assemble your tools. This preparatory phase is the foundation of a bubble-free screen protector application.
Cleaning the Device Screen
The first step is cleaning the device screen. Dirt, fingerprints, or even tiny dust particles can create air pockets underneath the screen protector. Begin by turning off your device and wiping the screen with a microfiber cloth. A few spritzes of a screen-cleaning solution (avoid harsh chemicals) can help remove stubborn grime. Ensure the screen is completely dry and free of any debris before moving on.
Gathering the Necessary Tools
Next, arm yourself with the necessary tools for a seamless application. Essentials include a microfiber cloth (for cleaning and smoothing out the protector), dust removal stickers or tape (to pick up any lingering dust), and a squeegee or credit card (to get rid of any air bubbles). Having these items on hand will streamline the process, allowing you to focus on perfectly aligning and applying the screen protector without bubbles.
Step-by-Step Installation Process
Once you’ve prepared your screen and assembled your tools, you’re ready for the actual installation. This step-by-step process will guide you to achieve a bubble-free screen protector fit.
Aligning the Screen Protector
Begin by peeling off the screen protector’s backing to reveal the adhesive side. Hold it by the edges to avoid fingerprints. Align the screen protector with your device’s screen carefully. Start from the top, checking the camera and speaker cutouts. Align these first to guide you in placing the rest. Once satisfied, gently place it onto the screen, adhering from one side to the other.
Smoothing Out Air Bubbles
Starting from the center, push out any air bubbles with a squeegee or credit card. Move slowly towards the edges. If bubbles linger, lift the protector slightly, then reapply from that point. Use even, gentle pressure to avoid damage or new bubbles. Keep smoothing until all bubbles disappear and your screen protector is perfectly in place.
Advanced Installation Techniques
Even with careful preparation and precise application, achieving a truly bubble-free screen is a nuanced skill. Advanced techniques can enhance your method and yield a pristine screen protector placement. Here we share specific strategies to take your installation to the next level.
Using Tape to Remove Dust
Tiny dust particles are often the culprits behind those pesky bubbles. An effective way to tackle this is to use a simple piece of tape. Here’s how:
- Take a strip of tape and gently press it onto the screen’s surface.
- Lift the tape, and with it, any dust should also be removed.
- Repeat this in different areas if necessary.
By performing this step before and even during the application, you can ensure that dust doesn’t stand a chance against your flawless screen protector installation.

Applying Even Pressure for a Smooth Finish
After aligning the screen protector, applying even pressure is key for a bubble-free application. Here’s what you should do:
- Start from the center of the screen and press firmly.
- Use a squeegee or credit card to push bubbles out to the edges.
- Work slowly and carefully to avoid creating new bubbles.
Uniform pressure helps the adhesive to bond without trapping air, resulting in a smooth and clear finish. With patience and these advanced techniques, you are sure to master the skill of bubble-free screen protector application.
Troubleshooting Common Issues
Even with careful application, issues like trapped bubbles can occur. Knowing how to address these ensures a perfect finish.
Dealing with Trapped Bubbles
If you find bubbles after applying the screen protector, don’t worry. Here’s what to do:
- Gently peel back the protector near the bubble.
- Use a piece of tape to lift any dust causing the bubble.
- Reapply the protector, pressing out the bubbles from the center to the edges.
Repeat this process until all bubbles are gone. Take your time for the best results.
Reapplying the Screen Protector Correctly
Sometimes, you need to start over. If so, follow these steps:
- Carefully remove the screen protector.
- Clean the screen again, making sure it’s dust-free.
- Reapply the protector, using the tape method to avoid dust and bubbles.
Check alignment and smooth out air pockets as you go. A fresh start can make all the difference.

Maintaining Your Screen Protector
Once you’ve successfully applied your screen protector without bubbles, upkeep is key for sustained protection and clarity. Proper maintenance helps prolong the life of the screen protector and keeps your device’s screen looking as good as new.
Regular Cleaning and Care
It’s important to regularly clean your screen protector to prevent smudges and grime buildup. Use a soft, microfiber cloth to gently wipe the surface. Avoid using harsh chemicals; a diluted water and alcohol solution can do. Make sure to power off your device before cleaning. Effective cleaning maintains touch sensitivity and keeps the protector clear.
When to Replace Your Screen Protector
Over time, your screen protector may get scratched or start peeling at the edges. If the visibility of your screen is affected, it’s time to replace the protector. Also, if you drop your device and the protector cracks, change it immediately to ensure your screen remains safeguarded. Replacing a worn protector retains the defense against impacts and scratches for your device’s screen.


