Causes of Air Bubble Formation Under Screen Protectors
Air bubbles under screen protectors can be a frustrating issue. They usually form when tiny gaps or pockets appear between the adhesive and your device’s glass. Several factors can cause this. Here are the main reasons why these pesky bubbles make an appearance.
- Dust and Debris: Even the smallest particles can prevent the screen protector from adhering smoothly.
- Oil from Fingers: Our hands have natural oils that can interfere with the adhesive, leading to bubble formation.
- Improper Application: If not aligned correctly, air can get trapped during the installation of the screen protector.
- Pressure Changes: Dropping your phone or pressing too hard on the screen can cause shifts that result in bubbles.
- Age of Adhesive: Over time, the glue bonding the screen protector to the phone may deteriorate, causing bubbles to appear.
Understanding these causes helps us take preventive steps during application and use. Ensuring a clean environment and careful installation can minimize the chance of bubble development under your screen protector.
Step-by-Step Guide to Applying Screen Protectors Without Bubbles
To avoid the frustration of air bubbles, follow this simple guide when applying a screen protector:
- Clean Your Workspace: Before starting, make sure your work area is dust-free.
- Wash Your Hands: Clean your hands to remove any oils and debris.
- Prepare the Phone: Use a microfiber cloth and an alcohol wipe to clean the phone’s screen thoroughly.
- Peel Carefully: Slowly remove the backing from the screen protector, touching the edges only.
- Align Precisely: Hold the protector at the sides, align it with the phone’s screen, and carefully place it down.
- Press Gently: Once aligned, gently press the protector from the center outward to attach it without trapping air.
- Smooth Out Edges: If minor bubbles appear near the edges, use a credit card or squeegee to push them out.
This process can prevent air bubbles, ensuring your screen protector’s effectiveness from the start.
Techniques for Removing Bubbles After Installation
Despite best efforts, you might still find bubbles under your screen protector after installation. Here’s how you can remove them effectively:
- Use a Plastic Card: Slide a card under the protector from the center outwards. This can help push out any trapped air.
- Press Gently: Work from the middle to the edges with gentle and firm pressure. Avoid using sharp objects as they may damage the screen or protector.
- Heat Application: Sometimes, a little bit of gentle heat helps. Use a hairdryer on a low setting, but keep it at a distance to avoid overheating.
- Peel Back and Reapply: For persistent large bubbles, carefully lift the screen protector near the bubble. Then, reapply it smoothly.
- Professional Help: If bubbles remain, consider seeking help from a professional installer. They have the tools and expertise to achieve a perfect, bubble-free application.
Removing bubbles effectively extends the life and efficacy of your screen protector. Taking these steps ensures your device’s screen stays protected and looks great.
Preventing Future Air Bubbles in Screen Protectors
Preventing future air bubbles in your screen protector ensures a smooth, clear viewing experience. Here’s what you can do to minimize the risk of air bubbles forming under your screen protector:
- Ensure a Dust-Free Environment: Before installation, make sure your workspace is clean. Dust particles are major culprits in causing bubbles.
- Proper Surface Cleaning: Use an alcohol wipe to clean your device’s screen thoroughly. This removes oils and debris, providing a clean surface for application.
- Apply Screen Protectors Slowly and Carefully: Avoid rushing the application process. Slow and careful placement helps prevent air from getting trapped.
- Use Smoothing Tools: Immediately after application, use a squeegee or credit card to smooth out the protector. Work from the center towards the edges to push out any potential bubbles.
- Check the Edges: Ensure the protector’s edges are perfectly aligned with your device’s screen. Misalignment can lead to air pockets later.
- Monitor Temperature and Humidity: High humidity and temperature changes can affect the adhesive. Apply the screen protector in a controlled environment if possible.
By following these tips, you can significantly reduce the chance of bubble formation and keep your screen looking pristine. Remember, rushing the installation is often the cause of most issues. Take your time for the best results, and enjoy a bubble-free screen protector.
When to Replace Your Screen Protector
Sometimes, despite your best efforts, screen protector bubbles won’t go away. Knowing when to replace your screen protector is crucial for maintaining optimal protection for your device’s screen. Here are key indicators that it’s time for a new screen protector:
- Persistent Bubbles: If you’ve tried all the techniques and bubbles continue to appear, replacement is necessary.
- Peeling Edges: When the edges start to lift and no longer adhere to the screen, it’s time for a new one.
- Scratches or Cracks: Any damage to the screen protector can reduce its effectiveness. Replace it to ensure full protection.
- Touch Sensitivity Issues: If the screen doesn’t respond as it should, the screen protector might be to blame.
- Discoloration or Haze: A screen protector that has discolored or become hazy can obscure your view.
Keeping your device’s screen in top condition means being proactive about replacing your screen protector when necessary. A fresh screen protector provides a clear view and keeps your device safe from harm.
Choosing the Right Screen Protector for Your Device
Selecting the correct screen protector for your device is key to avoid future bubbles. Here’s how you can make the right choice:
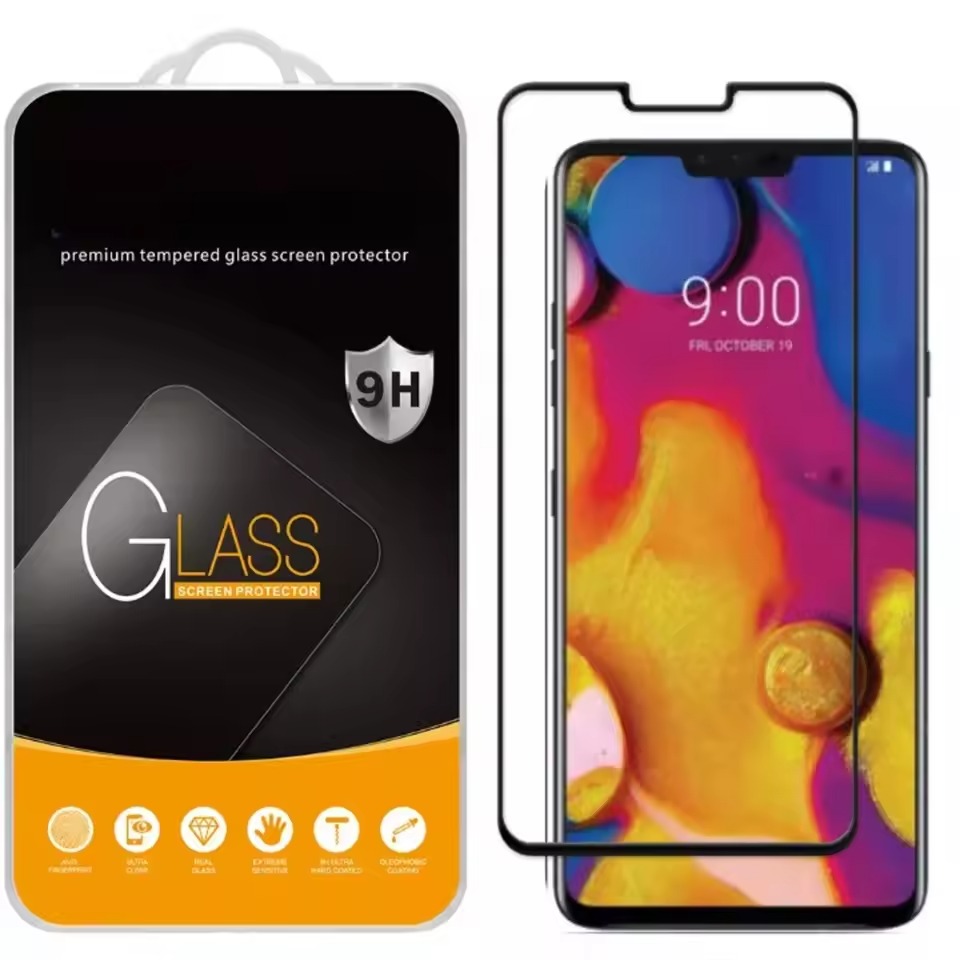
- Material Matters: Look for screen protectors made from quality materials like tempered glass or PET plastic.
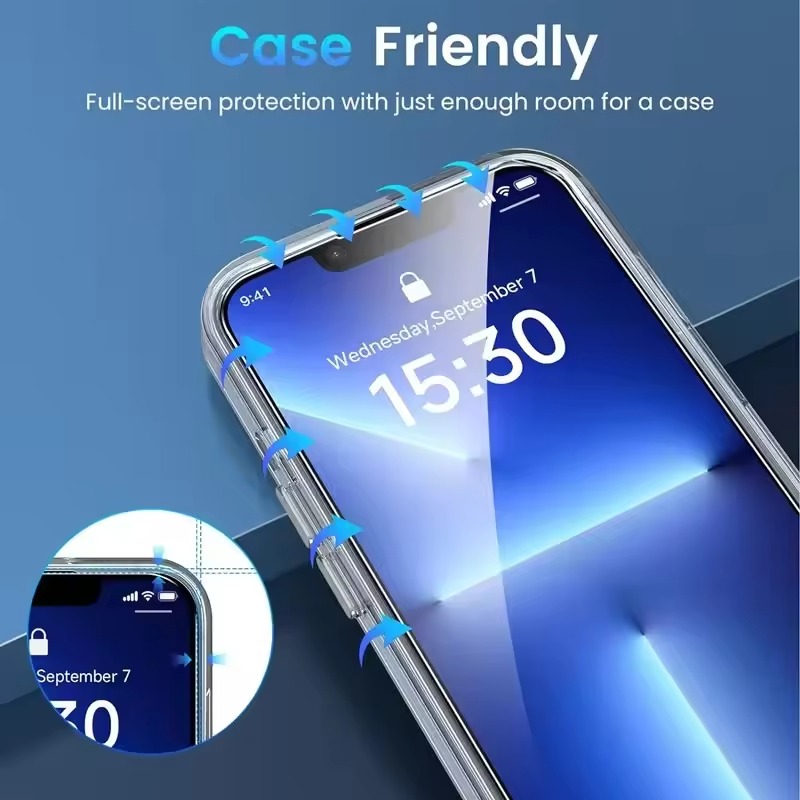
- Compatibility: Choose a screen protector designed for your specific device model to ensure a perfect fit.
- Thickness: Thinner protectors might be less visible, but thicker ones often provide better protection.
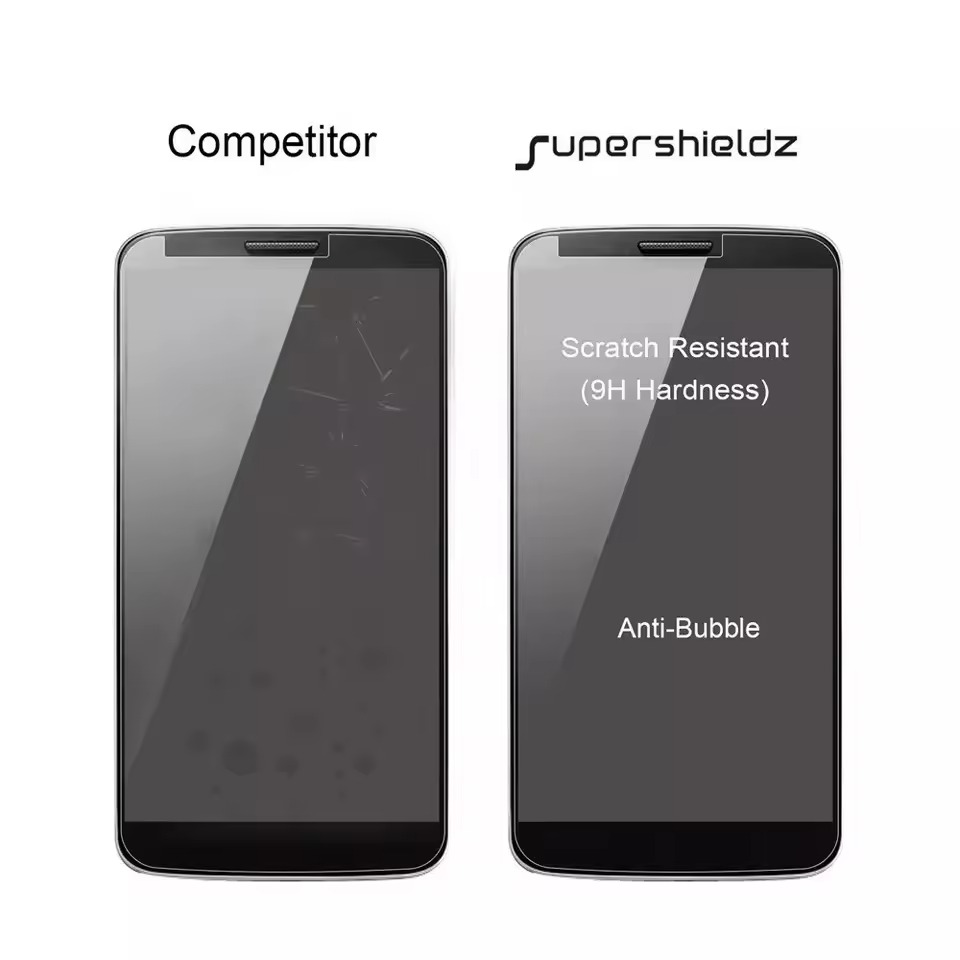
- Adhesive Quality: Good adhesive ensures the protector stays in place without forming bubbles.
- Brands and Reviews: Consider reputed brands and read reviews to gauge user satisfaction after applying their screen protectors.
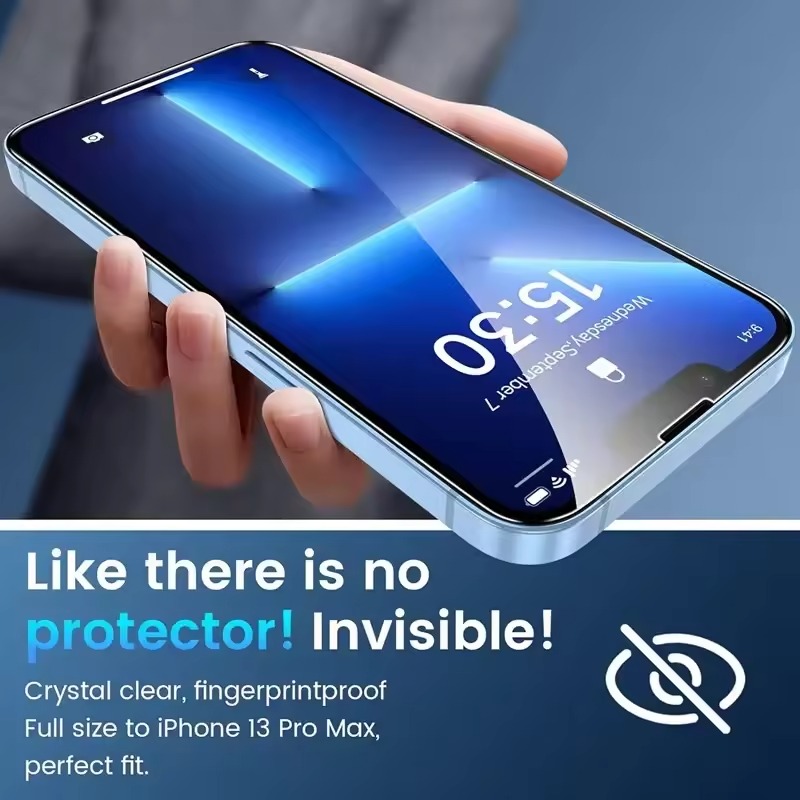
- Sensitivity and Clarity: Ensure the protector maintains screen sensitivity and clarity.
- Installation Tools: Some protectors come with handy tools and guides to help with bubble-free application.
By carefully selecting your screen protector, you’ll increase the chances of a bubble-free, lasting application. Remember to look for products that align well with your device and come with clear instructions for proper application. Checking reviews can also signal which products are more prone to bubbling, so invest in a protector that has a record of performing well.
Addressing Common Myths About Screen Protector Bubbles
In the world of mobile devices, screen protector bubbles are a hot topic. Many myths surround these pesky issues. Let’s address and debunk the most common ones.
- Myth: Bubbles Will Always Go Away on Their Own
This is not true. Small bubbles might sometimes disappear with time. But, large or persistent bubbles often need your help to remove.
- Myth: Screen Protectors With Bubbles Don’t Protect Well
That’s a misconception. While bubbles may be annoying, they usually don’t affect the protector’s function. Your screen remains safe from scratches and cracks.
- Myth: Only Cheap Screen Protectors Get Bubbles
Price does not ensure a bubble-free experience. Bubbles are often due to dust, application technique, or screen condition.
- Myth: Pushing Hard on Bubbles Is the Best Way to Remove Them
Actually, this can make matters worse. Be gentle. Use a plastic card or a squeegee to nudges bubbles. Don’t push too hard.
- Myth: You Must Replace the Protector if Bubbles Appear
Not always necessary. Try the removal techniques first. Replace the screen protector if the bubbles remain after that.
Knowing the facts about screen protector bubbles can save time and money. It also ensures that you deal with them the right way. Don’t let myths misguide you. Tackle bubbles with the correct techniques and know when it’s truly time to get a new screen protector.
Professional Solutions and Where to Find Them
When do-it-yourself methods fail, professional solutions may be the answer. Here is what to consider.
- Seek Professional Installation Services: Many device retailers offer expert screen protector installations. They have the skills and tools to apply screen protectors without bubbles. This ensures a perfect fit.
- Visit Local Device Repair Shops: Repair shops often provide screen protector services. They can remove bubbles and apply new protectors precisely.
- Use Online Tutorials: If you prefer a DIY approach, online videos and guides can offer expert tips. Make sure to follow step-by-step instructions from reputable sources.
- Buy Quality Screen Protectors: Choose protectors that come with application kits. These often include detailed instructions and necessary tools to avoid bubbles.
- Select Screen Protectors with Warranty: Some brands offer warranties, including bubble-free guarantees. Look for these options when purchasing.
Remember, while small and minor bubbles may not interfere with your screen protector’s protective qualities, they can be annoying. Professionals can address these issues effectively, leaving your device looking as good as new. If you’re unsure where to find these services, a quick online search or an inquiry at a local electronics store can point you in the right direction.