Why Bubbles are a Nuisance
When it comes to protecting your smartphone, tablet, or any other device with a screen, a high-quality screen protector is essential. However, one of the most common issues that users face when applying these protectors is the appearance of unsightly bubbles. These bubbles not only mar the aesthetic appeal of your device but can also affect its functionality and overall user experience. Bubbles can cause touch sensitivity issues, distort the display, and even lead to premature wear and tear on the screen protector itself. This is why learning how to apply a bubble-free screen protector is crucial for anyone looking to keep their device in top condition.
The Impact on User Experience
Bubbles under a screen protector can be more than just an eyesore; they can significantly impact the user experience. For instance, if a bubble is located in a frequently used area of the screen, such as where you typically type or swipe, it can interfere with the responsiveness of the touchscreen. This can make typing difficult and swiping less smooth, leading to frustration and decreased productivity. Additionally, bubbles can create visual distortions, making it harder to read text or view images clearly. Over time, the constant pressure from your fingers can also cause the bubbles to grow, further exacerbating the problem. Therefore, ensuring a bubble-free application is not just about aesthetics; it’s about maintaining the optimal performance of your device.
Choosing the Right Screen Protector
Types of Screen Protectors
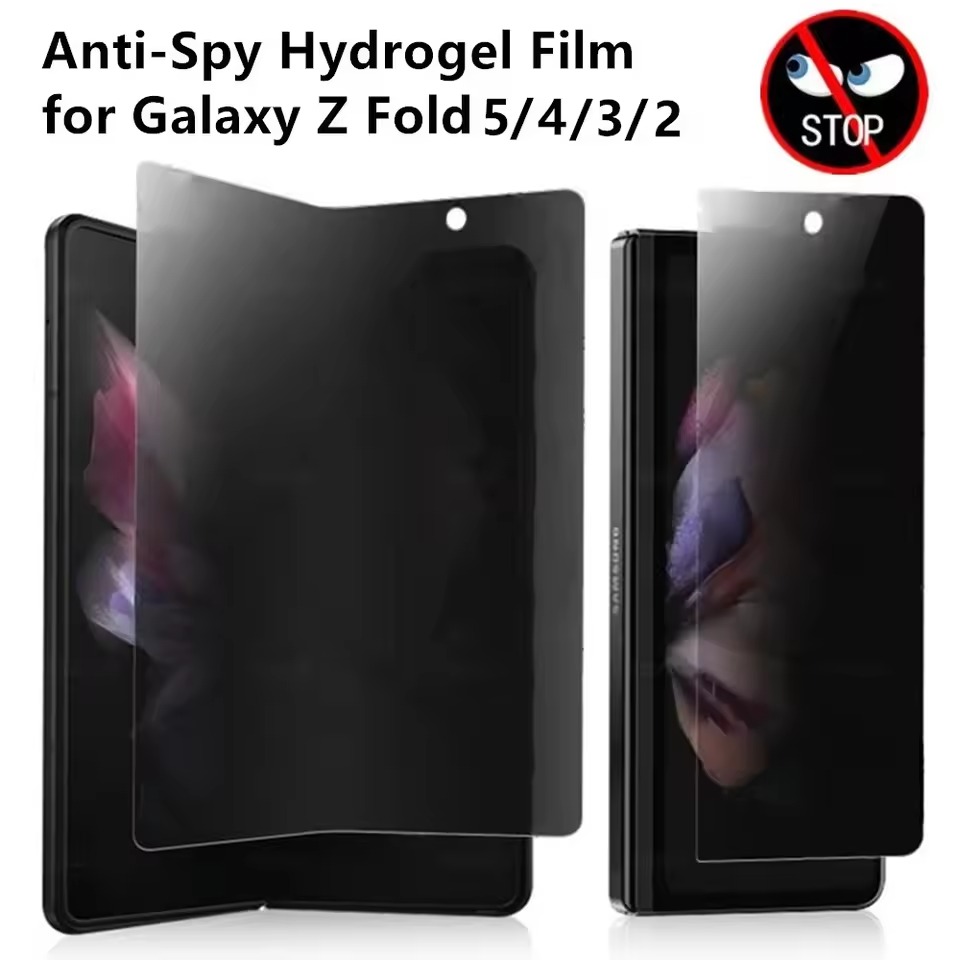
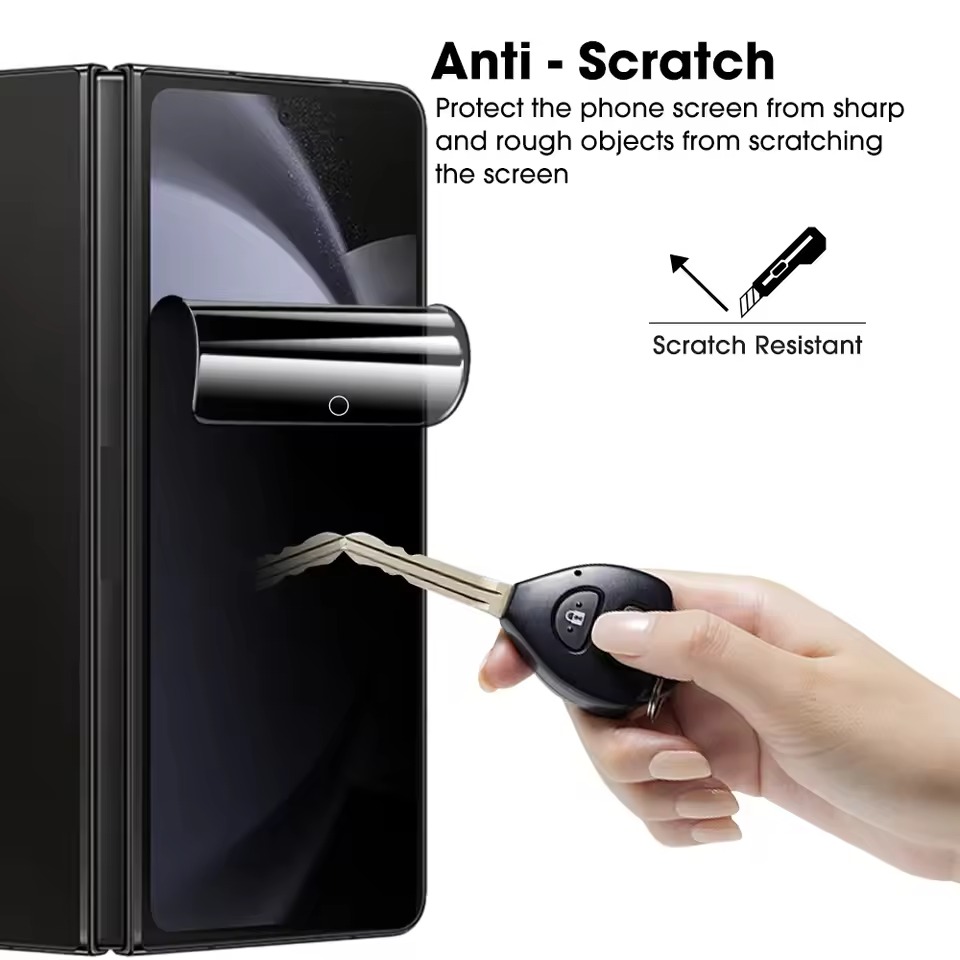
Before diving into the application process, it’s important to choose the right type of screen protector for your device. There are several types available, each with its own set of advantages and disadvantages. Tempered glass screen protectors are popular due to their durability and scratch resistance. They offer a high level of protection against drops and impacts, making them ideal for those who are particularly hard on their devices. On the other hand, plastic screen protectors, while less durable, are more flexible and can conform better to curved screens. They are also generally cheaper and easier to replace. Another option is liquid screen protectors, which form a thin, invisible layer over the screen and provide good protection against scratches, although they may not be as effective against drops.
Factors to Consider
When selecting a screen protector, there are several factors to consider beyond just the material. First, ensure that the protector is specifically designed for your device model. A properly fitting screen protector will cover the entire screen without leaving any gaps or overlapping edges. Second, check the thickness of the protector. Thicker protectors offer more protection but may affect the feel and responsiveness of the touchscreen. Thinner protectors, while less protective, provide a more natural feel. Third, consider the clarity and transparency of the protector. High-quality protectors should have minimal impact on the screen’s clarity and color accuracy. Finally, look for additional features such as oleophobic coatings, which help reduce fingerprints and smudges, and anti-glare properties, which can improve visibility in bright light conditions.
Preparing Your Device for Application
Cleaning the Screen
One of the most critical steps in applying a bubble-free screen protector is thoroughly cleaning the screen before you begin. Any dust, dirt, or oils on the screen can get trapped between the protector and the screen, leading to bubbles. Start by turning off your device and removing any existing screen protector. Use a microfiber cloth to wipe down the screen, removing any visible dust and fingerprints. For a deeper clean, you can use a solution of 50% isopropyl alcohol and 50% water. Apply a small amount of this solution to a lint-free cloth and gently wipe the screen. Be sure to let the screen dry completely before proceeding to the next step. This thorough cleaning ensures that the surface is free of any contaminants that could interfere with the adhesion of the new screen protector.
Creating a Dust-Free Environment
To minimize the risk of dust and other particles getting trapped under the screen protector, it’s essential to create a dust-free environment. Find a clean, well-lit area where you can work undisturbed. Avoid areas with high foot traffic or open windows, as these can introduce dust and debris. If possible, use a clean, flat surface like a table or desk. You can also lay down a lint-free cloth or a clean sheet of paper to further reduce the risk of dust. Some people find it helpful to use a damp cloth to wipe down the surface before starting. Additionally, consider using a dust-removal sticker, which is often included with many screen protectors. These stickers are designed to pick up any remaining dust particles from the screen, ensuring a perfectly clean surface for the protector. By taking these precautions, you can significantly reduce the likelihood of bubbles forming during the application process.
Applying the Screen Protector
Aligning the Protector
Once your device is clean and you have created a dust-free environment, it’s time to start applying the screen protector. Begin by carefully aligning the protector with the edges of your device. Most screen protectors come with a frame or guide that helps you position it correctly. Place the frame on your device, ensuring it is centered and aligned with the edges. If your protector does not come with a frame, you can use the cutouts for the camera, speaker, and buttons as reference points. Take your time to make sure the protector is perfectly aligned, as any misalignment can lead to gaps or overlaps, which can cause bubbles. Once you are satisfied with the alignment, remove the backing film from the adhesive side of the protector, being careful not to touch the adhesive surface with your fingers.
Applying the Protector
With the screen protector aligned, it’s time to apply it to the screen. Start by placing one edge of the protector onto the screen and slowly lowering the rest of it, working from one side to the other. As you lower the protector, use a squeegee or a credit card to gently press out any air bubbles. Work from the center of the screen outward, applying even pressure. This method helps to push any air or dust particles out from under the protector. If you encounter a stubborn bubble, lift the edge of the protector slightly and reapply it, using the squeegee to smooth it out. It’s important to be patient and take your time during this step, as rushing can lead to more bubbles and a less successful application. Once the protector is fully applied, give it a final pass with the squeegee to ensure all air is removed and the protector is securely adhered to the screen.
Dealing with Persistent Bubbles
Using a Squeegee or Credit Card
Even with careful application, some bubbles may still persist. In such cases, a squeegee or a credit card can be very effective in removing them. Start by identifying the location of the bubble. If the bubble is near the edge of the screen, you can gently lift the edge of the protector and use the squeegee or credit card to push the air out. Apply firm, even pressure, moving from the center of the bubble outward. If the bubble is in the middle of the screen, you can try lifting the protector from the nearest edge and reapplying it, using the squeegee to smooth it out. It’s important to be gentle and avoid applying too much pressure, as this can damage the protector or the screen. With patience and persistence, most bubbles can be removed using this method.
Using Heat
If a bubble is particularly stubborn and cannot be removed with a squeegee or credit card, heat can be an effective solution. Start by heating the area around the bubble with a hairdryer on a low setting. The heat will soften the adhesive, making it easier to manipulate. Once the area is warm, use the squeegee or credit card to gently press the bubble out. Again, apply even pressure and work from the center of the bubble outward. Be careful not to overheat the area, as this can damage the screen or the protector. After applying heat and pressing out the bubble, allow the protector to cool and settle. The adhesive will re-bond, and the bubble should disappear. This method is particularly useful for larger bubbles or those that are deeply embedded under the protector.
Maintaining Your Screen Protector
Regular Cleaning
To keep your screen protector in top condition and free of bubbles, regular cleaning is essential. Use a microfiber cloth to wipe down the screen daily, removing any dust, fingerprints, and smudges. For a deeper clean, you can use a solution of 50% isopropyl alcohol and 50% water, as mentioned earlier. Apply a small amount of the solution to the cloth and gently wipe the screen. Avoid using harsh chemicals or abrasive materials, as these can damage the protector. Additionally, be mindful of where you place your device. Avoid putting it in dusty or dirty environments, as this can introduce more contaminants. By keeping your screen clean, you can extend the life of your screen protector and maintain a clear, bubble-free view.
Replacing the Protector
Even with the best care, screen protectors will eventually wear out and need to be replaced. Signs that it’s time for a new protector include visible scratches, chips, or peeling edges. Additionally, if you notice that the protector is no longer adhering properly and bubbles are appearing, it’s a good indication that it needs to be replaced. When replacing the protector, follow the same steps outlined earlier: clean the screen thoroughly, create a dust-free environment, and apply the new protector carefully. Regularly replacing your screen protector ensures that your device remains protected and that you continue to enjoy a clear, unobstructed view. By following these tips, you can keep your device looking and functioning at its best.
