Why You Need a Screen Protector
Protecting your device’s screen from damage and wear is crucial. A screen protector acts as a shield that guards against scratches, impacts, and other common forms of damage. This layer increases the longevity and maintains the appearance of your device’s screen.
Types of Screen Damage Prevented by Protectors
Screen protectors are designed to offer protection against several types of screen damage:
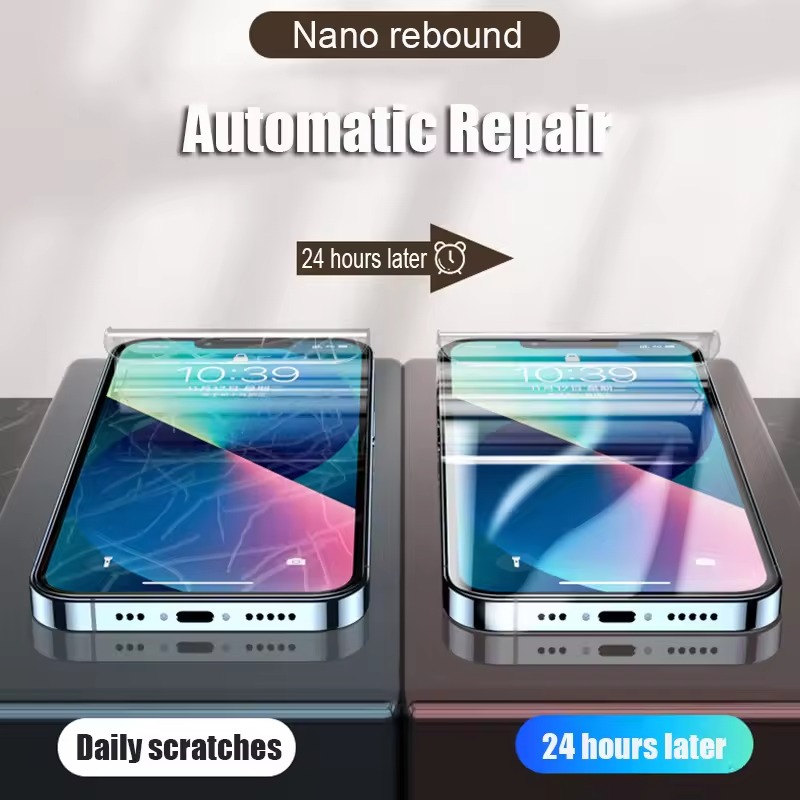
- Scratches: Easily caused by everyday contact with keys, coins, or even rough surfaces.
- Cracks: Often result from drops or direct impacts.
- Scuffs: Regular usage can lead to marks that dull the screen’s appearance.
Their defensive capability helps maintain the screen’s clarity and responsiveness, which are essential for a good user experience.
Long-term Benefits of Screen Protectors
Investing in a screen protector can offer many long-term benefits:
- Preservation of Resale Value: Keeping the screen in pristine condition can help maintain the device’s resale value.
- Reduced Eye Strain: Some protectors have anti-glare technology that can minimize eye strain during prolonged use.
- Lesser Need for Repairs: By preventing scratches and cracks, the need for costly screen repairs is significantly reduced.
The minimal expense of a screen protector installation could save you from the hefty cost of screen repairs or replacements down the line.
Choosing the Right Screen Protector
Selecting the perfect screen protector is crucial for optimal protection. It’s not just about applying a layer; it’s about choosing a shield that complements your device’s use and look.
Materials: Tempered Glass vs Plastic
Two popular materials dominate the screen protector market: tempered glass and plastic.
- Tempered Glass: Offers superior durability and scratch resistance. It feels like the original screen and provides clear visibility. However, it’s generally thicker and more expensive than plastic variants.
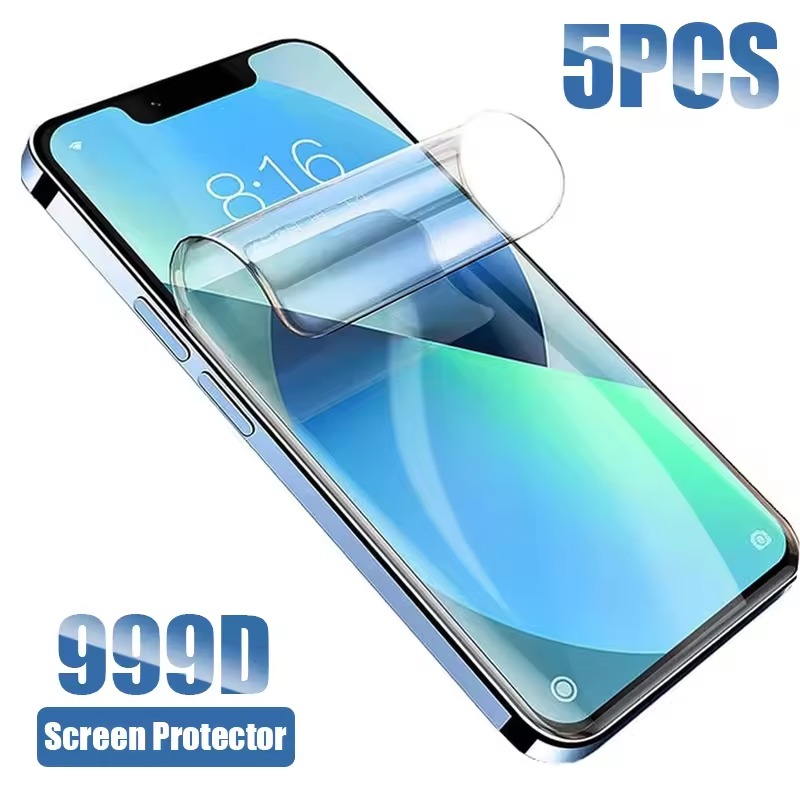
- Plastic: More affordable and thinner than tempered glass. Plastic protectors are less noticeable but offer less protection against impacts. They are prone to scratches over time but can be easier to replace.
The choice between tempered glass and plastic comes down to personal preference and how you use your device. Tempered glass is better for those who prioritize screen feel and protection, while plastic suits budget-conscious users who may prefer frequent replacements.
Understanding Screen Protector Ratings
When shopping for a screen protector, you’ll come across various ratings. These can include hardness level, usually denoted by a ‘9H’ label on tempered glass, indicating strong resistance against scratches. Then there’s the oleophobic coating, which repels fingerprints and makes the screen easier to clean.
Always review these ratings to ensure you’re getting the degree of protection you need. Consider the level of daily exposure to potential screen hazards and use that to guide your selection based on the product ratings. A higher-rated screen protector might cost more, but the investment can pay off in the protection and longevity it offers your device.
Preparing for Installation
Before beginning the screen protector installation process, proper preparation is paramount. Ensuring a clean screen and having the right tools at hand will make the process smoother and lead to better results.
Cleaning Your Screen Properly
Start by turning off your device and removing any case or accessories. Next, use a microfiber cloth to gently wipe away fingerprints and dust from the screen’s surface. If necessary, use an alcohol wipe to remove stubborn grime, but make sure the screen is completely dry before proceeding. Avoid using paper towels or abrasive cloths as they can leave scratches or lint behind.
Gathering Necessary Tools for Installation
Gather all the items you need for a successful installation. Typically, you will need:
- A microfiber cloth for cleaning
- Dust removal stickers or tape
- A squeegee card to remove bubbles
- The screen protector itself
Some screen protector kits come with these items, but it’s good to have backups just in case. With the screen polished and your tools ready, you’re set to proceed with the installation process, taking one step closer to shielding your device’s screen.
Step-by-Step Installation Guide
Proper screen protector installation ensures maximum protection for your device’s screen. Follow this guide for a flawless application.
Aligning the Protector Correctly
First, identify the top and bottom of your screen protector. Then carefully remove the backing to expose the adhesive side. Align the protector with your device’s screen, starting from one end and slowly working towards the other. Make sure to align it perfectly with the speaker, camera, and home button. If misaligned, gently lift and adjust it.
Removing Air Bubbles Effectively
After aligning the protector, press the center and smooth outwards to fix it in place. Use a squeegee card to push out any air bubbles towards the nearest edge. Start from the center to avoid new bubbles from forming. If small bubbles remain, they often disappear within a few days of normal use. For larger bubbles, lift the edge nearest to the bubble and reapply that section of the screen protector. Remember that patience is key to a bubble-free application.
Troubleshooting Common Installation Issues
Even with preparation, installing a screen protector can encounter issues. Overcoming these ensures long-lasting protection for your device’s screen.
Dealing with Dust Under the Protector
Dust particles can sneak under the screen protector during installation, causing unsightly bubbles. To resolve this:
- Turn off your device to see the dust more clearly.
- Gently lift the nearest edge of the protector using a piece of tape.
- Remove the dust with another sticky piece of tape. Avoid using your fingers as they can leave more residue or oils.
- Reapply the protector slowly, ensuring the dust does not return.
Taking care of dust immediately improves the adhesion and appearance of the screen protector.
Addressing Misalignment
A misaligned screen protector can impair functionality and aesthetics. If misalignment occurs:
- Carefully lift the protector from the corner without stretching it.
- Realign carefully, starting from one end, preferably the one with key features like the home button or speaker.
- Smooth out the protector as you reapply it to avoid new bubbles or wrinkles.
Correct alignment is crucial for accessing your device’s features and for a seamless look.
Maintaining Your Screen Protector
Once your screen protector is installed, maintaining it is key to ensure it continues to protect your device effectively. Proper maintenance not only keeps the screen looking clear but also extends the life of the protector.
Cleaning Tips
Keeping your screen protector clean is crucial for optimal visibility and touch responsiveness. Here are a few tips to help you clean your screen protectors effectively:
- Use a microfiber cloth: Regularly wipe the screen with a clean microfiber cloth to remove smudges and dust.
- Avoid harsh chemicals: Stick to water or mild soap solutions. Harsh cleaning agents can damage the protector’s surface.
- Do it gently: Always clean gently to avoid pushing too hard, which might cause the protector to peel off.
When to Replace Your Screen Protector
Screen protectors are durable, but they are not invincible. Knowing when to replace them is crucial:
- Visible Damage: Replace your protector if it has cracks or deep scratches that impair visibility.
- Reduced Responsiveness: If touch responsiveness decreases, it may be time for a new protector.
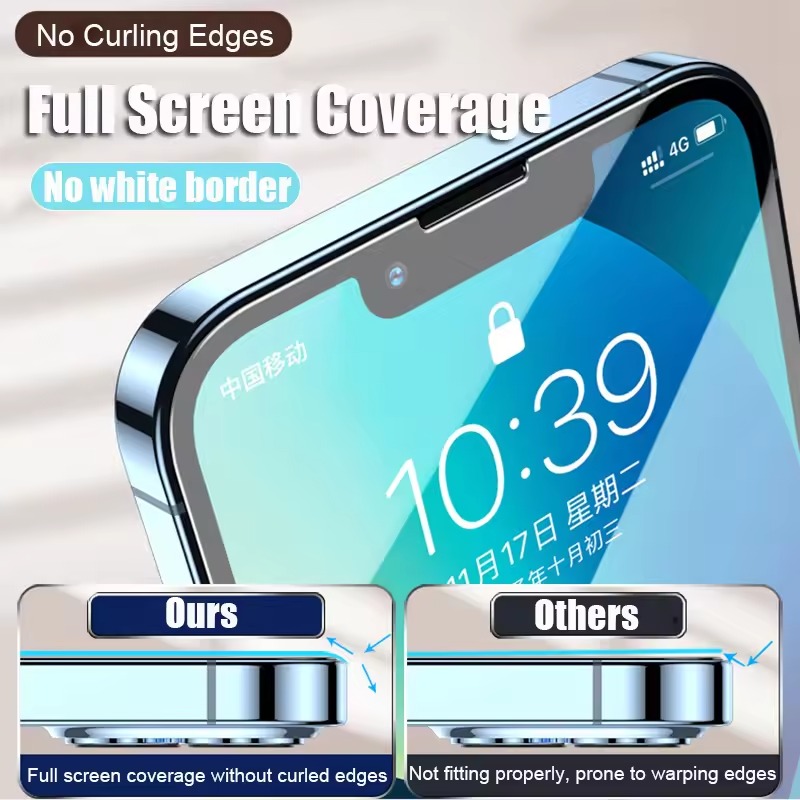
- Peeling Edges: If the edges start peeling off, the protector may not adhere properly, allowing dust beneath it.
Continued proper care and timely replacement will keep your device’s screen pristine and functional.
