Introduction
Protecting your iPhone’s screen is crucial to maintaining its appearance and functionality. The use of screen protectors, particularly tempered glass varieties, offers robust protection against scratches, nicks, and even some impacts. However, over time, these protectors may accumulate scratches or even crack. When that happens, it’s important to know how to take the screen protector off the iPhone safely and without causing damage to your device’s screen. In this guide, we’ll provide you with a straightforward process to remove your worn or damaged screen protector securely and prepare your iPhone for a fresh layer of protection.
Overview of iPhone Screen Protector Use
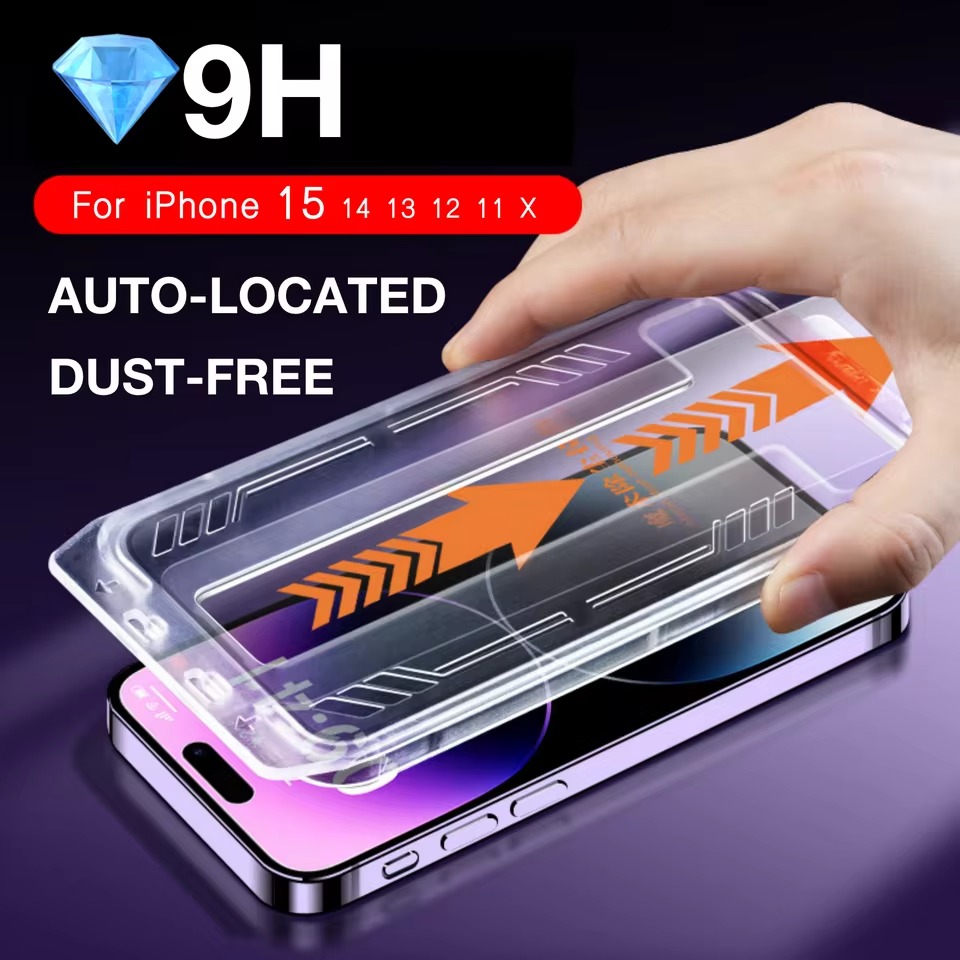
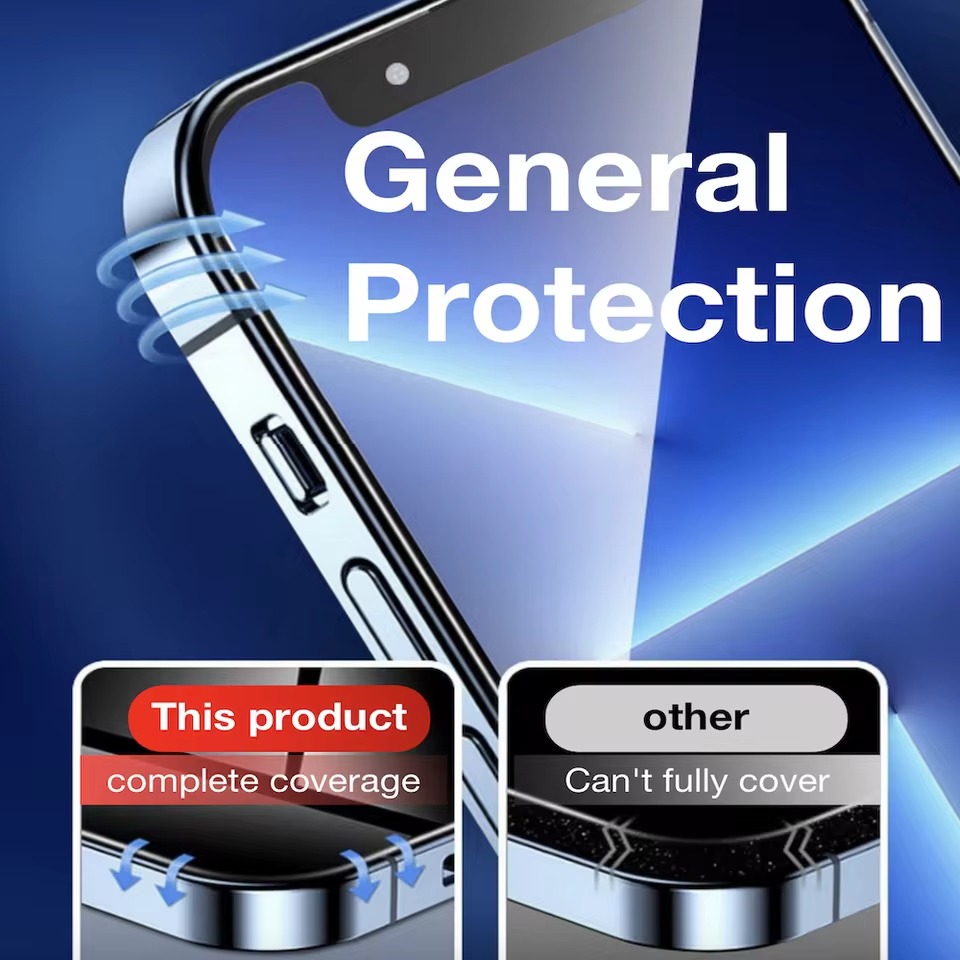
An iPhone screen protector serves as a defensive shield for your device’s touch screen. Besides mitigating the damage from daily wear and tear, it can save the screen from more serious harm. Often, the protector will absorb the shock and damage from drops that would otherwise shatter your iPhone’s screen. Bear in mind that even though latest iPhone models sport protective features like Apple’s Ceramic Shield, they are not impervious to damage. Installing a screen protector is a smart move to extend the life of your phone and keep it looking pristine. When the protector becomes scratched or broken, however, it’s time for it to be replaced with a new one. The good news is that the removal process is simple and requires only a few household items.
Preparing to Remove the Screen Protector
Before you begin the removal process, it’s important to be well-prepared. This preparation will help ensure everything goes smoothly, preventing damage to your iPhone and keeping you safe.
Gathering Necessary Tools
To start, gather all the tools you will need. You won’t need any special equipment; everyday items will do the job:
- A wooden toothpick to lift a corner of the screen protectors.
- A plastic card, like a credit card, to help peel the protector off.
- A hair dryer to warm the adhesive, making it easier to remove the glass.
Ensure these items are on hand before you proceed with removing the screen protector.
Safety Measures to Consider
Safety is key when dealing with tempered glass. Keep the following tips in mind:
- Work in a well-lit area so you can see clearly.
- Go slowly to avoid breaking the glass and creating sharp edges.
- If your iPhone’s screen is also cracked, consider professional help to prevent injury.
By taking these precautions, you can remove your screen protector safely and prepare for the installation of a new one.
Step-by-Step Guide to Removal
Heating the Screen Protector
Begin the removal process by gently heating the screen protector. Use a hair dryer set on a low heat setting for about 15-20 seconds. This slight warmth loosens the adhesive underneath, making the protector easier to remove. Ensure not to overheat as this could damage your iPhone.
Lifting the Screen Protector with a Toothpick
Next, carefully insert the sharp end of a wooden toothpick under one corner of the screen protectors. Remember to angle the toothpick upwards towards the glass and not downwards towards the screen to avoid any damage to your iPhone’s display.
Utilizing a Credit Card to Fully Detach the Protector
Once a corner is lifted, gently slide a credit card under the edge. Slowly and carefully work the card around the edges and towards the center of the screen. If the screen protector is cracked or broken into pieces, approach each piece one at a time. This step should help fully detach the screen protectors without snapping it or harming your fingers with sharp edges.
Cleaning the iPhone Screen Post-Removal
After removing your iPhone’s screen protector, you might notice some adhesive residue left behind. It’s essential to clean this off to ensure that your iPhone’s screen is pristine before applying a new protector. This also prevents any adhesive build-up that can attract dirt or interfere with the touch sensitivity of the screen.
Removing Adhesive Residue
To remove any remaining adhesive, you can use a few simple items. Take a microfiber cloth, which is gentle on your iPhone’s screen and effective in picking up residue. If the adhesive is stubborn, you can slightly dampen the cloth with a mixture of water and isopropyl alcohol. Gently rub the screen in a circular motion until the residue is gone. Be cautious not to use excessive moisture.
Recommended Cleaning Solutions
For a homemade cleaner, a 50/50 mix of water and white vinegar works well. Alternatively, you can opt for screen cleaning solutions designed for electronics. These are specifically formulated to be safe for screens, including touch screens, and often come with a microfiber cloth included. Spray a small amount onto the cloth, not directly on the screen, and wipe until the surface is clear and streak-free.
Remember to handle your iPhone with care during this process. A clean, residue-free screen is crucial for the proper adhesion of a new screen protectors, ensuring your iPhone stays protected for the long haul. Avoid abrasive materials or harsh chemicals that might damage the screen. With your iPhone screen now clean, you’re ready to apply a fresh screen protector and maintain that high level of protection against daily use and accidents.
Installing a New Screen Protector
After removing the old screen protector and cleaning your iPhone screen, you’re set to apply a new one. A fresh screen protector is not just a layer for defense, but it’s a step towards maintaining the pristine condition of your phone. Here are the things you need to do to make sure your new screen protectors fits perfectly without any bubbles or misalignment.
Preparing the Screen
Before applying the new screen protectors, ensure your iPhone’s screen is impeccable. Dust and debris can cause air bubbles and affect the screen’s responsiveness. Wipe down the screen with a microfiber cloth until it’s free of dust. For extra cleanliness, use a bit of screen cleaning solution or a water and vinegar mix, avoiding harsh chemicals.
Applying the New Protector Correctly
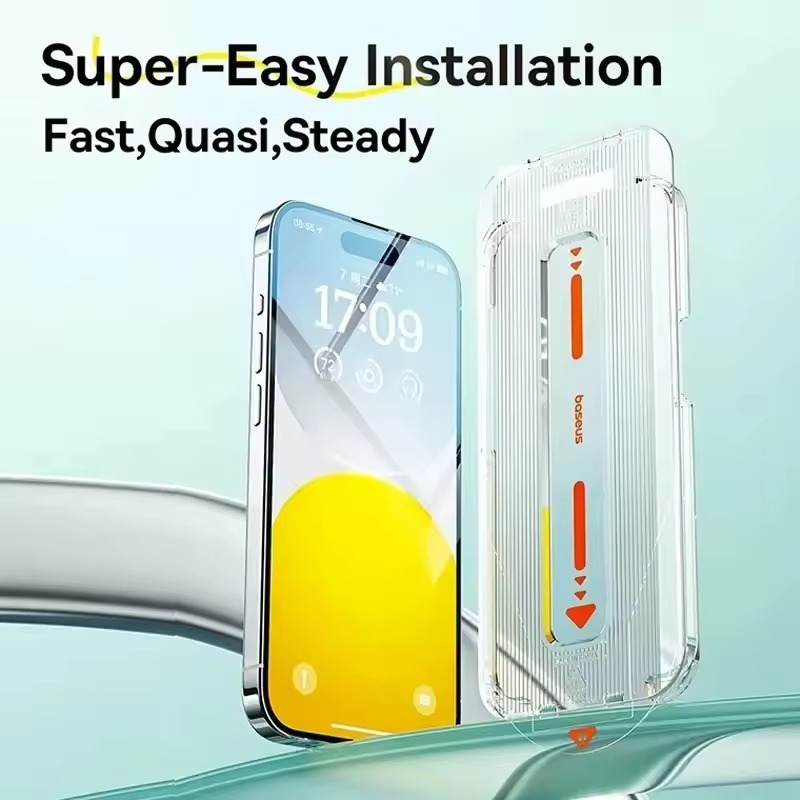
First, check the alignment of the screen protectors with your iPhone’s display to prevent mistakes during application. Peel off the protective layer of the screen protector that faces the screen. Hold the protector by its edges and carefully place it onto the screen from one end, steadily moving towards the other. Use a squeegee or a credit card to smooth out any bubbles that form. If bubbles persist, gently lift the nearest protector’s edge and reapply that section.
Applying a new screen protector looks simple, yet requires patience and attentiveness. Take your time to line up the protector correctly, and firmly press out any air pockets. Proper application ensures full functionality and maintains the aesthetics of your iPhone.
Tips for Long-term Screen Protector Maintenance
Maintaining your screen protector is key to ensuring your iPhone’s screen stays in top condition. Here are a few tips to keep it in optimal shape over time:
Regular Check-ups
Check your screen protector often for any signs of damage. Look for scratches or chips that can reduce protection. If you see dust or dirt under the protector, it may need repositioning. Be gentle when cleaning the screen to avoid lifting the protector’s edges.
It’s a good idea to clean the protector itself too. Use a soft microfiber cloth to wipe away fingerprints and smudges. Do this regularly to maintain clear visibility and touch responsiveness.
When to Consider a Replacement
Replace your screen protector if it has significant scratches or cracks. Even small cracks can grow and weaken the protection. If you notice your iPhone’s touch sensitivity is failing, that’s another sign. A new screen protector can restore full protection and touch functionality.
In conclusion, keeping an eye on your protector and replacing it when needed is crucial. It saves your iPhone’s screen from damage and keeps the phone working well.
Conclusion
To wrap up, here’s a brief rundown of the steps for removing your iPhone’s screen protector safely:
- Prepare your tools: toothpick, credit card, and hair dryer.
- Apply low heat with the hair dryer to the screen protectors to loosen the adhesive.
- Lift a corner of the protector using a wooden toothpick.
- Slide a credit card underneath and gently work it around to remove the protector.
- Clean your iPhone’s screen to take off any adhesive residue.
- Install a new screen protector, ensuring no dust or bubbles.
Keep these steps in mind for a smooth and safe process.
Importance of Using a Screen Protector
Using a screen protector is essential for guarding your iPhone against scratches, cracks, and everyday wear. The protection it offers can save you from costly screen repairs. It acts as a shield, absorbing the force from impacts that could otherwise break your iPhone’s screen. Even with newer iPhone models that come with tougher screens, a screen protectors adds an extra layer of defense. Regular maintenance and timely replacement of your screen protectors will keep your iPhone’s display clear and responsive. It’s a simple, cost-effective way to protect your investment.
