Introduction: The Importance of Keeping Your Device Scratch-Free
One of the most significant investments many people make is in a smartphone, a device that not only serves as a communication tool but also as a personal assistant, entertainment hub, and mobile office. Protecting this valuable asset from scratches, cracks, and other damages is crucial in maintaining its functionality and resale value. T-Mobile, a leading telecommunications service provider, understands this, which is why they offer a range of screen protectors for their devices. This article delves into the importance of screen protectors and provides detailed steps on how to replace a T-Mobile screen protector to keep your device looking brand new.
The Role of Screen Protectors in Device Longevity
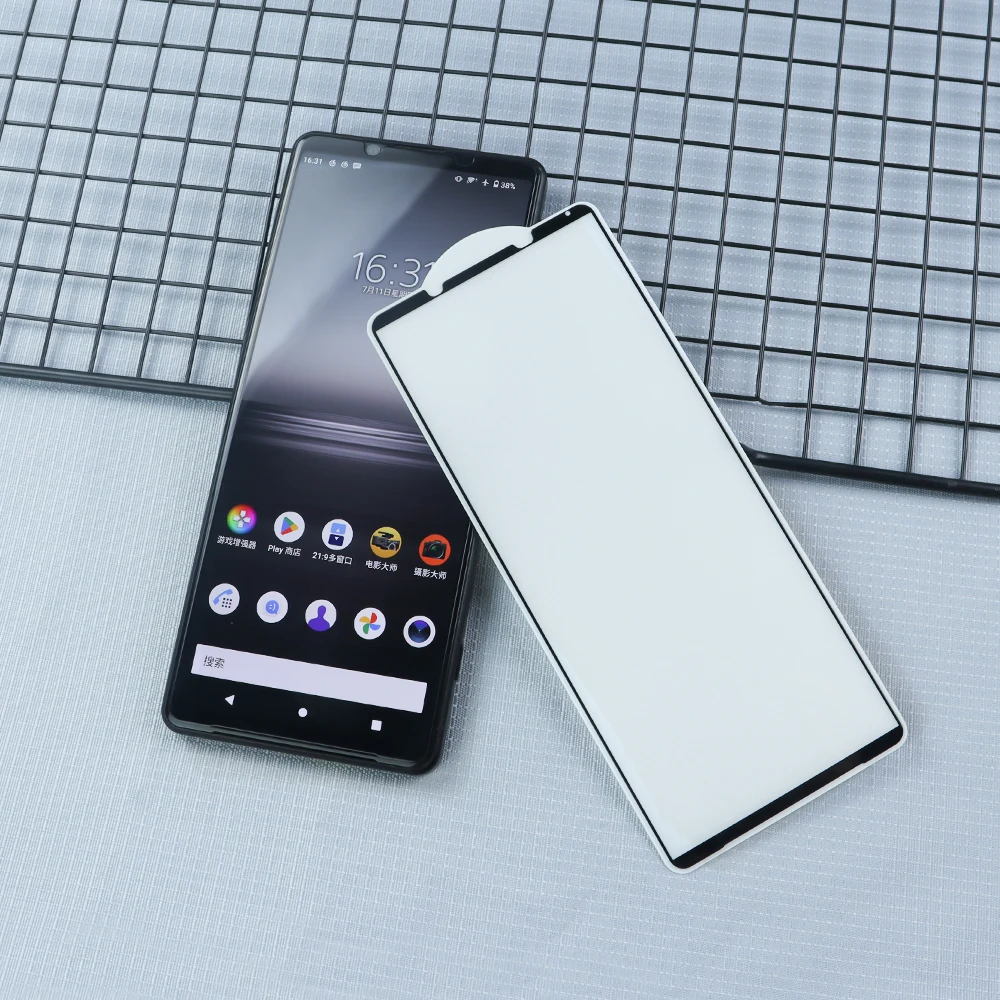
Screen protectors are thin layers of plastic or glass that adhere to the screen of your smartphone. Their primary function is to prevent scratches, cracks, and other forms of damage that occur through daily use. Whether you accidentally drop your phone, slide it into your bag with keys, or simply use it continually throughout the day, the screen is always at risk of damage. A reliable screen protector serves as the first line of defense, absorbing impacts and preventing abrasions that can compromise the integrity and appearance of your device.
Understanding Different Types of Screen Protectors
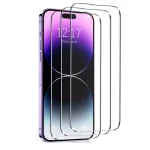
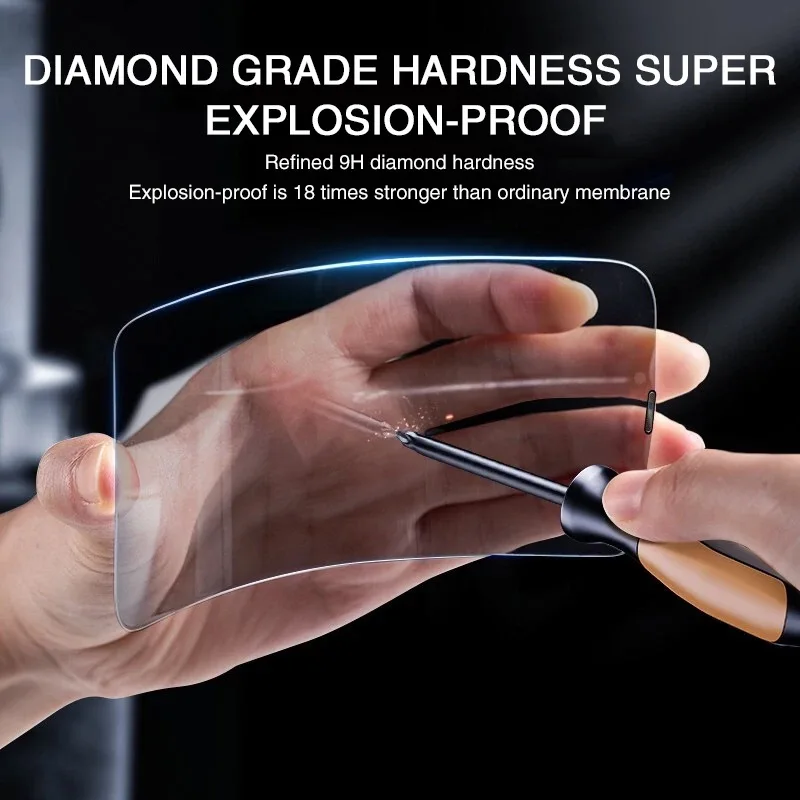
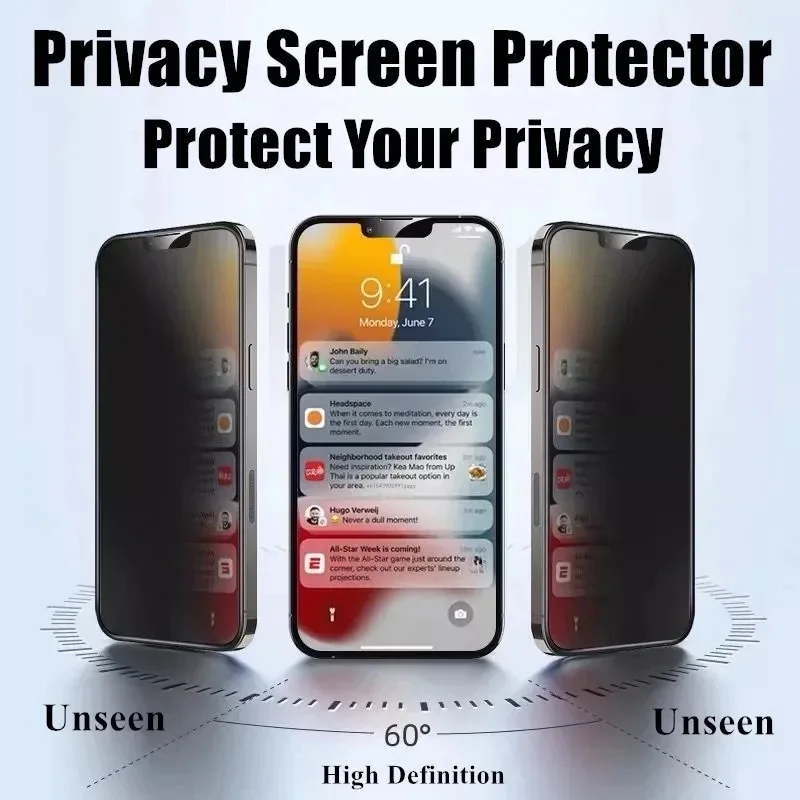
There are various types of screen protectors available in the market, each with its own set of advantages and disadvantages. Knowing the differences can help you choose the best one for your needs. T-Mobile offers three primary types: plastic film protectors, tempered glass protectors, and liquid screen protectors. Plastic film protectors are usually the most affordable and easiest to apply, but they offer less protection compared to tempered glass, which is thicker and can absorb more impact. Liquid screen protectors, on the other hand, provide a seamless finish and bond with the screen on a molecular level, but their effectiveness can be hard to gauge without proper application tools.
Tools and Preparations Needed for Screen Protector Replacement
Before you start the replacement process, gathering the necessary tools and materials is essential. Typically, you will need a new screen protector, a cleaning kit, which usually includes alcohol wipes and a microfiber cloth, dust removal stickers, and an application card or squeegee. Make sure you are working in a clean, dust-free environment to prevent particles from getting trapped under the screen protector. T-Mobile often provides a complete application kit with their protectors, ensuring that you have everything you need to perform a smooth and effective replacement.
Removing the Old Screen Protector
The first step in the replacement process is to remove the old screen protector. Carefully lift one corner of the protector using a fingernail or a piece of plastic, avoiding sharp objects that might scratch the screen. Once you have a corner lifted, gently peel away the protector. Ensuring that you are pulling it evenly to avoid any residue or adhesive being left behind. If you encounter resistance. You can use a bit of heat, such as a hairdryer on a low setting, to soften the adhesive and make the removal process easier. Removing the old screen protector properly is crucial, as any leftover adhesive can affect the new protector’s ability to adhere to the screen correctly.
Cleaning Your Device Screen
After removing the old screen protector, it’s essential to clean your device’s screen thoroughly. Start with an alcohol wipe to remove any dirt, oils, and residues from the screen. Follow this by using a microfiber cloth to polish the screen and remove any streaks. Finally, use dust removal stickers to capture any remaining dust particles. This step cannot overstate, as even the tiniest speck of dust can create bubbles or imperfections under the new screen protector, compromising its effectiveness and appearance.
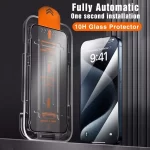
Applying the New Screen Protector: Step-by-Step Guide
Once your screen is pristine, it’s time to apply the new screen protector. Begin by carefully peeling away the protective layer from the new screen protector, being cautious not to touch the adhesive side. Align the protector with your screen, paying close attention to the edges and cutouts for the camera and sensors. Slowly lower the protector onto the screen, starting from one edge and working your way across to prevent air bubbles from forming. Use the application card or squeegee to press the protector down, smoothing out any bubbles and ensuring full adhesion.
Tips for Ensuring a Perfect Fit
Achieving a perfect fit requires patience and precision. Start by aligning the protector with one edge of the phone and slowly lower it into place. If you notice any bubbles, gently lift the protector back up and use the squeegee to press them out, working from the center towards the edges. If the screen protector isn’t perfectly aligned on your first try, most protectors can be gently lifted and repositioned without losing their adhesive properties. It’s better to take your time and ensure a perfect fit than to rush the process and end up with a less-than-ideal result.
Troubleshooting Common Issues
Even with the best care, you might encounter some common issues during the application process. Air bubbles are a frequent problem, often caused by dust particles or improper application. If you notice a bubble that won’t go away with the squeegee. Try lifting the protector gently to the point of the bubble and then reapplying it. Dust particles can usually be removed using a piece of adhesive tape. If the edges of the screen protector don’t seem to be sticking properly. Ensure that they are aligned correctly and press them down firmly. Persistent issues may require starting the application process over, so having a backup screen protector can be beneficial.
Benefits of Regular Screen Protector Replacement
Regularly replacing your screen protector has several benefits, including maintaining the clarity and responsiveness of your screen. Over time, even the best protectors can become scratched or lose their adhesive strength, which can impair your viewing experience and touch sensitivity. By replacing the screen protector periodically, you ensure that your device remains in optimal condition, both functionally and aesthetically. T-Mobile’s screen protectors design to be durable, but regular monitoring and replacement when necessary can extend the life of your device considerably.
Conclusion: Keep Your Device Scratch-Free with T-Mobile Screen Protectors
Keeping your device scratch-free doesn’t have to be a daunting task. With the right tools and a bit of patience, you can easily replace your T-Mobile screen protector and maintain your phone’s pristine condition. This not only protects your investment but also ensures that your device remains fully functional and visually appealing. By understanding the importance of screen protectors, choosing the right type for your needs. And following the replacement steps carefully, you can enjoy peace of mind knowing your device is protected.
Final Thoughts and Additional Tips
As you conclude your screen protector replacement journey. Remember to always keep a backup protector on hand and monitor your current one for signs of wear and tear. It’s far better to replace a worn-out protector than to deal with a scratched or cracked screen. Additionally, consider investing in a quality phone case that complements the work of your screen protector, providing your device with 360-degree protection. With T-Mobile’s reliable and user-friendly screen protectors. Keeping your device looking and functioning like new has never been easier.