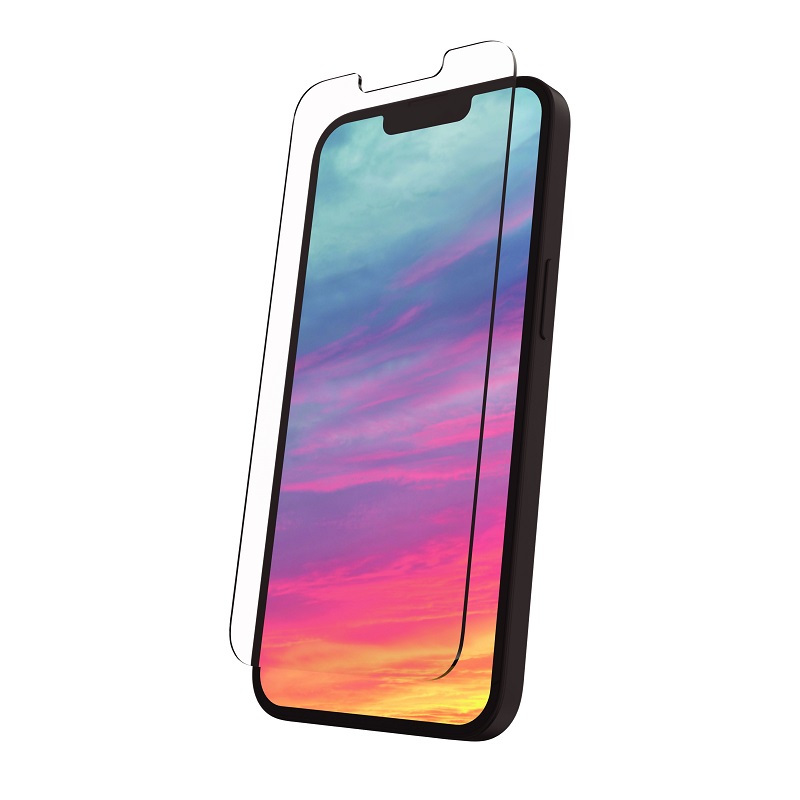
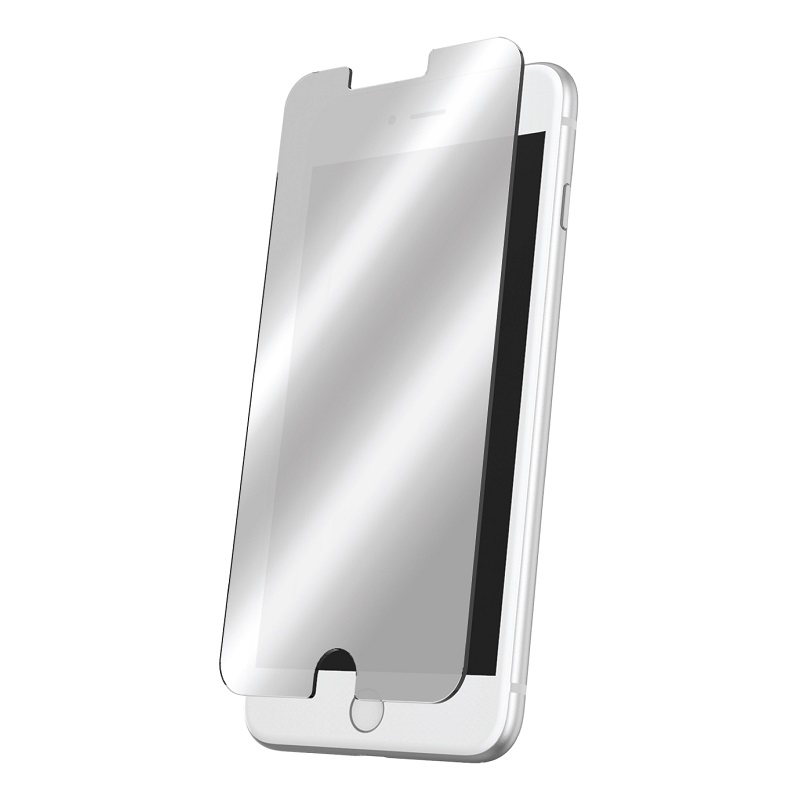
Applying a screen protector can be a great way to keep your device’s screen safe from scratches and cracks. However, air bubbles often form during installation, which can be frustrating. In this comprehensive guide, we’ll explore various methods to fix air bubbles in a screen protector and ensure a flawless application.
Understanding Air Bubbles in Screen Protectors
Causes of Air Bubbles
Air bubbles in a screen protector are a common issue, especially when the installation process isn’t perfect. They occur when air gets trapped between the screen and the protector. Several factors contribute to this problem:
- Dust and Debris: Even tiny particles of dust can cause bubbles. If your screen isn’t perfectly clean, these particles can create pockets of air.
- Improper Application Technique: Applying the screen protector too quickly or without proper alignment can lead to air bubbles. It’s essential to apply the protector evenly and slowly.
- Screen Protector Quality: The quality of the screen protector itself can also affect bubble formation. Lower-quality protectors may be more prone to bubbles, while higher-quality ones typically offer a better fit and fewer issues.
Types of Air Bubbles
Understanding the types of air bubbles can help you address them more effectively. The main types include:
- Small Bubbles: These are tiny pockets of air that can usually be smoothed out easily.
- Large Bubbles: These are more significant pockets of air that may require more effort to remove.
- Persistent Bubbles: These bubbles are stubborn and may not go away with typical methods.
Preparation for Screen Protector Application
Cleaning Your Screen
Before applying the screen protector, thorough cleaning of your device’s screen is crucial. Follow these steps to ensure a clean surface:
- Turn Off Your Device: Power down your device to make it easier to see any dust or smudges.
- Use a Microfiber Cloth: Wipe the screen gently with a microfiber cloth to remove fingerprints, dust, and other debris.
- Apply Screen Cleaning Solution: Use a screen-safe cleaning solution if needed. Apply it to the cloth, not directly to the screen, and gently clean the surface.
- Dry the Screen: Ensure the screen is completely dry before proceeding to the next step. Use a dry part of the microfiber cloth to avoid any moisture spots.
Preparing the Screen Protector
Preparation of the screen protector itself is equally important. Here’s how to get it ready:
- Remove Dust from the Protector: Before application, check the adhesive side of the screen protector for any dust particles. Use a dust-removal sticker or tape to gently remove them.
- Align the Protector: Carefully align the protector with the screen. Most screen protectors come with alignment guides to help with this step.
Applying the Screen Protector
Proper Alignment and Placement
Getting the alignment right is key to avoiding bubbles:
- Position the Protector: Place the screen protector over the screen without letting it touch the surface. Align it with the edges of the device.
- Check for Proper Fit: Make sure the protector fits correctly and aligns with any cutouts for buttons or sensors.
Smooth Application Techniques
Once aligned, you need to apply the screen protector smoothly:
- Start from One Edge: Begin by pressing down gently on one edge of the protector and work your way across.
- Use a Card or Squeegee: Use a plastic card or a squeegee to press the protector onto the screen. Start from the center and work outward to push out any trapped air.
Fixing Air Bubbles After Application
Removing Small Bubbles
Small air bubbles are usually easy to fix:
- Use a Card: Gently push the bubble toward the edge of the screen using a plastic card. Apply light pressure to avoid damaging the screen.
- Work Slowly: Take your time and work slowly to ensure that all bubbles are pushed out.
Tackling Large Bubbles
Large bubbles require a bit more effort:
- Lift and Reapply: If a large bubble persists, carefully lift the edge of the screen protector where the bubble is located. Use a card to smooth out the bubble, then press the protector back down.
- Apply Heat: In some cases, applying gentle heat using a hairdryer (on a low setting) can make the adhesive more pliable. Be cautious not to overheat or damage the screen.
Addressing Persistent Bubbles
Persistent bubbles that don’t go away with regular methods can be tricky:
- Reapply the Protector: If the bubbles are severe, it might be best to remove the screen protector entirely and reapply it. Ensure both the screen and protector are dust-free before attempting a new application.
- Consider a New Protector: If the problem persists despite all efforts, consider using a new screen protector. It may be a sign that the current one is defective.
Preventing Air Bubbles in Future Applications
Use High-Quality Screen Protectors
Investing in high-quality screen protectors can reduce the likelihood of air bubbles:
- Choose Reputable Brands: Opt for well-known brands with positive reviews to ensure you get a quality product.
- Check for Reviews: Read reviews and feedback from other users to gauge the effectiveness and ease of application of the screen protector.
Proper Application Technique
Improving your application technique can help prevent bubbles:
- Take Your Time: Don’t rush the installation process. Take your time to ensure everything is aligned and applied smoothly.
- Follow Instructions: Adhere to the manufacturer’s instructions for the best results. Different protectors may have specific application tips.
Troubleshooting Common Installation Issues
While air bubbles are a frequent issue, there are other common problems that can occur during the installation of a screen protector. Addressing these issues promptly can help ensure a smooth application.
Misalignment and Crooked Application
Misalignment can result in a screen protector that doesn’t fit properly or leaves gaps along the edges. This issue is often due to not aligning the protector correctly before application. To avoid this:
- Pre-Align Carefully: Before peeling off the backing, hold the protector up to the screen to check for alignment. Make sure it lines up with the edges and cutouts.
- Use Alignment Tools: Some screen protectors come with alignment guides or stickers to help position the protector accurately. Utilize these tools for a more precise application.
- Adjust as Needed: If you notice misalignment during application, gently lift the protector and adjust it to ensure it fits properly. Be cautious not to lift it too much, as this can cause dust to stick to the adhesive.
Dust and Debris on the Protector
Even minor dust particles can lead to imperfections under the screen protector. To address this:
- Dust Removal Techniques: Use dust-removal stickers or tape to gently clean both the screen and the adhesive side of the protector. Ensure that both surfaces are free from dust before application.
- Work in a Clean Environment: Perform the installation in a clean, dust-free environment. Avoid applying the protector in areas with high air movement or where dust is more likely to be present.
Alternative Solutions for Difficult Cases
In some cases, traditional methods for fixing air bubbles or other issues might not work. Here are some alternative solutions to consider:
Professional Installation Services
If you’re struggling to achieve a bubble-free result on your own, seeking professional help might be a good option:
- Retailer Services: Many electronics retailers offer professional installation services for screen protectors. This ensures a precise application and can often include a guarantee.
- Third-Party Services: Consider using third-party services that specialize in screen protector installation. They have experience and tools to apply protectors effectively.
Using a Replacement Screen Protector
If your current screen protector has persistent issues despite your best efforts, replacing it might be the best solution:
- Check for Defects: Ensure that the screen protector is not defective before installing a replacement. A defective protector can cause ongoing issues.
- Select a New Protector: Choose a high-quality screen protector from a reputable brand. Look for options with good reviews and features that match your device’s needs.
Conclusion
Air bubbles in a screen protector can be a nuisance, but with proper preparation and technique, you can minimize or eliminate them. By understanding the causes of bubbles, preparing your screen and protector correctly, and using the right application methods, you can achieve a smooth and bubble-free result. If problems persist, consider using higher-quality screen protectors or seeking professional help for installation. With these tips and techniques, you can keep your device’s screen protected and looking great.