Applying a screen protector can significantly enhance the durability and usability of your device, but the process isn’t always perfect. One common issue that arises is air bubbles trapped underneath the protector. These bubbles can be distracting and affect the clarity and touch sensitivity of your screen. If you’re facing this problem, don’t worry—there are effective methods to eliminate air bubbles and ensure a smooth, bubble-free application.
Understanding Air Bubbles in Screen Protectors
What Causes Air Bubbles?
Air bubbles are a frequent issue when applying screen protectorsHow to Remove Bubbles from a Screen Protector: Tips and Tricks, and understanding their cause is the first step toward resolving them. Bubbles typically form when dust or debris becomes trapped between the screen and the protector. Additionally, uneven pressure during application or improperly aligning the protector can lead to bubbles. Temperature and humidity can also play a role in the formation of these bubbles.
Impact of Air Bubbles on Device Performance
While air bubbles might seem like a minor inconvenience, they can affect the performance of your device. Bubbles can interfere with the touch sensitivity of the screen, making it less responsive to taps and swipes. They also detract from the visual clarity of your screen, potentially distorting colors and reducing the overall quality of your display. Addressing these issues promptly can help maintain the functionality and appearance of your device.
Preparation Before Applying the Screen Protector
Clean the Screen Thoroughly
The first step in preventing air bubbles is ensuring that your screen is completely clean before applying the protector. Dust, fingerprints, and other residues can easily get trapped under the protector, leading to bubbles. Use a microfiber cloth and a gentle cleaning solution to wipe the screen thoroughly. Be sure to dry the screen completely before proceeding with the application.
Proper Alignment of the Protector
Proper alignment of the screen protector is crucial for avoiding air bubbles. Before you peel off the backing of the protector, align it with the edges of your screen to ensure that it fits correctly. Most protectors come with alignment guides or stickers to help you position them accurately. Taking the time to align the protector properly can prevent bubbles and ensure a smooth application.
Application Techniques to Prevent Air Bubbles
Use the Right Tools
Using the right tools can make a significant difference in achieving a bubble-free application. A squeegee or credit card is essential for smoothing out the protector and pushing out air bubbles. Some screen protectors also come with application kits that include tools specifically designed for this purpose. Using these tools correctly can help you achieve a smooth, bubble-free surface.
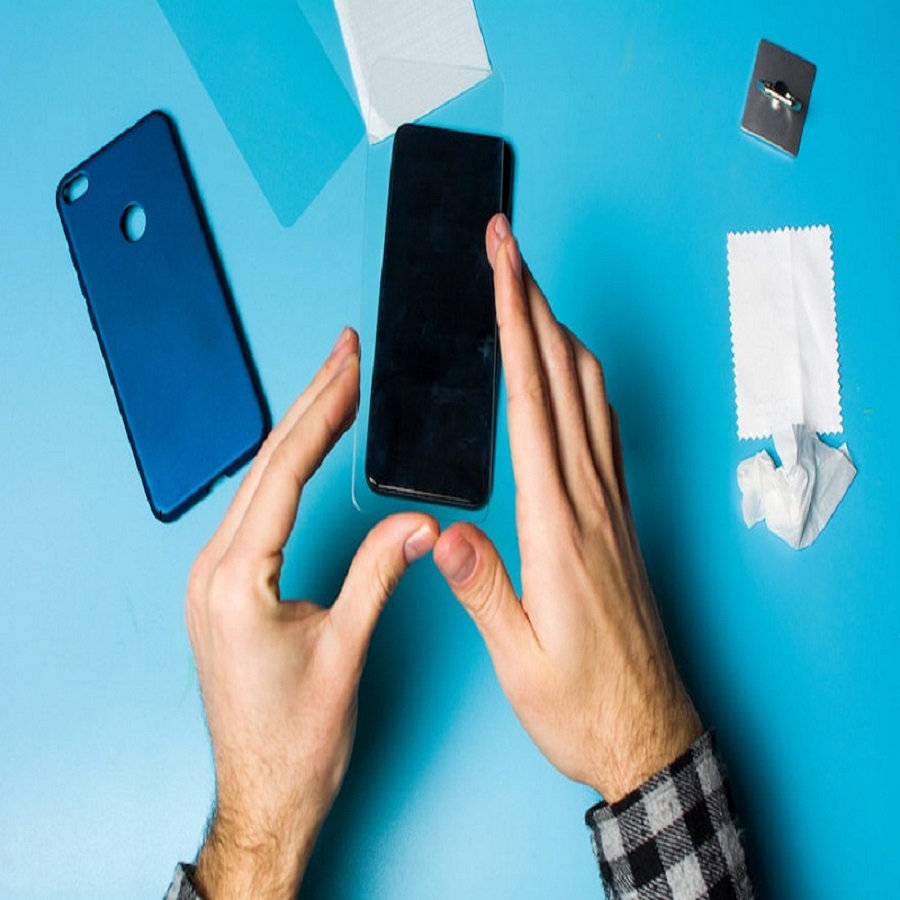
Apply the Protector in a Dust-Free Environment
Applying the screen protector in a dust-free environment is another key factor in preventing bubbles. Dust particles in the air can settle on the screen or the adhesive side of the protector, leading to bubbles. Choose a clean, dry area to apply the protector, and consider using a dust removal sticker or compressed air to ensure the surface is free of particles.
Methods for Removing Air Bubbles After Application
The Squeegee Method
If air bubbles appear after applying the protector, the squeegee method is an effective solution. Gently press the squeegee or credit card against the protector and push the bubbles towards the edges of the screen. Use smooth, consistent pressure to avoid damaging the protector. This method can help remove most small bubbles and smooth out the protector.
The Needle Method
For stubborn bubbles that don’t move with the squeegee method, the needle method can be useful. Carefully insert a needle or pin near the edge of the bubble and gently lift the protector to release the trapped air. Be cautious not to pierce the protector or damage the screen. After releasing the bubble, use the squeegee to smooth out the area and ensure a clean finish.

Prevention Tips for Future Applications
Store the Screen Protector Properly
Proper storage of screen protectors before application can help prevent bubbles. Keep the protector in its original packaging until you’re ready to use it to avoid dust and debris. If the protector has been exposed to dust or other contaminants, gently wipe it with a microfiber cloth before applying it.
Follow Manufacturer Instructions
Different screen protectors may have specific application instructions provided by the manufacturer. Always follow these instructions closely to ensure the best results. Some protectors come with detailed guides or videos demonstrating the application process, which can be helpful in avoiding common issues like air bubbles.
Troubleshooting Persistent Air Bubbles
Reapplying the Protector
If you’ve tried all the methods and still have persistent air bubbles, reapplying the protector might be necessary. Carefully peel off the protector and clean both the screen and the protector’s adhesive side before attempting to reapply. Follow the steps outlined previously to ensure a smooth application and reduce the chances of bubbles reappearing.
Seeking Professional Help
If you’re unable to resolve the issue on your own, seeking professional help might be the best option. Many electronics stores or repair shops offer screen protector application services. Professionals have experience and tools that can help achieve a flawless application, eliminating the need for trial and error.
Advanced Techniques for Persistent Air Bubbles
Heat Application Method
For particularly stubborn air bubbles that resist other methods, the heat application method can be effective. Gently warming the screen protector with a hairdryer or heat gun on a low setting can make the adhesive more pliable, allowing bubbles to be pushed out more easily. Be cautious not to overheat the protector, as excessive heat can damage both the screen and the protector. Once the protector is warmed, use a squeegee to smooth out the bubbles, starting from the center and working towards the edges.
Using a Vacuum Pump
For a high-tech approach, using a small vacuum pump designed for screen protector application can be a solution. These devices create a vacuum to remove air and other contaminants between the screen and the protector. They can be particularly useful for large or multiple bubbles. Follow the instructions provided with the vacuum pump to ensure proper use and avoid potential damage to the screen or protector.

Dealing with Screen Protector Issues Post-Application
Addressing Peeling Edges
If you notice that the edges of your screen protector are peeling up, it could be due to improper application or dust getting trapped under the protector. To address this, gently lift the peeling edge and clean both the screen and the adhesive side of the protector. Reapply the protector carefully, ensuring that it is fully adhered and free of dust. Using a squeegee to press down along the edges can help ensure a secure fit.
Managing Scratches and Damage
Over time, screen protectors can become scratched or damaged, which can affect their performance and appearance. If you notice minor scratches, they can often be buffed out using a mild abrasive cleaner designed for screen protectors. For more significant damage, replacing the protector might be necessary. Regularly inspect the protector for signs of wear and replace it as needed to maintain optimal screen protection.
Considerations for Different Types of Screen Protectors
Tempered Glass Protectors
Tempered glass screen protectors are popular for their durability and clarity. However, they can be more prone to air bubbles during application due to their rigidity. Using the methods mentioned earlier, such as the squeegee and heat application, can help ensure a smooth fit. Additionally, tempered glass protectors often come with installation kits that include tools designed to assist with bubble removal.
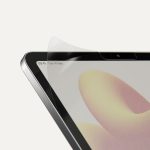
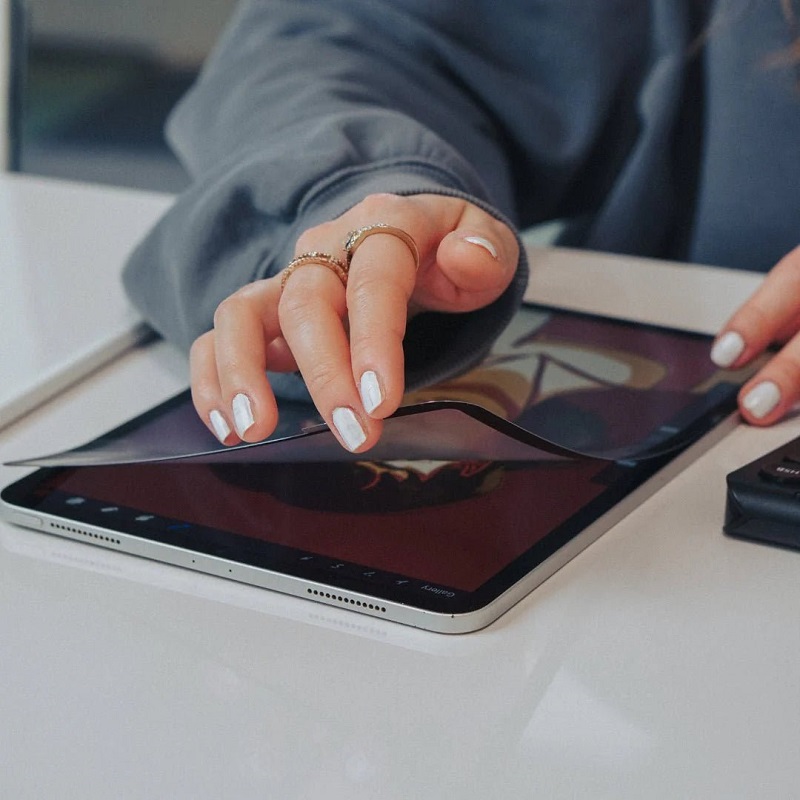
Film-Style Protectors
Film-style screen protectors are more flexible and can be easier to apply without bubbles compared to tempered glass. They may also be more forgiving if small air bubbles appear. When applying film-style protectors, use a gentle touch and ensure that you work in a clean, dust-free environment to minimize bubble formation. If bubbles do appear, they can often be smoothed out with a squeegee or by gently lifting the protector and reapplying it.
Conclusion
Eliminating air bubbles from a screen protector requires careful preparation, proper application techniques, and effective methods for removal. By understanding the causes of air bubbles and following the tips provided, you can achieve a smooth, bubble-free screen protector application. Whether you’re a DIY enthusiast or prefer professional assistance, addressing air bubbles promptly will ensure that your device remains protected and visually clear.
Taking the time to apply your screen protector correctly not only enhances the functionality of your device but also preserves its appearance. With the right approach, you can enjoy the benefits of a screen protector without the distraction of air bubbles.