Applying a screen protector can be a daunting task for many, often resulting in frustrating bubbles and misalignment. However, with the right techniques and a bit of preparation, you can achieve a flawless application that protects your device while looking great. In this guide, we’ll explore various tips and tricks to ensure your screen protector application is smooth and bubble-free.
Understanding the Importance of a Screen Protector
Why You Need a Screen Protector
A screen protector serves as a vital layer of defense for your device, shielding it from scratches, cracks, and other forms of damage. Whether you own a smartphone, tablet, or smartwatch, the screen is often the most vulnerable part of the device. Everyday activities like placing your device in a pocket or bag alongside keys, coins, or other items can lead to unsightly scratches that diminish the appearance and functionality of your screen.
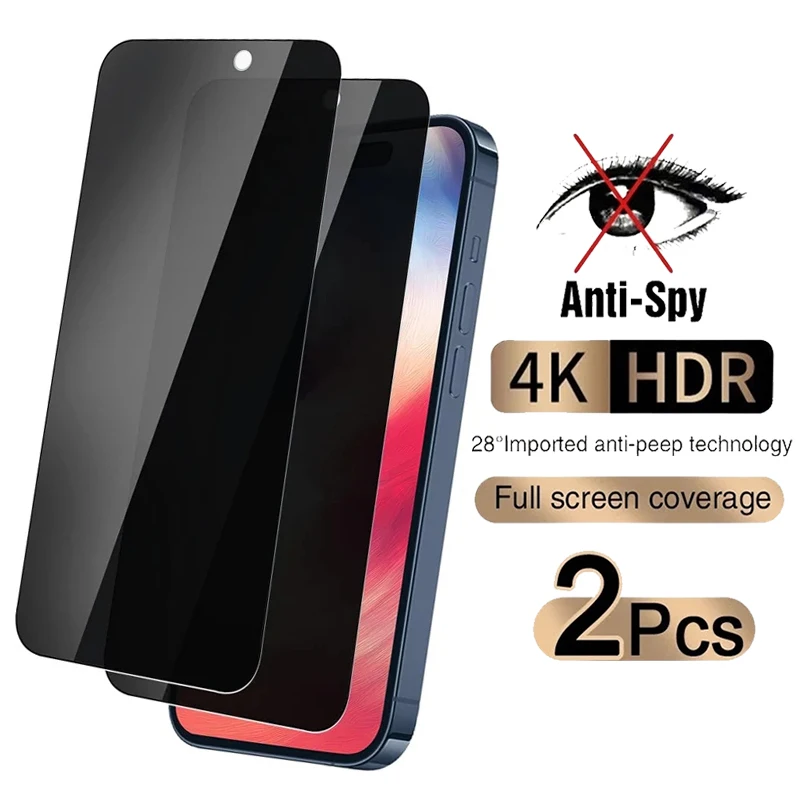
Additionally, many modern screens are made of glass, which, while durable, can still crack upon impact. A high-quality screen protector can absorb shocks and prevent damage from drops, ultimately prolonging the lifespan of your device. Furthermore, some screen protectors come with features such as anti-glare, blue light filtering, and privacy filters, providing additional benefits tailored to your needs. Protecting your investment is crucial, and a screen protector is an essential accessory that enhances both durability and functionality.
Types of Screen Protectors Available
Screen protectors come in various types, each designed to cater to different preferences and levels of protection. The most common options include tempered glass, plastic film, and liquid screen protectors.
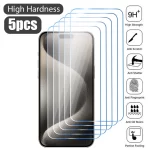
Tempered Glass Protectors are popular due to their robustness and clarity. They provide excellent protection against impacts and scratches while maintaining touch sensitivity and visual quality. On the other hand, Plastic Film Protectors are thinner and lighter but may not offer the same level of protection as glass. They are less expensive and easier to apply, making them a preferred choice for many users. Lastly, Liquid Screen Protectors involve applying a special liquid that hardens to form a protective layer. While they don’t provide the same level of impact resistance as glass or film, they can be advantageous for devices where traditional protectors might not adhere well.
Understanding these differences will help you select the right type of screen protector that suits your lifestyle and usage patterns.
Preparing for Application: Gather Your Tools
Essential Tools You Will Need
Before you begin applying your screen protector, it’s crucial to gather the necessary tools to ensure a smooth process. Having everything on hand will minimize interruptions and enhance your focus during the application.
You’ll need:
- Screen Protector: Ensure it’s compatible with your device model.
- Microfiber Cloth: This will help clean the screen without leaving streaks or lint.
- Dust Removal Stickers or Tape: These are critical for removing any dust particles from the screen before application.
- Squeegee or Credit Card: This tool will help eliminate air bubbles during application, ensuring a smooth finish.
- Rubbing Alcohol (optional): For deep cleaning your screen before applying the protector.
Having these tools ready will set the stage for a successful installation, allowing you to concentrate on achieving the best possible result.
Setting Up Your Workspace
Creating an optimal workspace is another important step in preparing for your screen protector application. Choose a clean, flat surface with good lighting to aid visibility. A clutter-free area minimizes distractions and reduces the likelihood of debris landing on your screen during application. It’s also beneficial to avoid applying the screen protector in areas with high foot traffic or windy conditions, as these environments can introduce dust and particles that may interfere with the adhesive.
Consider using a table or desk where you can spread out your tools and device comfortably. If possible, perform the application in a bathroom after running a hot shower. The steam can help settle dust particles in the air, creating a cleaner environment for application. By taking the time to set up your workspace, you significantly improve your chances of a flawless application.
Cleaning Your Device Before Application
The Importance of a Clean Surface
Cleaning your device thoroughly before applying the screen protector cannot be overstated. Any dust, fingerprints, or residue can lead to bubbles and imperfections beneath the protector, compromising both its appearance and effectiveness.
A clean surface ensures optimal adhesion of the screen protector, allowing it to stick properly and function as intended. Additionally, any contaminants trapped under the protector can lead to long-term issues, such as peeling or lifting at the edges, which can detract from the overall look of your device. Therefore, investing time in cleaning your screen is a crucial step that pays off in the long run.
Effective Cleaning Techniques
To clean your device effectively, start by powering it down to avoid any accidental screen taps. Use a microfiber cloth slightly dampened with rubbing alcohol to wipe the screen gently. This method removes fingerprints, smudges, and oils without scratching the surface. Be sure to follow up with a dry microfiber cloth to eliminate any remaining moisture.
Once the screen is dry, use dust removal stickers or tape to pick up any lingering dust particles. Gently press the stickers onto the screen and lift them off; they should remove any dust without leaving residue behind. This two-step cleaning process ensures that your screen is as spotless as possible, setting the stage for a successful screen protector application.
Aligning the Screen Protector Correctly
Visualize the Placement
Getting the alignment of your screen protector right is crucial for a successful application. Misalignment can lead to an uneven look and functional issues, such as obstructing sensors or cameras. Before you peel off the backing, hold the screen protector over your device to visualize its placement.
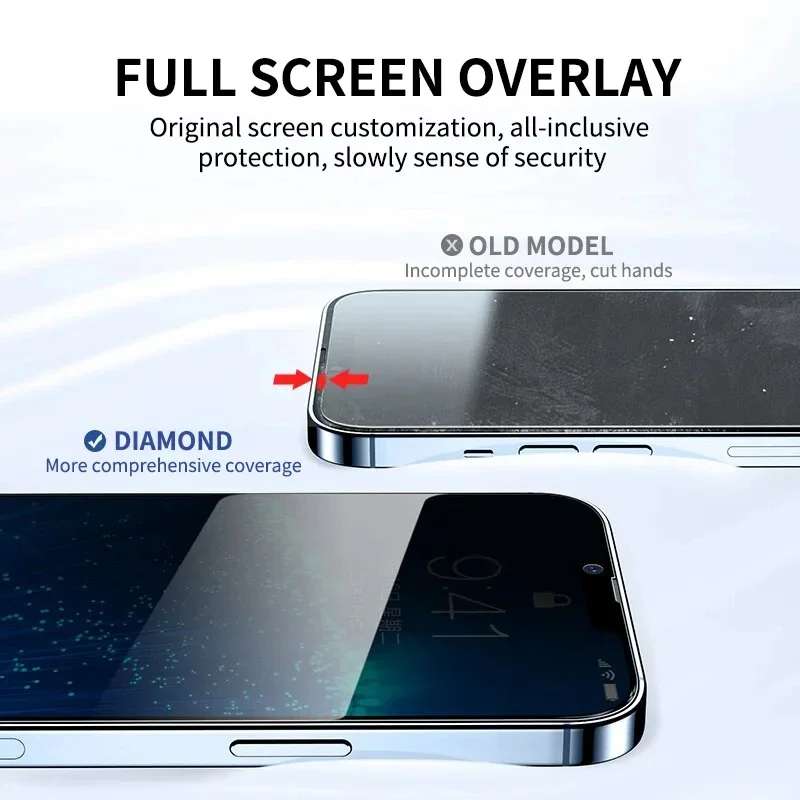
Pay attention to the cutouts for buttons, cameras, and sensors. Ensuring that these openings align perfectly will not only enhance the appearance but also preserve the functionality of your device. Take your time to assess how the protector fits, and make any necessary adjustments before committing to the application.
Peeling and Positioning the Protector
The Right Moment to Peel
With your screen clean and the protector aligned, it’s time to peel off the backing. However, timing is key here. It’s advisable to peel the protector just before application rather than letting it sit exposed to the air for too long. Dust can settle onto the adhesive side, leading to imperfections once applied.
Hold the screen protector by its edges to avoid touching the adhesive side, which can also compromise its effectiveness. Keep your movements steady and deliberate, aiming to maintain control throughout the process.
Eliminating Bubbles After Application
Understanding Bubble Formation
Even with meticulous preparation, bubbles can sometimes appear after applying a screen protector. Understanding how these bubbles form can aid in troubleshooting. Generally, bubbles are caused by air being trapped between the screen and the protector during application. Factors such as dust and improper alignment can exacerbate this issue.
Knowing that bubbles can occur helps to alleviate frustration and provides insight into how to fix them effectively. The good news is that most bubbles can be easily removed if addressed promptly using the right techniques.
Final Touches and Inspection
Final Inspection
After you’ve removed any bubbles, it’s essential to conduct a final inspection of your screen protector application. Look for any signs of dust or misalignment, and ensure that the protector is securely adhered to the screen. If you notice any imperfections, address them immediately, as they can affect the longevity and performance of the protector.
Additionally, take a moment to check the overall appearance of your device. A well-applied screen protector should enhance the look of your device while offering protection. Ensure that the clarity and touch sensitivity remain intact, as these factors contribute to an enjoyable user experience.
Maintaining Your Screen Protector
Routine Care and Maintenance
Once your screen protector is applied flawlessly, it’s essential to maintain it properly to ensure its longevity. Regularly clean the surface with a microfiber cloth to keep it free from smudges and dirt. Avoid abrasive materials, as these can scratch the protector and diminish its clarity.
It’s also wise to avoid exposing your device to extreme temperatures, as heat can weaken the adhesive over time. Store your device in protective cases when not in use, especially if you anticipate putting it through rigorous activity.
Conclusion: Achieving a Flawless Application
In conclusion, applying a screen protector doesn’t have to be a stressful experience. By following the tips outlined in this guide, you can achieve a flawless application that protects your device while enhancing its appearance. From understanding the importance of a screen protector to mastering the art of bubble removal, each step plays a vital role in ensuring success.